Setting Up Disk Volume
Setting a new Disk Volume
- For PRU 9 or above: under the File > Disk Management > Volume Setup > New > Create a new Volume dialog box, keep the selection as "Disk".
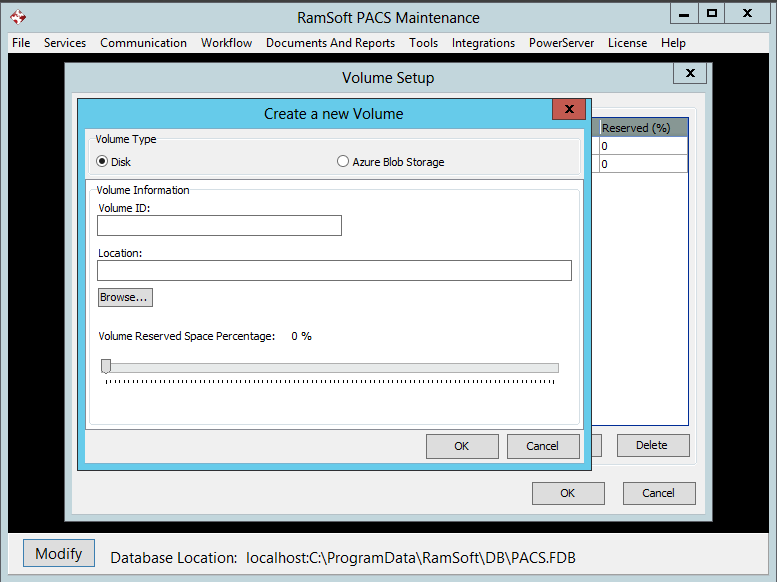
For PRU 8 or below, the user would not have the Azure Blob Storage option.
-
Enter a Volume ID, e.g. "Secondary".
-
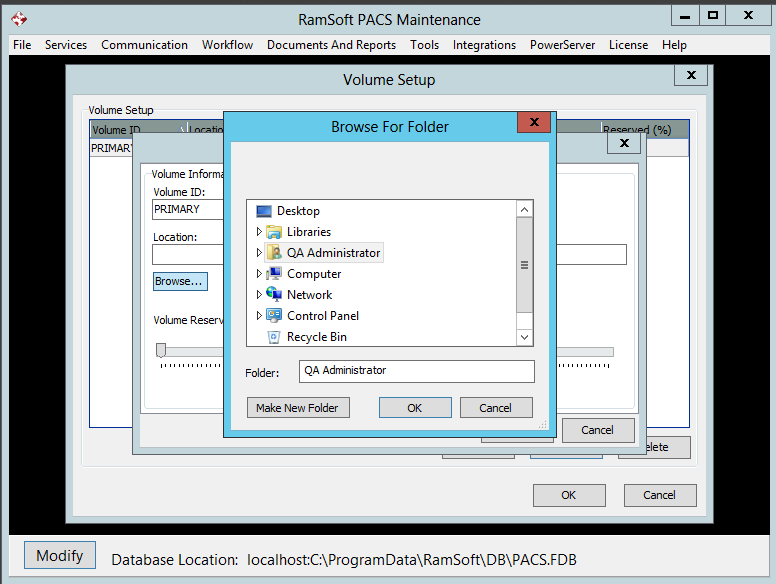
Enter the location where the volume will be located in the Base Path or Location field. To do so, click the Browse button.
-
This will open the Browse for Folder form. Select the location of the volume.
-
Determine the percentage of reserved space for the volume. If unsure, leave it at 0%.

- Click OK to close the dialog.
Editing an existing volume
To Edit an existing volume, perform the following steps:
- Select the volume you would like to edit and click the Edit button. This will launch the Edit a Volume dialog:
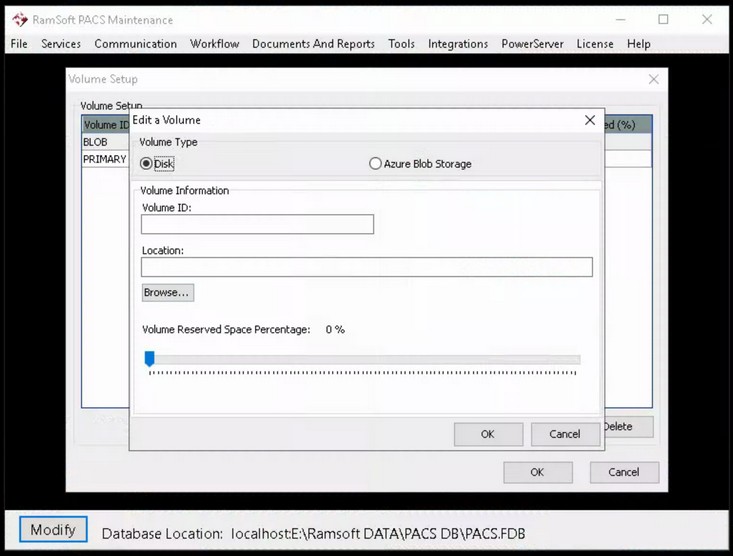
- Perform the changes and click OK to save the changes.
Deleting a volume
To Delete a particular volume, perform the following steps:
- Select the volume and then press the Delete button.
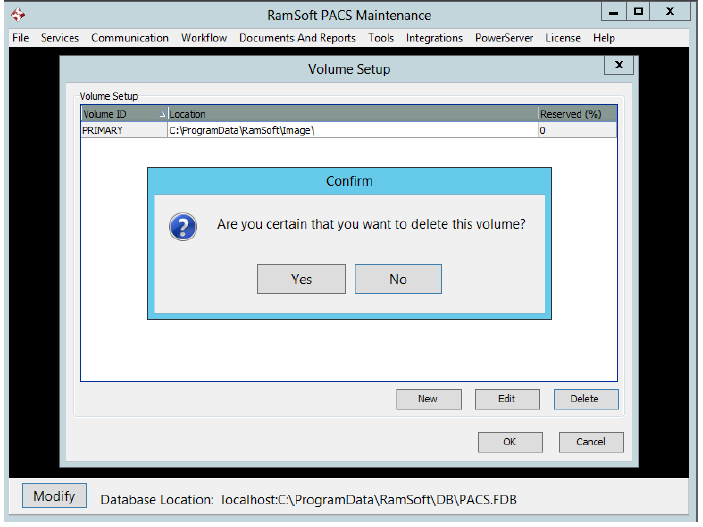
- A confirmation dialog will appear. Press Yes to confirm the deletion.