How Do I Export Images as Files?
You can export images as files.
To Export an Image
-
Select and open a Study
-
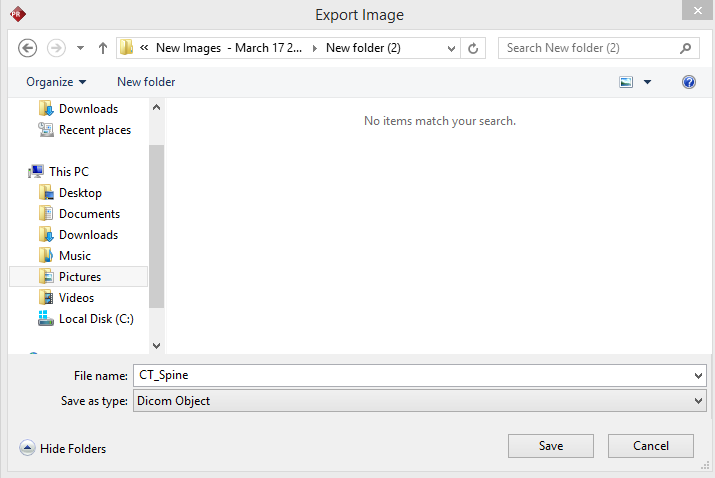
Click File > Export .... Upon click, the application will open an Export Image window.

-
Select the location where the file will be exported.
-
Select the name from the list.
-
Click the drop-down menu and choose the appropriate type of format in which you wish the image to be saved.
-
Click Save. The image can now be opened with any application that supports the File Type. The available formats are DICOM, JPEG and Windows Bitmap.
To Export multiple Images
-
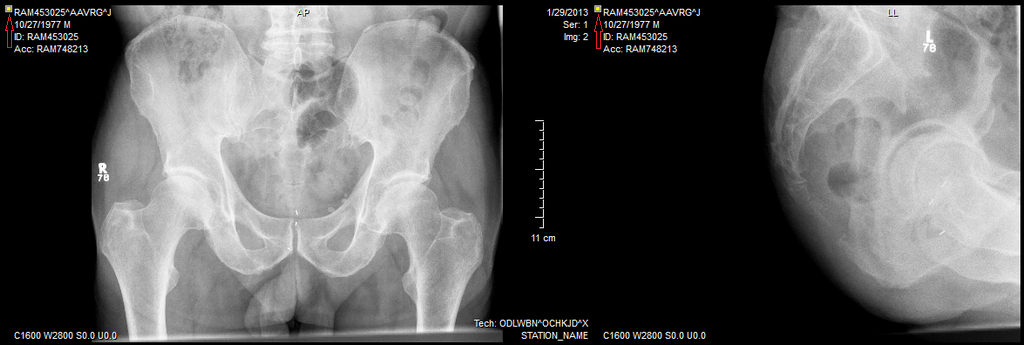
Select the desired images by clicking on it. Hold Shift key for continuous selection, Ctrl key for random selection.
-
All selected images will be highlighted with a solid tiny square box on the top left corner in the viewport of each selected image as shown below.
-
Select File > Export... to open the Export Image window.
-
Select the location to export the files to.
-
Type in a file name in the File name text field.
-
Click the drop-down in Save as type and chose the appropriate format.
-
Click Save. A confirmation window appears after multiple images have been exported successfully.

-
The exported images are saved with incremental numbers appended to the end of the given file name. In this example, Import_Non_DICOM_Object2, so the files were saved with names Import_Non_DICOM_Object2-1.DCM, Import_Non_DICOM_Object2-2.DCM etc.
