How Do I Setup the Reports Export Settings?
The Reports Export Settings are various settings which allow exporting of reports in a desired format to a particular folder. The settings are accessed through Documents And Reports > Reports > Reports Export Settings.

Clicking on the export settings option opens the Reports Export Settings form. The form contains various fields which must be filled out for particular reports to be exported. Click on the New button to activate the form.

When the form is activated, choose a Facility from the list of facilities available.

Once the facility has been chosen, select an Export Type which is the type of file the report will be exported as. Currently the types of files supported for Export Type are PDF, DOC, DOC Body, RTF, RTF Body, Text Body, ChartScript XML DOC, ChartScript XML RTF and ChartScript XML ASCII. For ChartScript XML, please refer to the section What is ChartScript XML?

Once the Export type has been selected, select the actual file name by entering an easily recognizable name in the File Name field. Currently, PowerReader supports the following macros which can be entered in the File Name column:
- %PATIENTNAME%
- %PATIENTID%
- %ISSUEROFPATIENTID%
- %ACCESSIONNUMBER%
- %REPORTSTATUS%
- %PRIORITY%
You can enter multiple macros separated by a "-" separator.
Entering these macros in the File Name field will replace the name of the file with their values. For %REPORTSTATUS%, it will display the following report status:
- Preliminary Status = 'P'
- Final Status = 'F'
- Initial Addendum Status = 'A'
- Addendum Final/ Signed Addendum Status = 'AF'
If these macros generate a file name which already exists in the report export directory then the Report export service will append a number at the end of the name to make the name unique. If an unsupported macro name is added in the File Name field, then the field name will be visible in the File name. For example, if the un supported macro %LASTNAME% is entered in the File name, it will be displayed as LASTNAME in the exported file's name.

Once the name has been entered, select the Export Folder. It is the destination folder where the files will be exported to.
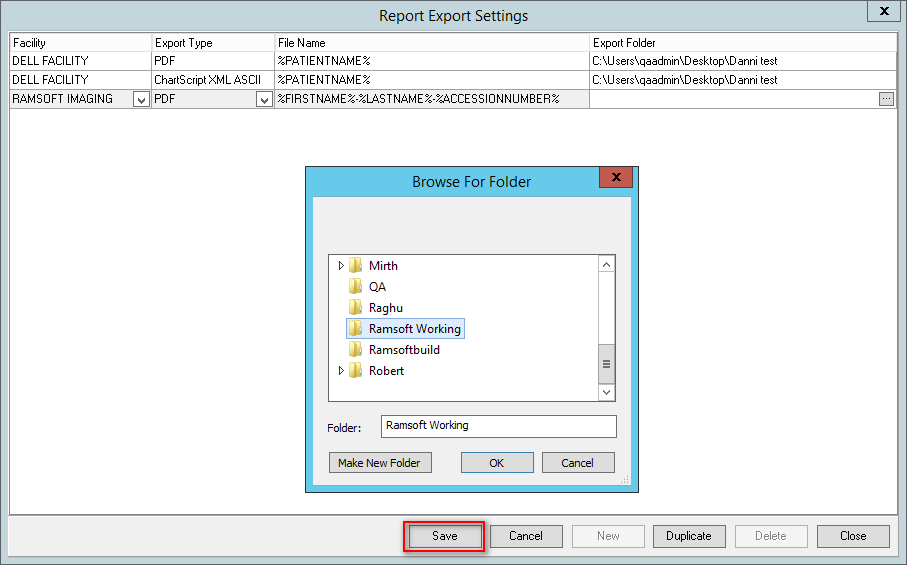
Once the export folder has been selected, click the Save button to save the export settings.