Using the Search List
The Search List is used to find a specific patient or study.

This dialog can be used to search for a specific study. To do so, simply populate the fields that you would like to search on and click the Start Search button. All the matching results will be found and displayed. If you would like to start a new search, the New Search button can be used to empty all the search fields and removes any existing criteria.
The studies displayed in the Search List are color coded by statuses. Every status in the system has a color associated with it. Aside from a status, studies can also have a priority associated with them. A priority also affects the appearance of the study in the worklist. STAT studies appear in a bold red font. HIGH priority studies appear in a bold green font. MEDIUM priority studies appear in a bold black font. Finally, ROUTINE priority studies appear in a regular black font.
The width of the columns can also be altered. To do so move the mouse to the edge of the column heading you would like to modify and click and hold the left mouse button. When the column divider line will appear, drag the line to the left or right until the desired width is achieved.
At any point, the list can be sorted by any of the columns. To sort by a specific column simply click on that column heading. An arrow head will appear in the column indicating that this is the column that the list is currently sorted by. The direction of the arrow indicates whether the sort is ascending or descending. Clicking the column heading a second time will reverse the order of the sort. You can also sort the search list by multiple columns. To sort by multiple columns, press Shift and click on the columns you want to sort by. An arrow head will appear in each column selected, indicating that these are the columns that the list is currently being sorted by. To deselect any of these columns selected, simply press Ctrl and click on the columns you want to deselect. The arrow head visible in the unselected column will disappear indicating that this column is no longer being to sort the list.

The columns being displayed can also be modified. Columns currently displayed that you do not want to use can be removed, while new columns can be added. To modify the list of columns click the ![]() button located to the left of the column headings. This will open up the following list.
button located to the left of the column headings. This will open up the following list.
| Column Configuration | Details |
|---|---|
 | Placing a tick next to any of the headings, will place that column in the list. Emptying the box beside any heading, will remove that column from the list. NOTE: The Age column will display the age of the patient at the time of the examination. |
All the groups may be expanded and collapsed using the Expand and Contract Groups ![]()
![]() buttons.
buttons.
Here a study can be located based on any of the twenty two (22) search fields available. To search a specific study, simply populate the fields that you would like to use as a search criteria and click the Start Search button. All the matching results will be found and displayed. If you would like to start a new search, the New Search button can be used to empty all the search fields and removes any existing criteria.
The last section is the patient search mechanism. This is accessible by clicking the Patients tab.
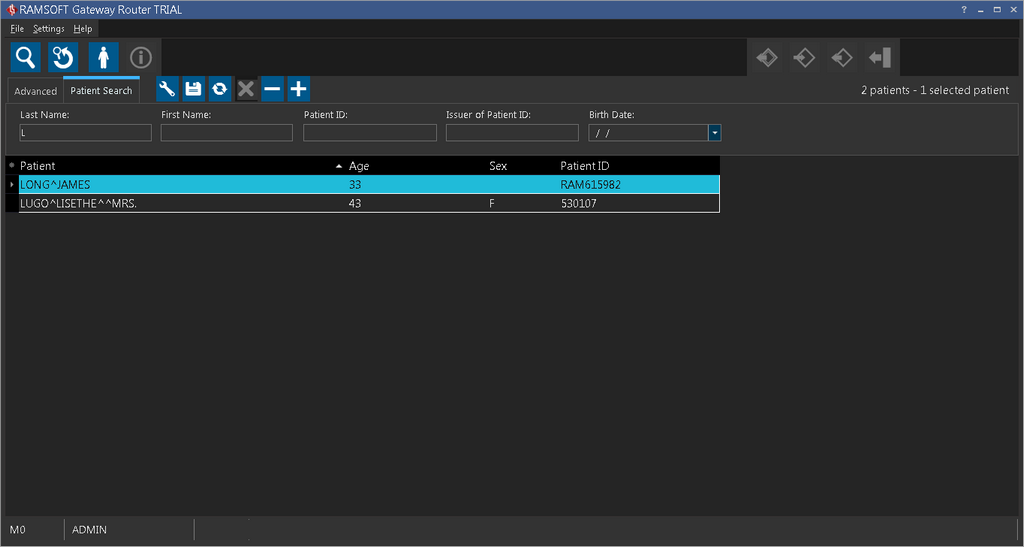
Here you can perform a search for any patient in the system. Even if a patient study has been deleted, the patient would still come up in this listing.