Scheduling Reports
Reports can be scheduled to run at regular intervals with different parameters by selecting the Schedules option from the main menu.
Schedule a Report
-
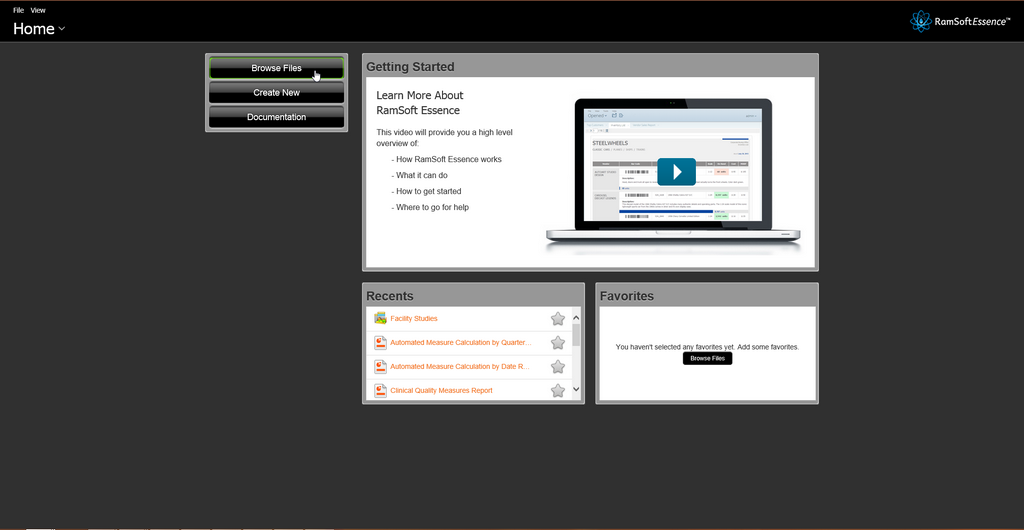
Login in to Essence, and click Browse Files to browse to the location of the report.
-
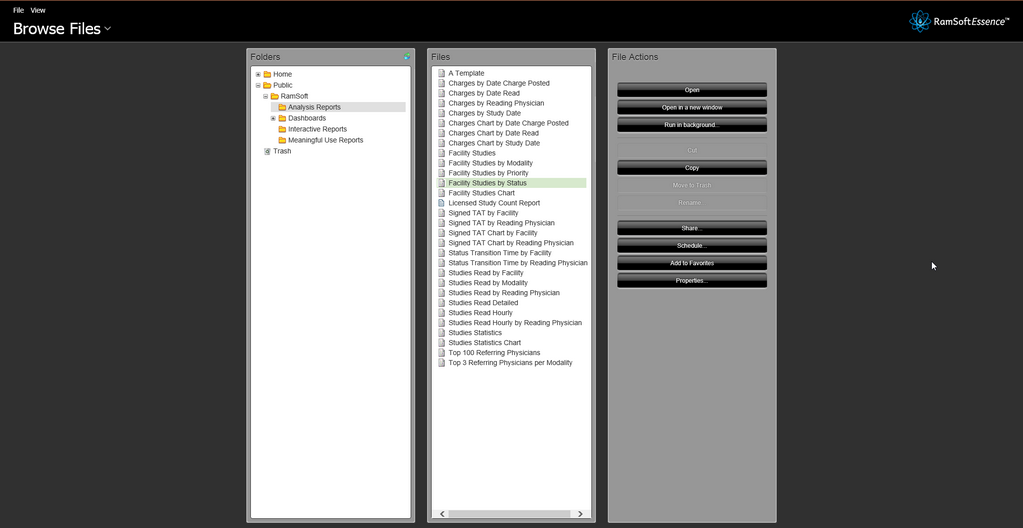
Double-click the folder containing the report in the Browsing pane on the left, and click to select the report you want to schedule from the middle pane. The File Actions pane on the right of the Browse Files window populates with a list of actions for the selected report.
-
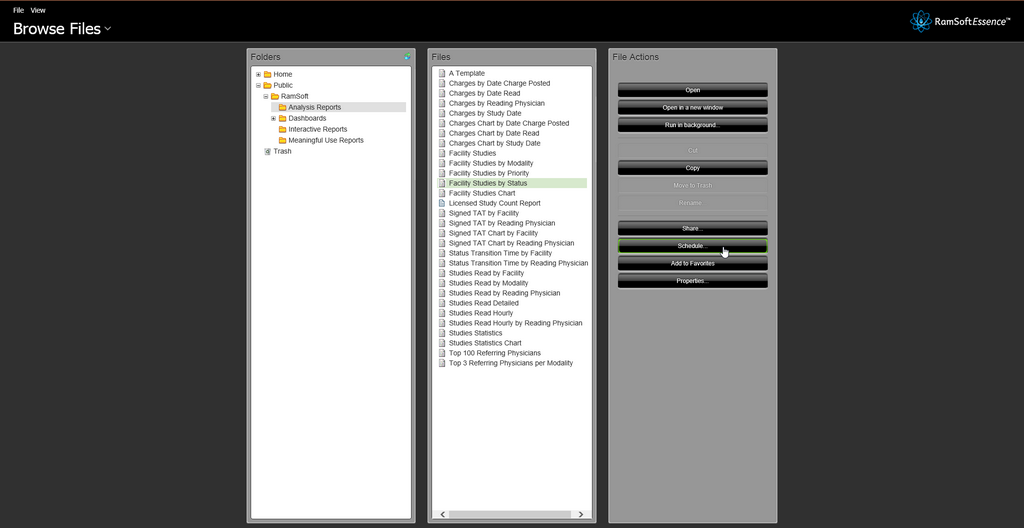
Select Schedule from the File Actions pane.
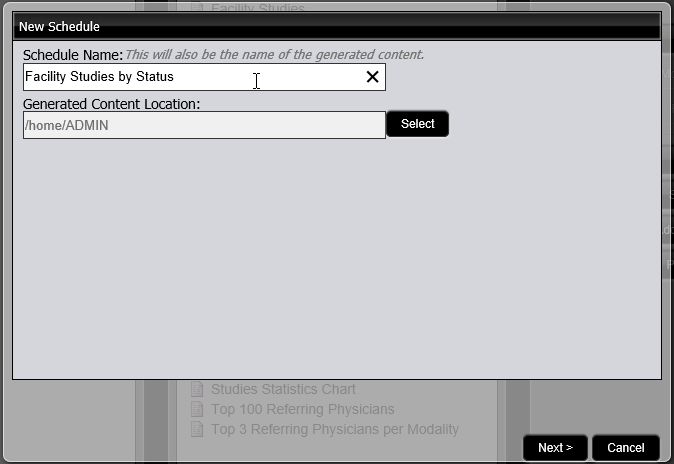
The New Schedule Window appears.
-
Enter a name for the schedule in the Schedule Name field. If no name is entered, the default is the name of the report file.
-
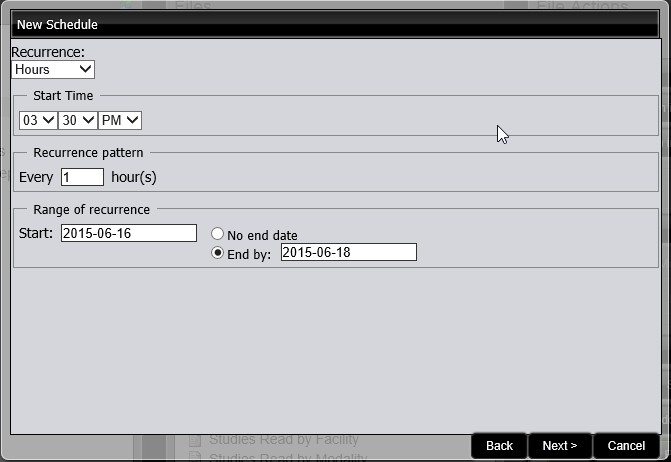
Click Next. Choose a time interval for the report from the Recurrence list.
-
Choose a Start Time and a Recurrence Pattern, as well as Start and End Dates for the report. Click Next.
-
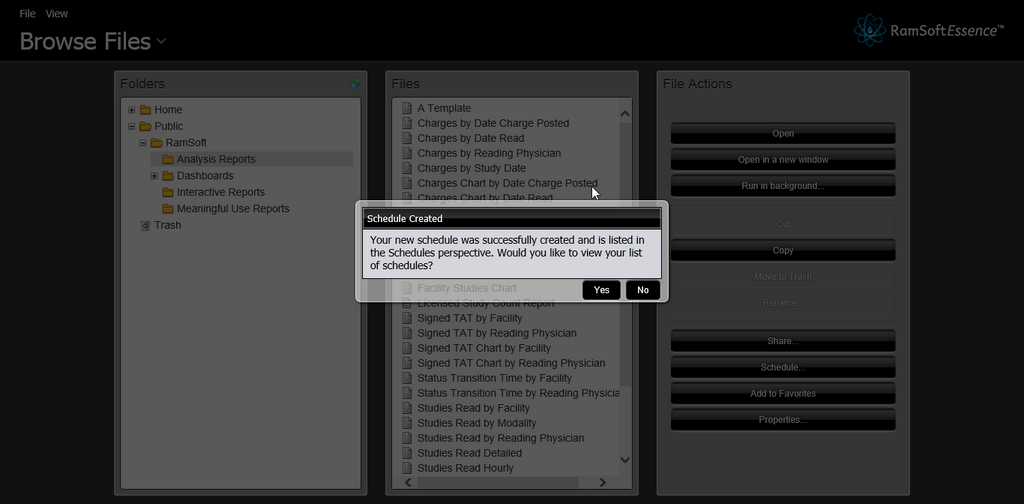
The Schedule Created confirmation message appears. Click Yes to view your list of schedules.
-
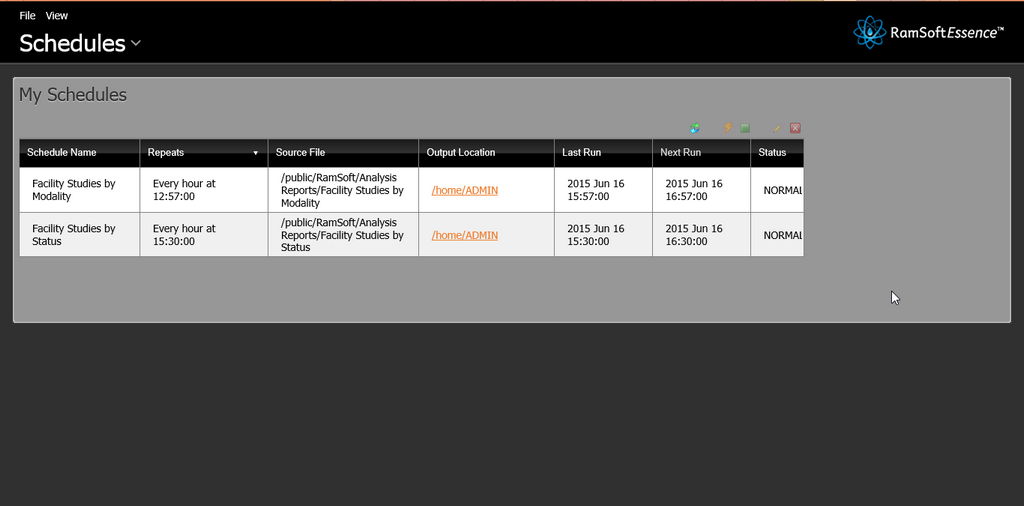
The schedule is created and appears in the list in the Schedules window of the console.

Edit a Schedule
A schedule can be edited to change the frequency of the scheduled report and report parameters.
- Click the Home drop-down menu and click the link to Schedules. The list of schedules is displayed.
-
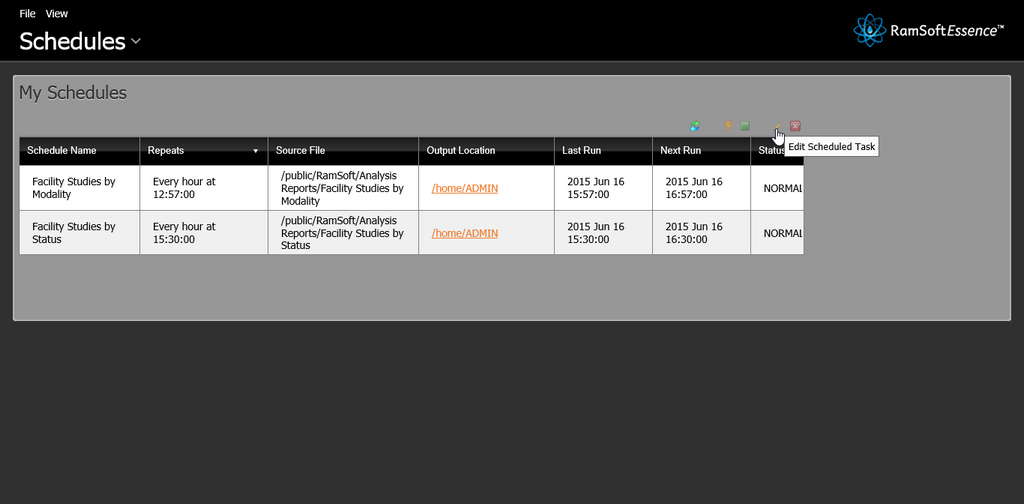
Click the schedule to be edited and click Edit in the scheduling toolbar.
-
Edit the Schedule Name or the Generated Content Location if required. Click Next.
-
Choose a new time interval for the report from the Recurrence list.
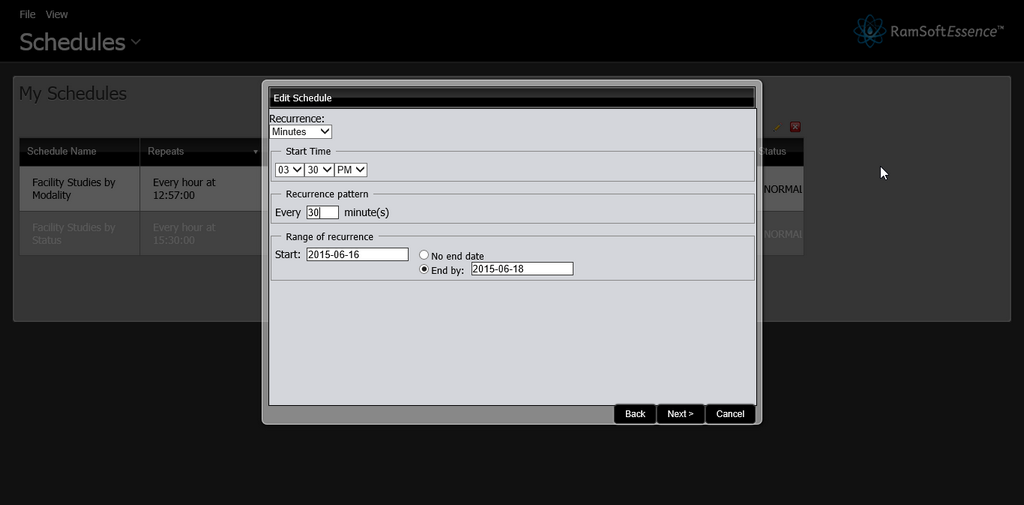
-
Choose a new Start Time and Resource Pattern, as well as new Start and End Dates for the schedule. Click Next.
-
Choose what type of file you would like the schedule to create from the Parameters field. Click OK.
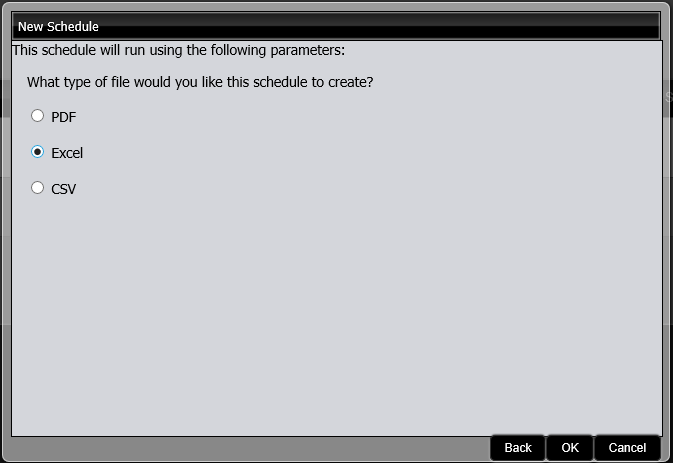
The Schedule Update confirmation message appears.

- Click OK.
Delete a Schedule
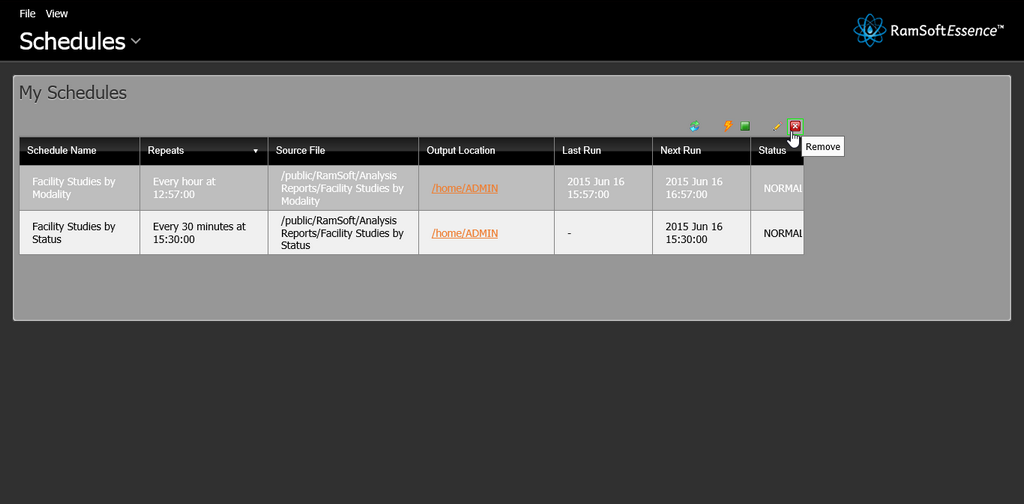
- Click the Home drop-down menu and click the link to Schedules. The list of schedules appears in the My Schedules page.
-
Click the Schedule that you want to delete in the list. The schedule is highlighted.
-
Click the Remove button in the upper right of the My Schedules toolbar to delete the highlighted schedule.
The following warning message appears confirming the deletion.

-
Click OK. This deletes the selected schedule.
If you want to execute or run a schedule before the scheduled time, click the ![]() icon to process the report. The report will be saved in the selected location once it is complete.
icon to process the report. The report will be saved in the selected location once it is complete.
Click the ![]() icon to stop the Scheduled task. Restart the schedule by clicking the
icon to stop the Scheduled task. Restart the schedule by clicking the ![]() icon.
icon.