Creating a New Study
A new Study can be created for the selected/highlighted patient by clicking the Create a new study for this patient ![]() icon on the toolbar menu. The Study Info Detailed form is displayed. Alternatively, click on the New Study button in Patient Info.
icon on the toolbar menu. The Study Info Detailed form is displayed. Alternatively, click on the New Study button in Patient Info.
The section Using the Search List contains details on how to search for a patient.
Note that the Create new study for this patient icon is disabled if neither the patient or an existing study selected.
To create a new study for a patient, perform the following steps:
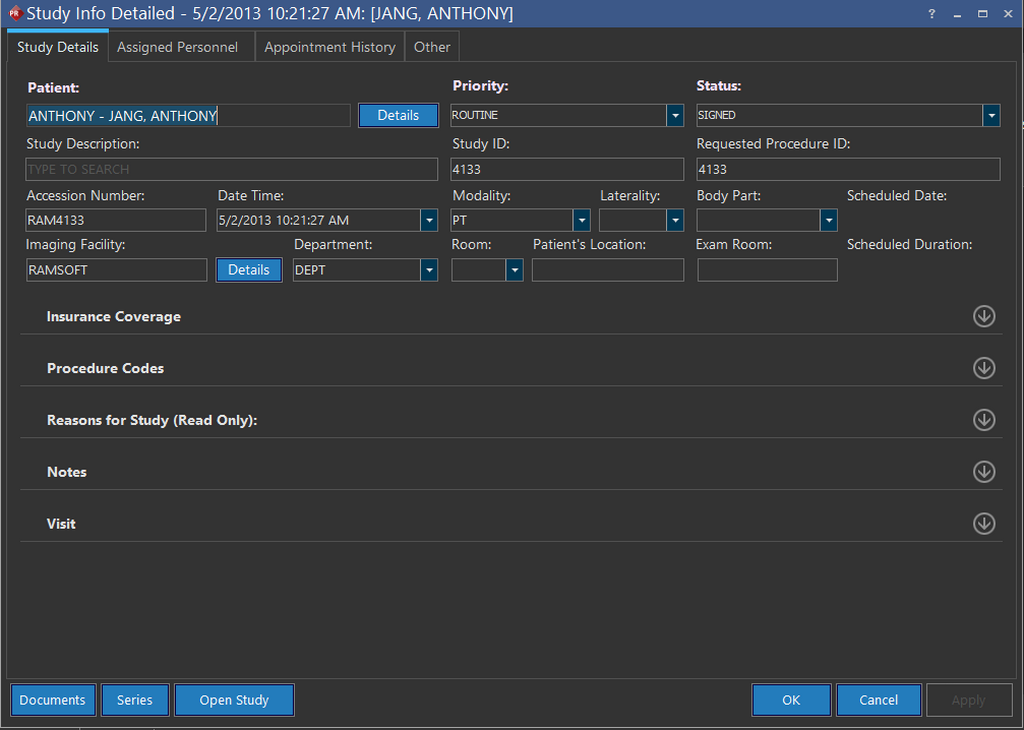
- Enter the study details. The Patient name is populated by default with the selected patient name and patient ID. The Priority and Status fields are mandatory.
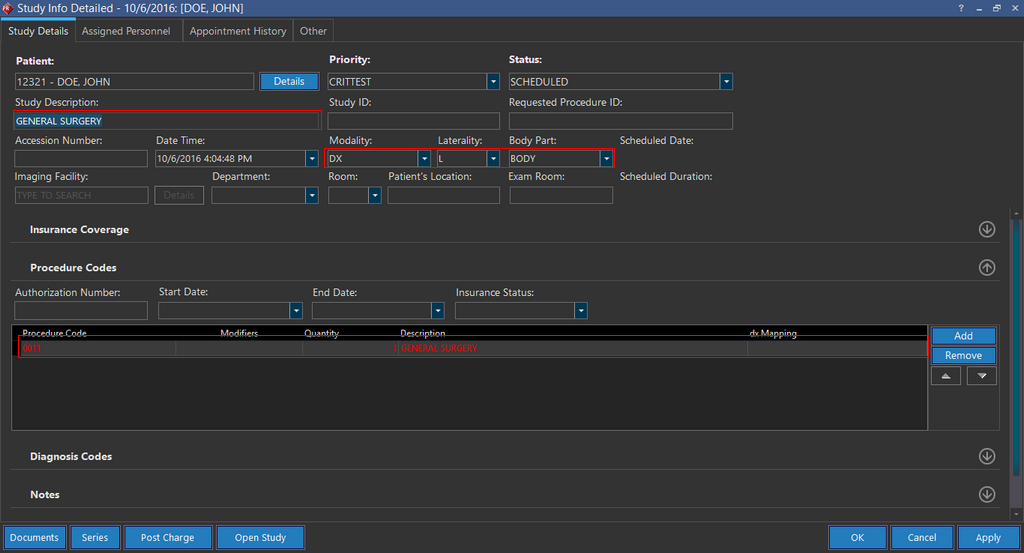
- Enter the description for the study. The Study Description is a meta-search enabled field. The moment you enter the study description, the Modality, Laterality, Body Part and Procedure Code information is populated automatically. Note that modifying the Study Description at any time would overwrite these fields (Modality, Laterality, Body Part) with associated information. Users would be prompted with a option to change the Procedure Code accordingly. If you wish to change the information for these at a later stage, you can individually make changes to the specific field.
- Enter the facility information.
- Provide the reasons for study, diagnosis codes, any additional notes and the visit details by clicking on the expandable/collapsible
 icon for the respective field.
 - Click on the Assigned Personnel tab and assign the Referring Physician for the study. The Facility field is auto-populated if there is only one Facility associated with the Physician.
- Click OK to create the study.
For more information on the Study Info dialog, please refer to the topic on Study Info.