Setting up Shortcut Keys on a Philips SpeechMike Button
The Philips SpeechMike is versatile in that it allows the user to configure its buttons to perform various operations. As PowerReader also allows the use of shortcut keys, these two can work seamlessly to provide the user more control over their dictation experience.
Steps to assign shortcut keys to a Philips SpeechMike button
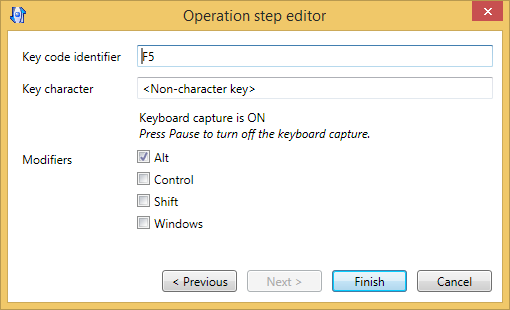
For this tutorial, the Function Key 1 on the SpeechMike will be configured to be the same as the Next Study shortcut key (Shift + F5) on PowerReader.
- Connect your Philips SpeechMike to your workstation.
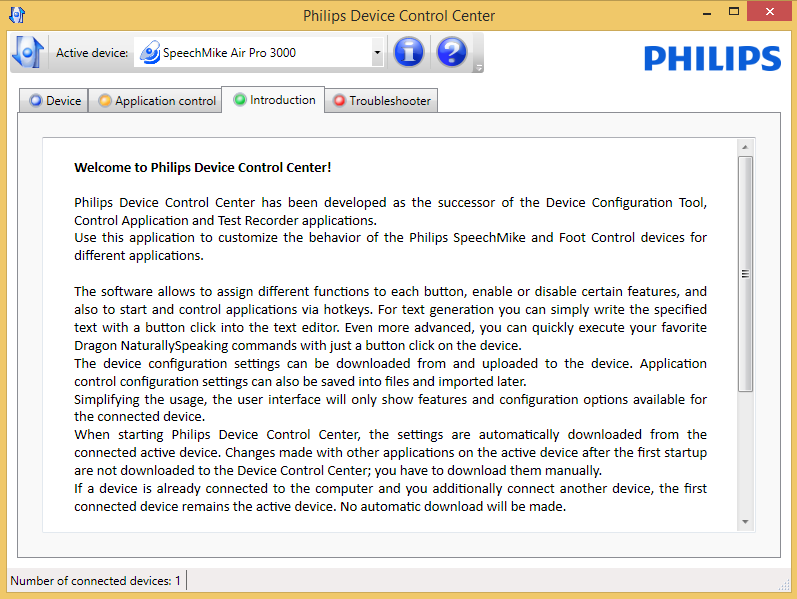
- Open the Philips Device Control Center.
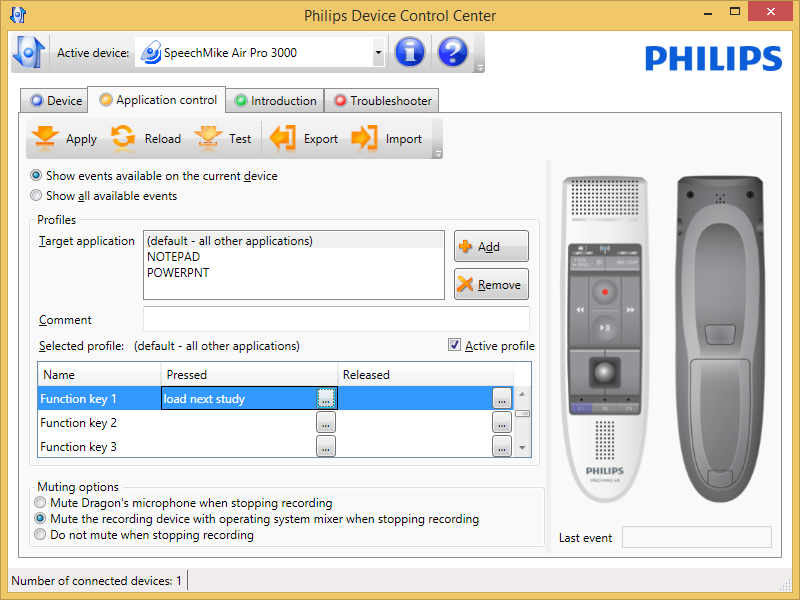
- Once the application is opened, click on the Application control tab.
- Below the Name heading is a list of SpeechMike buttons that can be configured. Click on the ... button under the heading you wish to configure (Pressed or Released).

- When the Edit Operation dialog appears, enter the Name for the operation you wish to configure.
- Click the Add button.

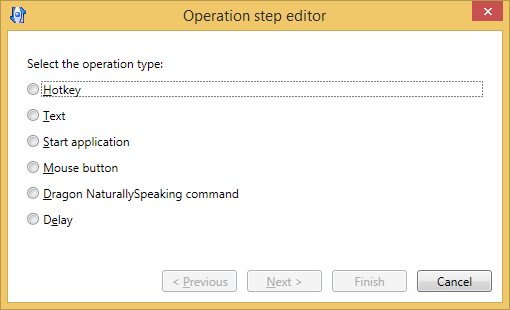
- Select the operation type as Hotkey.
- Click Next.
- Here, while it displays Keyboard capture is ON, input the shortcut key combination. It will display in the Key Code Identifier field, and if applicable the Key Character field. The appropriate Modifiers (Alt, Control, Shift, Windows) will be checked off.
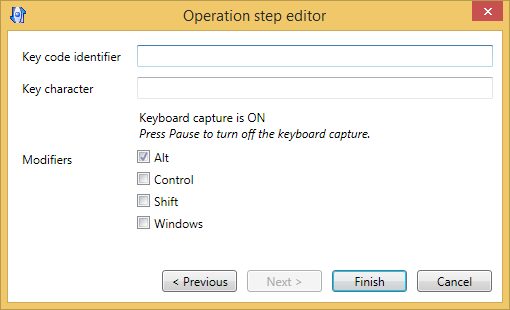
- Click Finish when you are done.
-
Click OK to finish configuring the SpeechMike button.
-
In the Philips Device Control Center, the name you have given the shortcut is now displayed beside the button name.

- Click Apply to save your changes.
- Close the Philips Device Control Center.