Adding New Users
Before creating new user accounts, make sure you have set up appropriate roles and groups. Information on those can be found in the Creating & Administering Users section. The Users tab is used to define all users of the system such as Administrators, IT, Transcriptionists, Technologists, etc. However, the Referring Physicians are defined in the Referrers tab. The Reading Physicians and Performing Physicians are defined in the Providers tab. If a Referring or Performing Physicians is created in this tab, it will be automatically moved to the respective tab i.e Referrers or Providers after the User has been saved. Once you are ready to proceed, open the Users tab by clicking Settings > User and facilities.
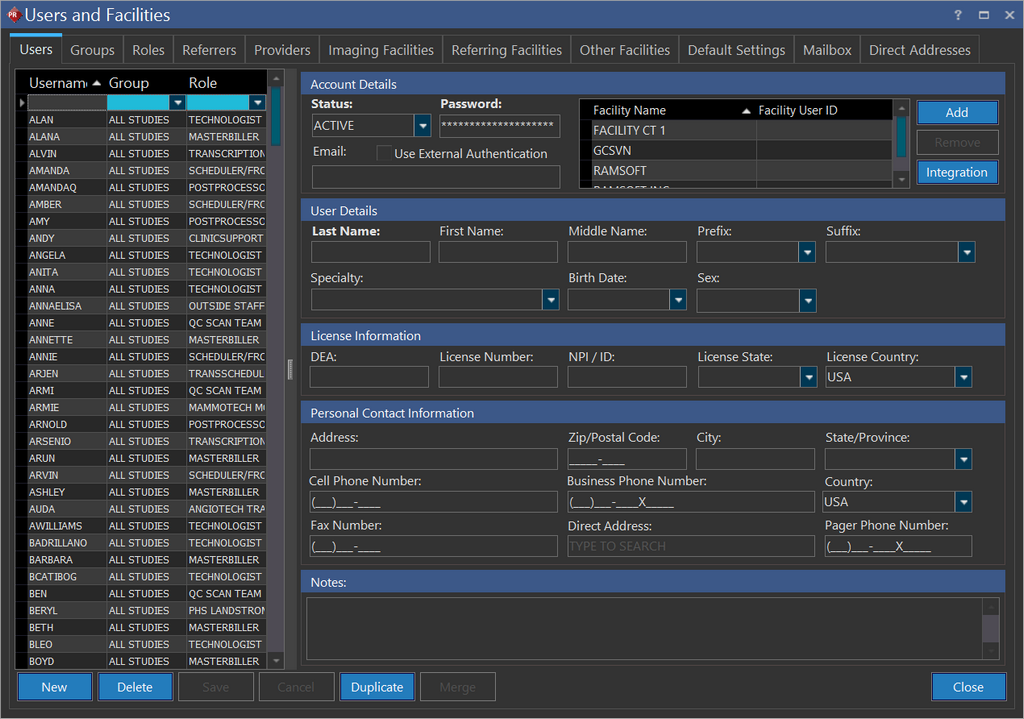
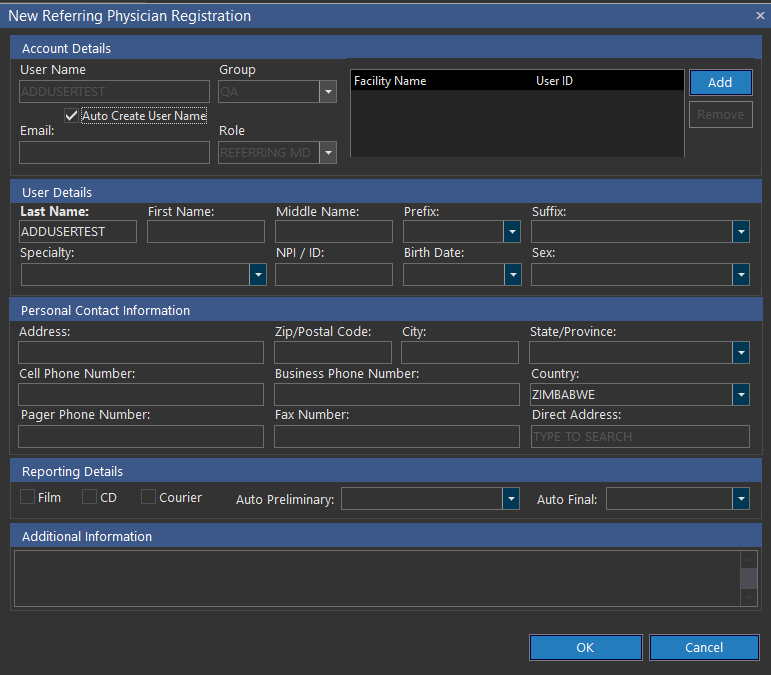
- Click the New button to add a new user. This will add a new blank entry to the list indicating where to populate the username.
-
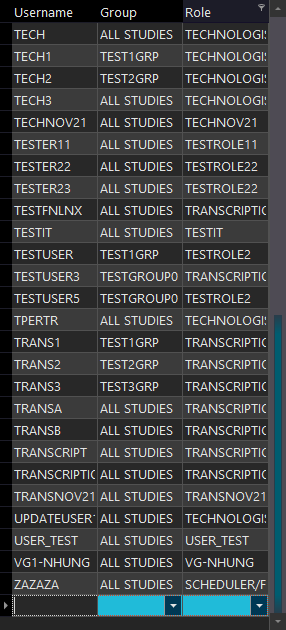
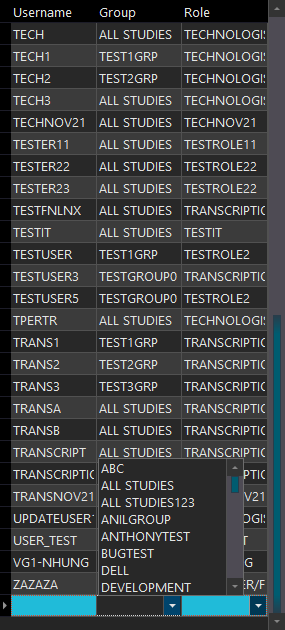
Enter a new Username and choose the appropriate Group from the drop-down menu. A Username can be a maximum of sixty four characters long.
-
The default role for the group chosen will automatically be populated in the Role drop-down menu. This can be changed if desired. The config entry Use Group Default Role will be assigned if the default role is checked off for the Group. If you wish to create a user with a predefined group and Facility list, login with a specific User ID. When you start creating a new User, the newly created user will automatically inherit the login's Facility List and Group.
-
On the right hand side fill in all of the users details. The fields Password and Last Name are required. The Password cannot be the same as the Username.
-
In PowerServer, there is an option to Use Active Directory Authentication in the Account Details box. When this box is checked and proper setup has been performed (please see the RamSoft Service Manual for the setup procedure), Active Directory usernames and passwords are used to login.
-
Other fields such as Physician Specialty, NPI number, Physician Birth Date and Sex are optional. However, the system administrator has the option to make these fields mandatory if desired.
-
A new feature of PowerReader is the Facility Name and Facility User ID field.

Once the user clicks on the Add button, a drop-down list of facilities is available. The list contains various facilities defined in the Imaging Facilities, Referring facilities and Other facilities tab. The following rules apply in regards to Facility Name and user ID:
-
a. Once a Facility Name and Facility User ID has been entered and saved in the field, the user becomes a part of the Users list in the facility tab. Once a user becomes member of a facility, the Workflow triggers, Station lists etc will be filtered to display only those items that belong to that facility.
-
b. If a user is a member of more than one facility, the user will appear in the Users list of those facilities in the facilities tab.
-
c. If you have logged in as the system wide admin, only restrictions of the group you are a part of will apply. No restrictions regarding facility will be applicable in this case.
-
d. However, if the logged-in user is not a system wide admin (e.g. local admin), the Facility Names will be filtered to display only those facilities the user belongs to.
-
e. Hence, an admin user (not a system wide admin) will be allowed to create new users which are restricted to all or a subset of the facilities the admin is a member of.
-
f. If the user is not associated with any facility, then there won't be any facility filtering.
-
g. Users will not be allowed to remove themselves from the facilities they belong to.
Only the reading physicians and performing physicians have the privilege to sign the report. The electronically signed report will have their signature in the Report Signature section as shown below.

- Click Save.
Adding Users via Study Information: Assigned Personnel
New users can also be added on the fly in the Study Information: Assigned Personnel tab. To access the Study Information window, right-click on the study and click "Study Information". Then click the "Assigned Personnel" tab.
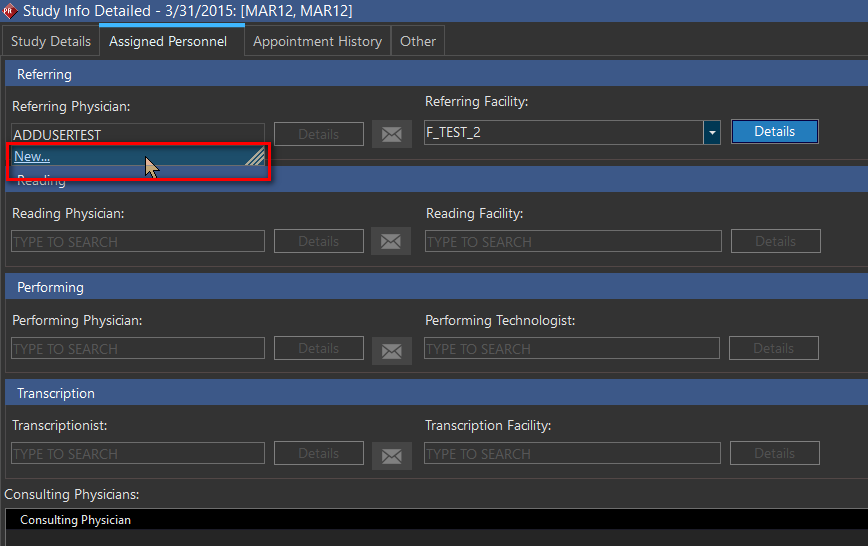
Type the name of the new user and click "New". The following popup is displayed.
Enter the relevant new user info and click "OK".
A user that is limited to accessing only certain facilities can create new users that are associated with at least one of the facilities he or she is associated with.
Integration Accounts
For a specific user, you may want to view/add/delete information regarding the account details that the user would use to access other applications. You can do this by performing the following steps:
-
Click the Integration button in the Account Details section.
The Integration window appears listing existing applications that the user has access to along with the login information for the applications.

-
Click Add and select the required applications from the drop-down box and enter the account information. Note that you cannot leave the Password field blank.

Note that the Add, Delete, Save and Cancel buttons are now enabled.
-
Click Save.
-
Click Add to add more application accounts information.
If you want to delete any existing account information, click the Delete button. A confirmation message appears confirming the deletion.