Resources
Resources are the different types of internal facilities of a department. This feature allows you create, modify, delete, and duplicate the internal facilities of a department.
Prerequisite:
To create a resource, at least one department and room should exist already.
How to create Resources?
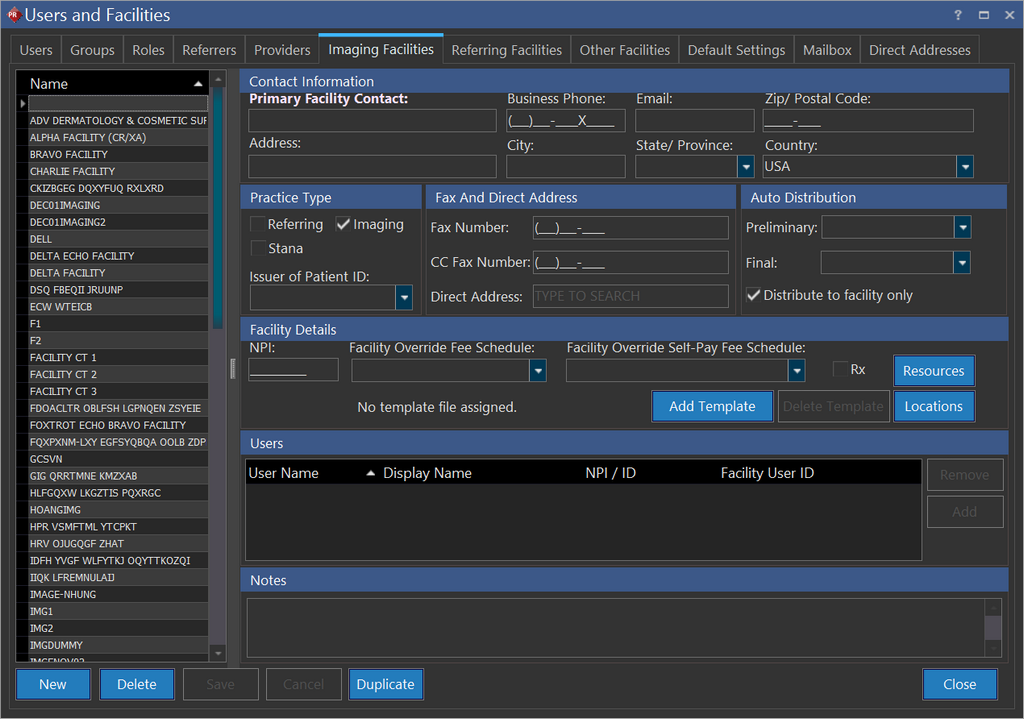
- Click Settings > Users and Facilities > Imaging Facilities tab to create a new imaging facility. Imaging Facility tab appears as shown below.
- Click Resources. Resources screen appears as shown below.
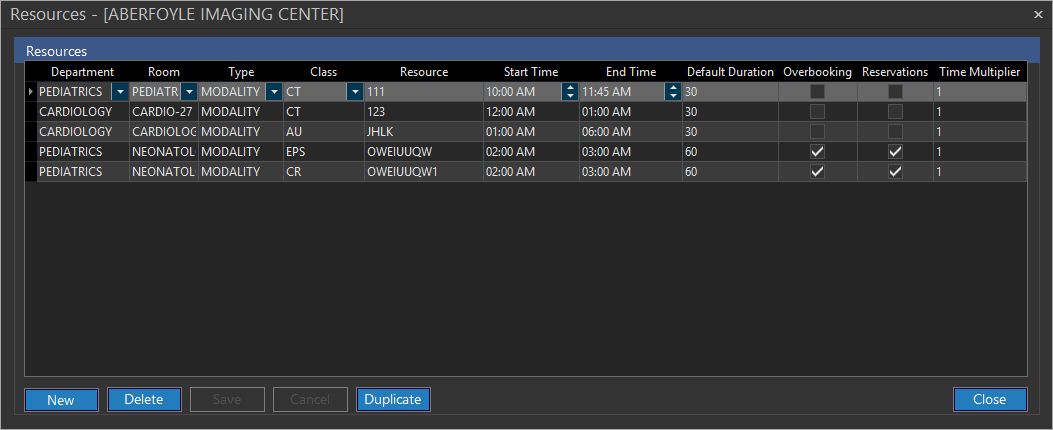
| FIELD NAME | DESCRIPTION |
|---|---|
| Department | The department to which this resource belongs |
| Room | The room in which this resource belongs |
| Type | The type column allows you to select the type of resource. i.e., Modality |
| Class | The class is dependent on the type of resource chosen |
| Resource | The resource column sets the resource's name. This value cannot be duplicated in further entries |
| Start Time | It denotes the commencement time of the resource. This is visible in the scheduler. Note: When scheduling an appointment, the Default Time Duration (configured in the imaging facility's Resources form) is used to reserve time when no study type has been determined. If the study is associated with a particular study type, the duration of the appointment will be set to that study type's duration. To find out more about study types, see Study Types. |
| End Time | It denotes the closing time of the resource. This is visible in the scheduler |
| Default Duration | This duration is the time reserved during appointment scheduling. This is the duration of the temporary blocked time when an appointment is being created. |
| Overbooking | Overbooking determines if multiple studies can be scheduled in the same time slot of a resource |
| Reservations | Reservation determines whether a time slot can be blocked. You may block any time interval for any purpose. For example maintenance, lunch |
| Time Multiplier | The default duration of the Appointment created is the Study Type's Duration x Time Multiplier |
- Click New to create a resource.
- Click the Department drop-down menu and select the desired specialty.
- Click the Room drop-down menu and select the name of the room available for this resource. If a Department has only one Room, it will be selected automatically when you choose the Department.
- Click the Type drop-down menu and select.
- Click the Class drop-down menu and select the desired specialty.
- Type in the name of the resource in the Resource text field.
- Click up/down arrow in the Start Time and select the commencement time of the resource.
- Click up/down arrow in the End Time and select the closing time of the resource.
- Type in the expected duration in the Default Duration to reserve the resource.
- Check the Overbooking checkbox if multiple studies could be scheduled in the resource.
- Check the Reservation checkbox if your business demands to block timings for a time slot.
- Type in how many time multiplier the resource would require to conduct a study.
- Click Save.
For the RamSoft products that have no RIS license, instead of adding resources, Imaging Facilities tab has different interface to add locations and their details on Imaging Facilities tab under Facility details.

How to duplicate an existing Resource
If your business demands to create a new resource which is almost similar to an existing resource, you can make use of this duplicate feature.
- Select the resource which is most similar in functionality from the list available.
- Click Duplicate. Upon click, the application will create a copy of the chosen resource.
- Do the necessary modifications in the required fields if required and change the name of the resource.
- Click Save.
Deleting a Resource
A Resource can be deleted by pressing the Delete button and confirming the dialog. Any Resource scheduled with appointments cannot be deleted.