Dragon NaturallySpeaking
Note: This guide is for Dragon NaturallySpeaking, there is a different guide for Dragon Medical One
In PowerReader, voice recognition has been enhanced to enable a radiologist to provide certain commands for increasing productivity within the Workflow. These commands are in accordance with Dragon. The user must have Dragon installed on their station to use the following commands.
Setting up Dragon
Upon installing Dragon software, activate it through the following steps:
-
Click Settings > Client Integration Setup.
-
Click on the VR Integration tab.

-
In the Dragon Integration section, the user has four options Dragon Integration Enabled, Auto-Load Current User Profile, Enable Voice Command and Enable Sign Report Voice Command available to them.
a. The Dragon Integration Enabled option integrates Dragon with PowerReader and opens Dragon anytime the report module has been opened.
b. The Auto-Load Current User Profile enables all the dictations and queries incorporated into Dragon by the user.
c. The Enable Voice Commands (Disable this option if you are having any problems with the Dragon Integration) option is turned off by default and can be activated by checking the Dragon Integration Enabled option. This option enables commands used by PowerReader while using dragon (These commands are listed in Table 1 below). These are not default Dragon commands but they are provided by RamSoft to perform certain actions while using Dragon (such as Go to Template or Sign report etc).
d. The Enable Sign Report Voice Command is enabled when the Enable Voice Commands Option is turned on. It allows the user to use the Sign Report voice command.
-
After the changes have been saved, restart PowerReader. Upon restart, you will notice a Red Mike icon on the task bar. This confirms that Dragon has been enabled along with PowerReader.
Dictating with Dragon
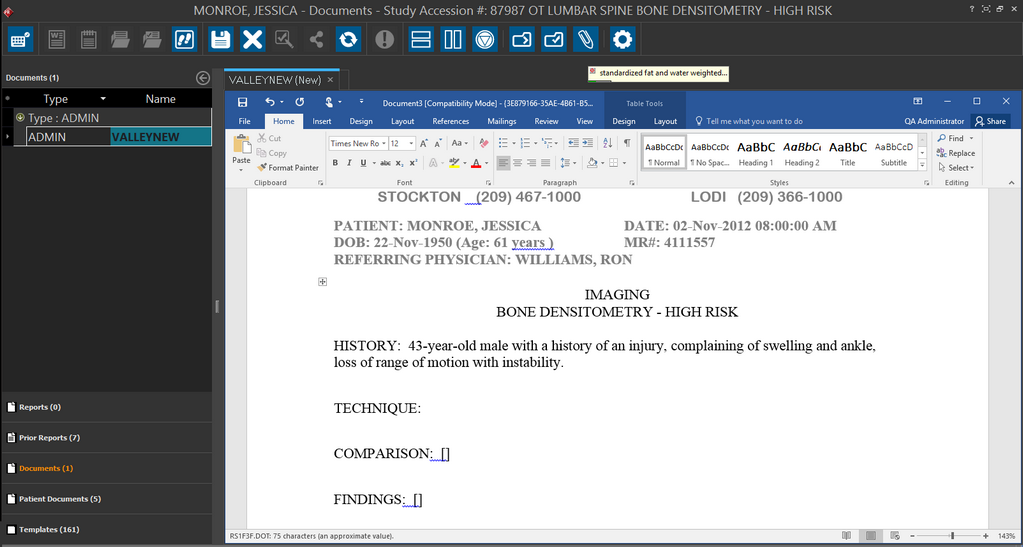
- In order to start dictating, open the Report Module of a study. Once the Report Module has been opened, the red mike icon will turn green. This means that Dragon is ready to take your commands and/or dictate a report.
![]()
- After the Report Module has opened up, the Radiologist can use various commands in accordance with the software.
For Dragon text/graphic macros to work properly with PowerReader, the focus should be on the MS Word report and not on the PowerReader.
-
Note that when you open a text report with an existing addendum section, and try dictating into the text report right before the addendum section and save the report, the text gets displayed below in a different Addendum block in the Reports section. This is an expected behavior as with text reports, you have the Addendum bookmarks included in the template.
-
When you are dictating into a Word report, the new text gets saved in the same place (right next to the addendum section) as it is entered originally.
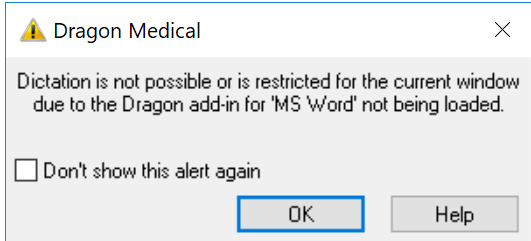
Note: if the following message is displayed in the Microsoft Word window upon opening a document, it can be ignored by clicking "OK". Dictation should resume as Dragon's Word plug-in is actually loaded already:
Commands list
The following list provides various commands used to operate the software. Once the Report Module has been opened, all of these commands can be used with a supported microphone.
The commands go to next variable/field and go to previous variable/field are recommended over next variable/field and previous variable/field, as they work on both protected and unprotected templates. Next variable/field and previous variable/field are also Dragon commands; when the focus is on MS Word, the Dragon command behavior will override the RamSoft command behavior, causing unexpected results.
Table 1:
| COMMANDS | ACTION |
|---|---|
| First Report | Open first report/document in the list |
| First Document | Open first report/document in the list |
| Last Report | Open last report/document in the list |
| Last Document | Open last report/document in the list |
| Previous Report | Open previous report/document in the list |
| Previous Document | Open previous report/document in the list |
| Next Report | Open next report/document in the list |
| Next Document | Open next report/document in the list |
| Go to Next Field | Same as the Dragon command 'Next Field'; moves the cursor to the next square bracket ( '[]' ) in the report |
| Go to Next Variable | Same as the Dragon command 'Next Variable'; moves the cursor to the next square bracket ( '[]' ) in the report |
| Go to Previous Field | Same as the Dragon command 'Previous Field'; moves the cursor to the previous square bracket ( '[]' ) in the report |
| Go to Previous Variable | Same as the Dragon command 'Previous Variable'; moves the cursor to the previous square bracket ( '[]' ) in the report |
| First Template | Open first template in the list |
| Last Template | Open last template in the list |
| Previous Template | Open previous template in the list |
| Next Template | Open next template in the list |
| Go to Reports | Opens up Reports group |
| Go to Prior Reports | Opens up Prior Reports group |
| Go to Documents | Opens up Documents group |
| Go to Patient Documents | Opens up Patient Documents group |
| Templates | Same as clicking Templates tab in Document Viewer; Opens Templates tab |
| Go to Study Documents | Same as clicking Documents tab in Document Viewer; Opens Documents tab |
| Go to Templates | Same as clicking Templates tab in Document Viewer; Opens Templates tab |
| Create Text Report | Create an empty text report/document |
| Create Text Document | Create an empty text report/document |
| Create Report | Create report/document from current template |
| Create Document | Create report/document from current template |
| Create Report From Template | Create report/document from current template |
| Create Document From Template | Create report/document from current template |
| Save Report | Same as Click Save button |
| Save Document | Same as Click Save button |
| Update Report | Same as Click Update button |
| Update Document | Same as Click Update button |
| Attach Report | Same as Click Attach button |
| Attach Document | Same as Click Attach button |
| Close Report | Same as Click Close button |
| Close Document | Same as Click Close button |
| Amend Report | Same as Click Amend button |
| Amend Document | Same as Click Amend button |
| Sign Report | Same as Click Sign button |
| Sign Document | Same as Click Sign button |
| Finish Check Report | Same as Click Check mark |
| Finish Check Document | Same as Click Check mark |
| Critical Study | Same as Click Critical Study button |
| Next Study | Same as Click Next Study button |
| Show <ReportName> | Show the report whose name is <ReportName> |
| Show <ReportName> 'Document/Report' | Show the report whose name is <ReportName> |
| Show <ReportType> | Show the report whose type is <ReportType> |
| Show <ReportName> <ReportType> | Show the report whose name is <ReportName> and type is <ReportType> |
| Show 'Public/Private' <TemplateName> | Show the template whose name is <TemplateName> |
| Show <TemplateName> 'Template' | Show the template whose name is <TemplateName> |
| Show <TemplateType> | Show the template whose type is <TemplateType> |
| Show <TemplateName> <TemplateType> | Show the template whose name is <TemplateName> and type is <TemplateType> |
While inserting special characters, these actions can be helpful:
Table 2:
| New Line | Press enter key once |
| New paragraph | Press enter key twice and capitalize next word |
| Tab Key | Press tab key |
| Space bar | Press the space bar |
The following voice commands can be helpful while making changes to the text:
Table 3:
| Scratch That | Delete last word dictated |
| Undo That | Undo last action |
| Select <Word> | Select a <word> in the report |
| Delete That | Delete selected word |
| Delete Line | Delete current line of text |
| Delete Paragraph | Delete current paragraph |
| Delete last Word | Delete last 'word' in the report |
To format existing text, the following command should be used:
Table 4:
| Bold that | Apply bold to selected word |
| Italicize that | Apply italics to selected word |
| Format that bold italic | Apply bold and italics to selected word |
| Underline that | Underline selected word |
| Format that plain | Remove all bold, italic and underlining |
| Format that caps | Change text to initial capital letter |
| All caps that | Change selected text to all uppercase |
| No caps that | Change selected text to all lowercase |
To change the formatting of the text, perform the following commands:
Table 5:
| Cap Word | Type the next 'word' with initial capitals |
| Caps on | Type all words with initial capitals after executing this command |
| Caps off | Stop typing words with initial capitals after executing this command |
| All Caps Word | Type the next word in capitals after executing this command |
| All Caps on | Start typing all words in capitals after executing this command |
| No Caps Word | Type next word in lower case after executing this command |
| No Caps on | Start typing all words in lowercase after executing this command |
To navigate inside the text, perform the following commands:
Table 6:
| Move Left <#> word(s) | Move cursor left by <#> of words |
| Move Right <#> word(s) | Move cursor right by <#> of words |
| Move up <#> line (s) | Move cursor up by <#> of lines |
| Move down <#> line(s) | Move cursor down by <#> of lines |
| Move to beginning of line | Move the cursor to the beginning of line. |
| Move to end of line | Move the cursor to the end of line |
| Insert before <Word> | Move the cursor to the point immediately before the <word> |
| Insert after <Word> | Move cursor to the point immediately after the <word> |