Visage
Visage CS Thin Client is a software used for 3D-based image interpretation, post processing and image distribution. Data from different modalities such as CT, MR, PET, PET-CT can be configured individually, based on user roles and display protocols. For further information, about Visage CS Thin Client, please visit http://www.visageimaging.com.
After installing Visage CS Thin Client C.S. 3.1 on the PowerReader, the following steps should be taken to complete the integration.
-
Open PowerReader and go to Settings - Client Integration Setup.
-
Click on the Visage Integration tab.

-
The Use Server Settings option is checked by default. If this option has been chosen, the system will use settings chosen in the Visage Integration settings form in the Maintenance module.
-
Toggle on the Visage Integration Enabled option.
-
Enter the Server Name.
-
Enter a valid DICOM server name in the Auto Retrieve Server path. The Enable Auto Retrieve option launches a study in visage from the specified DICOM Server, even if the study does not exist in the Visage server.
-
Enter your Visage username and Password.
-
If the Visage username and Password is identical to the PACS Login, then toggle on the Use PACS Login option.
-
The Lock Patient option locks the one patient that is loaded. If this option is checked off, users are not allowed to load image data of another patient.
-
The Hide Import Screen option hides the Visage WS/CS "import" screen.
-
Click OK and exit from PowerReader.
-
Login into PowerReader.
-
Locate and open a study with CT Modality which already exists in the Visage Server.
-
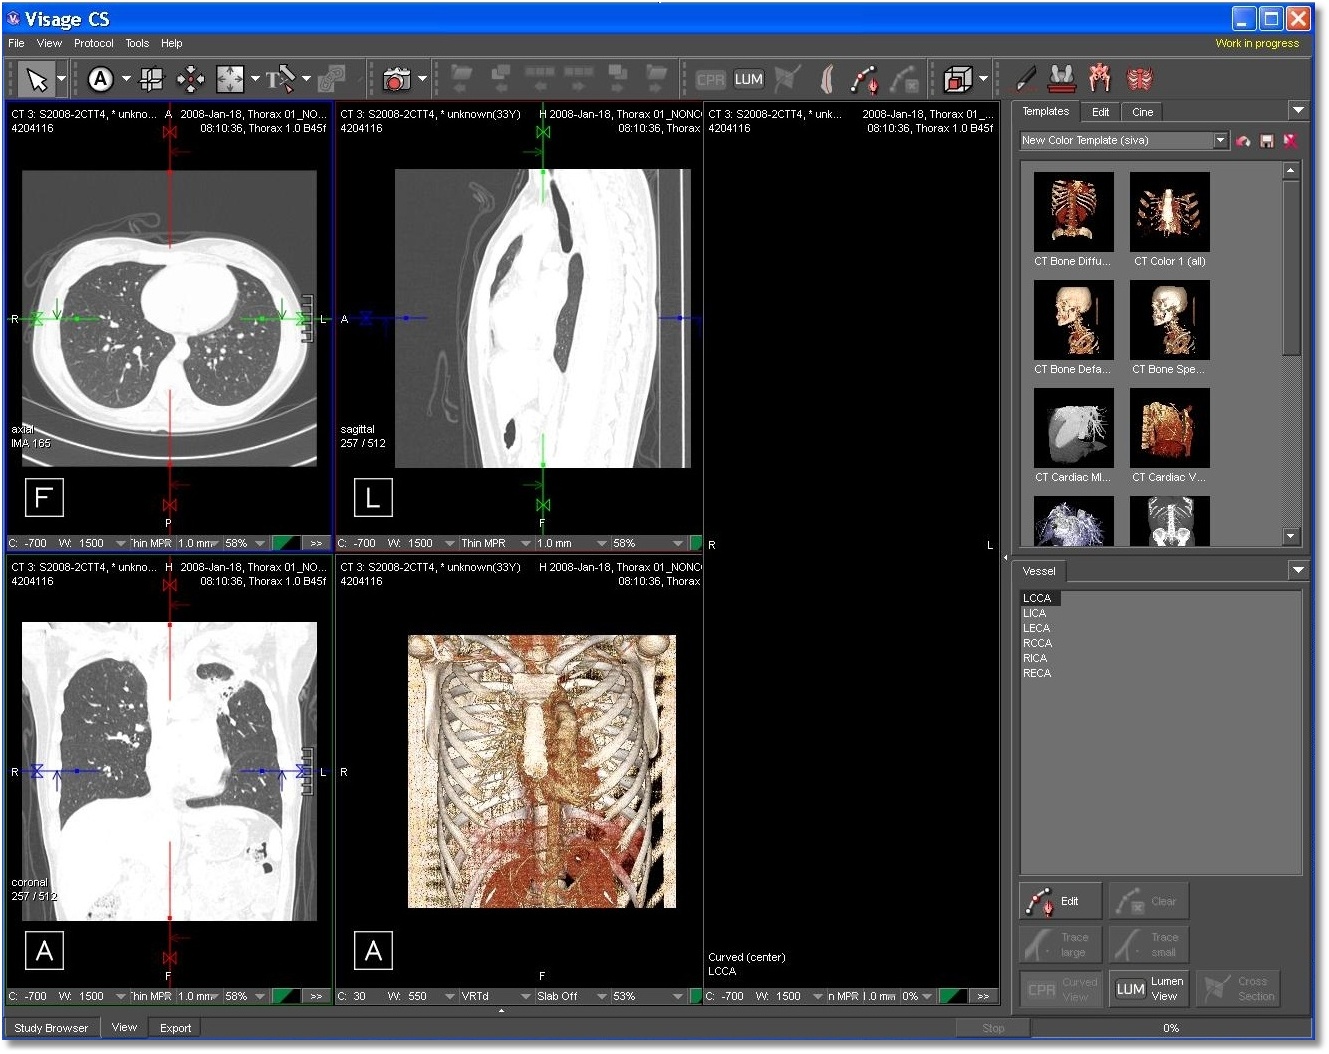
You will notice the Visage icon in the study desktop toolbar.
-
Clicking the icon will launch the Visage CS Window.