MyFax, Active Fax and InterFax
MyFax is an internet fax service that allows you to send and receive faxes by email either manually or automatically. This is a very useful tool which can cut down on overhead time by simplifying the faxing process. Active Fax is a software that facilitates network wide transmission and receipt of fax messages by e-mail. InterFax is another faxing tool which allows you a fast and simple use of fax services. RamSoft PowerReader has been designed to accommodate all of these software and users are given the option to choose either of them for faxing purpose.
Using MyFax
To send a fax through MyFax
Prerequisite: Powerserver must be licensed with the faxing option enabled. Contact RamSoft support for further information.
- Open RamSoft PACS Maintenance tool.
- Click Communication > Fax Settings > Setup. Fax Settings tab appears as shown below.

- Ensure MyFax radio button is selected in the Fax Settings form.
- Type in the username and Password in the respective fields.
| Field Name | Description |
|---|---|
| Page Tag Options | Displays different options on the fax cover page |
| Cover Page Name | Allows you select different templates for their faxes (you can also create and use their own templates from the MyFax website) |
- Type in the subject for the outgoing fax in the Fax Subject text field.
- Type in the sender's name in Fax Sender field (Facility Name can also be entered in this field).
- Type in the maximum number of attempts in the Autofax Retry Times field to send fax if it fails to send through at the very first instance.
- Click OK.
- Click Settings > Users and Facilities > Roles > Action tab. The Action tab screen appears as shown below.
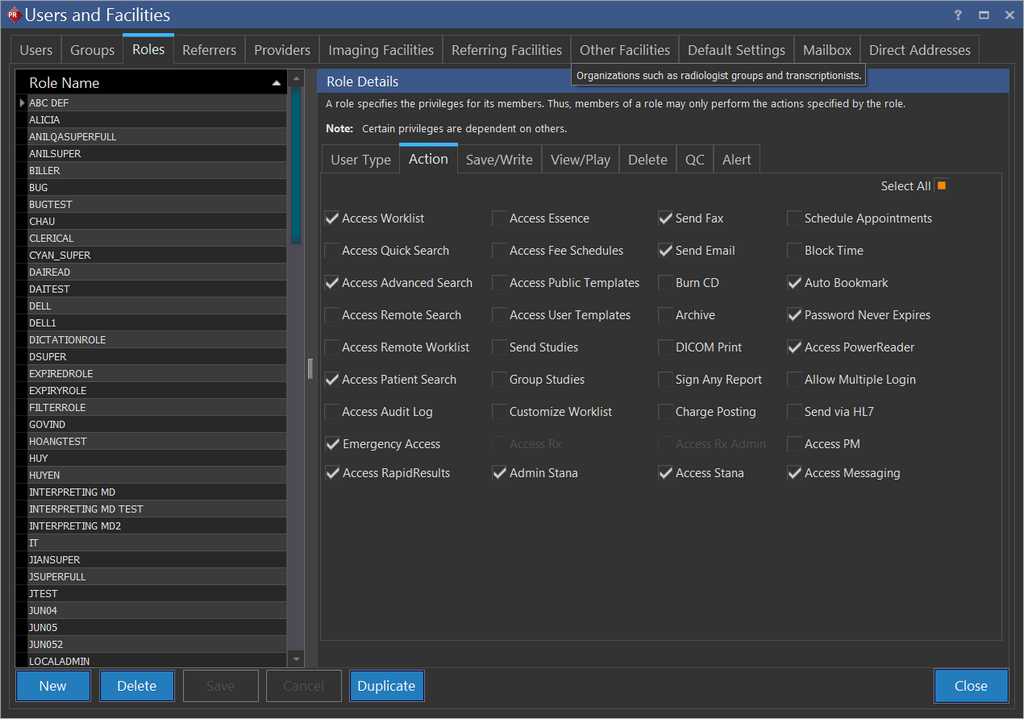
- Select the Send Fax checkbox. Only then you could fax. Supported formats for faxing include Microsoft Word and PDF reports.
- Click Save.
Using Active Fax
Active Fax is another faxing tool which allows you a fast and simple use of fax services. For more information on installing and configuring Active Fax, pleas refer to the topic Installing and Configuring Active Fax (ActFax).
To send a fax through Active Fax,
- Login RamSoft PACS Maintenance tool.
- Click Communication > Fax Settings > Setup > Active Fax tab. Active Fax tab appears as shown below.

- Click Active Fax radio button in the Fax Settings form.
- Enter the Active Fax username in the username text field.
- Click Browse to select a template for the outgoing faxes. The selected template name will populate in the Cover Page text field.
- Enter a subject for the outgoing fax in the Subject text field.
- Click Browse to select the fax outgoing path. The selected path will populate in the Fax Outgoing Path field.
- Click the Resolution drop-down menu to the quality of resolution for the outgoing fax.
- Type in the maximum number of attempts in the FaxAttempt Times field to send fax if it fails to send through at the very first instance.
- Define the time interval in hours in the Resend Inactive Fax Every drop-down menu to attempt sending the inactive faxes.
- Click OK.
- In Settings > Users and Facilities > Roles > Action tab. The Action tab screen appears as shown below.
- Select the Send Fax checkbox. Only then you could fax. Supported formats for faxing include Microsoft Word and PDF reports.
- Click Save.
Using InterFax
To send a fax by InterFax,
- Login RamSoft PACS Maintenance tool.
- Click Communication > Fax Settings > Setup > InterFax tab. InterFax tab appears as shown below.

- Click InterFax radio button in the Fax Settings form.
- Type in the username and Password in the respective fields.
- Type in a subject for the outgoing fax in the Fax Subject text field.
- The page content such as total number of pages, sender/recipient name must be typed in the Page Header field.
- Define the maximum number of attempts in the Fax Retry Times drop-down menu to send fax if it fails to send through at the very first instance. By default, it is set to five.
- The Chunk Size drop-down menu is used to define the size to be chunked from a large fax. If a fax being sent is larger than the size defined here, the fax will be broken into chunks. The broken chunks are then uploaded on the server. Upon uploading data, all the chunked parts are send together. This method allows large faxes to be sent without file size issues or timeout limits of a single upload. By default, the chunk size is set to 150 KB.
- Click the Page Orientation drop-down menu to determine whether the fax is to be sent as either portrait or landscape.
- Click the Page Size drop-down menu to select any one of the paper size to fit in the fax.
- You may check High Resolution and or Fine Rendering check-boxes to set high resolution quality of the fax. But, choosing these options will slow down the fax transfer process as the high quality files will be huge in size.
- Click OK.
Automatic Faxing
Automatic faxing allows you fax the reports to referring physicians, consulting physicians and/or the facility assigned to that study.
Automatic Faxing to Referring Physicians
- Automatic faxing occurs when the user advances a study with referring physician, consulting physician or facility assigned to the study that has auto faxing enabled or right click on the report and select Send To > Distribute to All Recipients.
- Click Settings > User and Facilities > Referrers tab. The Referrers tab screen appears as shown below.
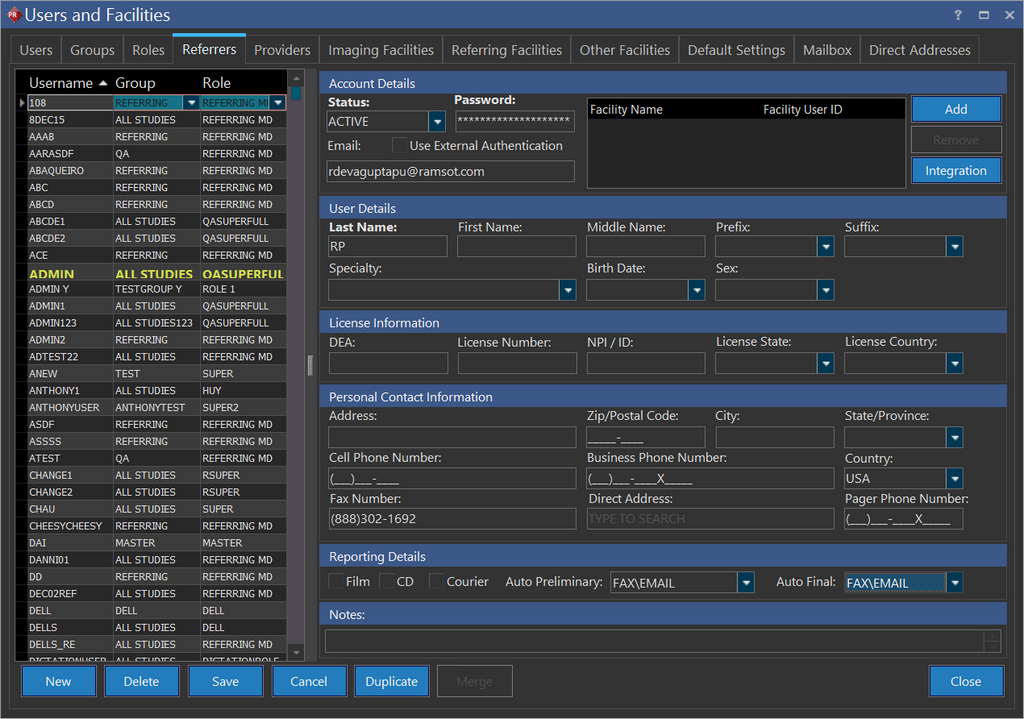
- Type in the referring physician fax number in the Fax Number field, Preliminary and or Final report type(s) must be checked in Auto Fax drop-down menu to enable auto faxing feature.
- Click Save.
Automatic Faxing to Imaging Facilities
- Click Settings > User and Facilities > Imaging Facilities tab. The Imaging Facilities tab screen appears as shown below.
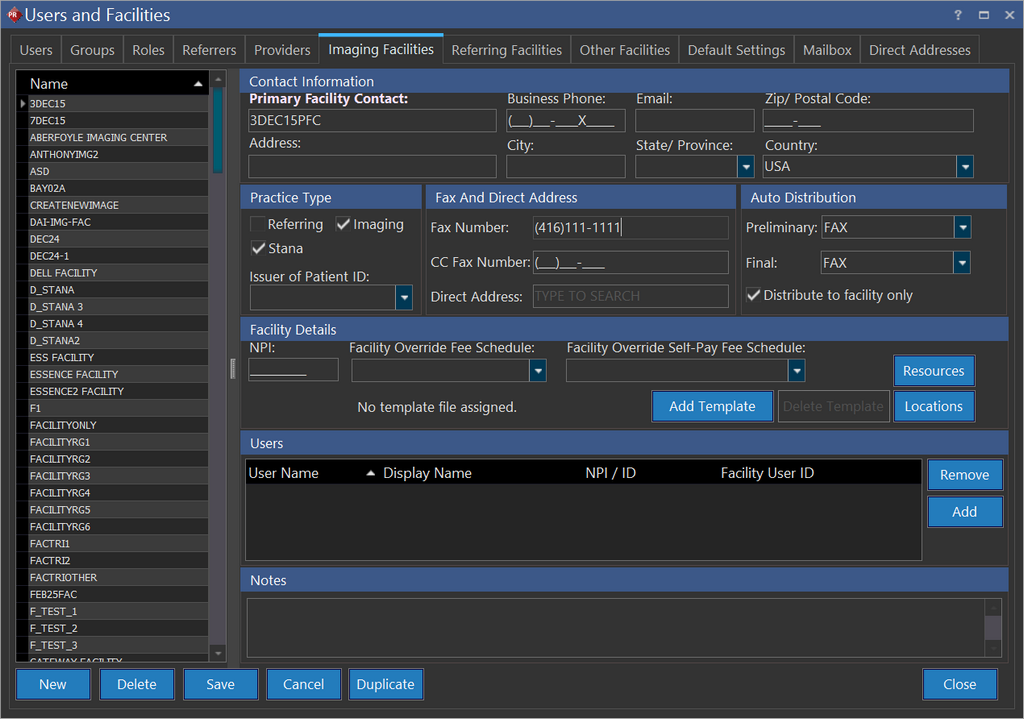
- Type in the imaging facility name in the Primary Facility Contact text field.
The Facility Name in the study Details window must match with the Facility Name in the Imaging Facilities tab. Only then, the fax will be sent to the facility.
- Type in the imaging facility fax number in the Fax Number field.
- Select Preliminary and or Final report type(s) available in the Auto Fax drop-down menu to enable auto fax to the imaging facility.
- Click Save.
Automatic Faxing to Referring Facilities
- Click Settings > User and Facilities > Referring Facilities tab. The Referring Facilities tab screen appears as shown below.
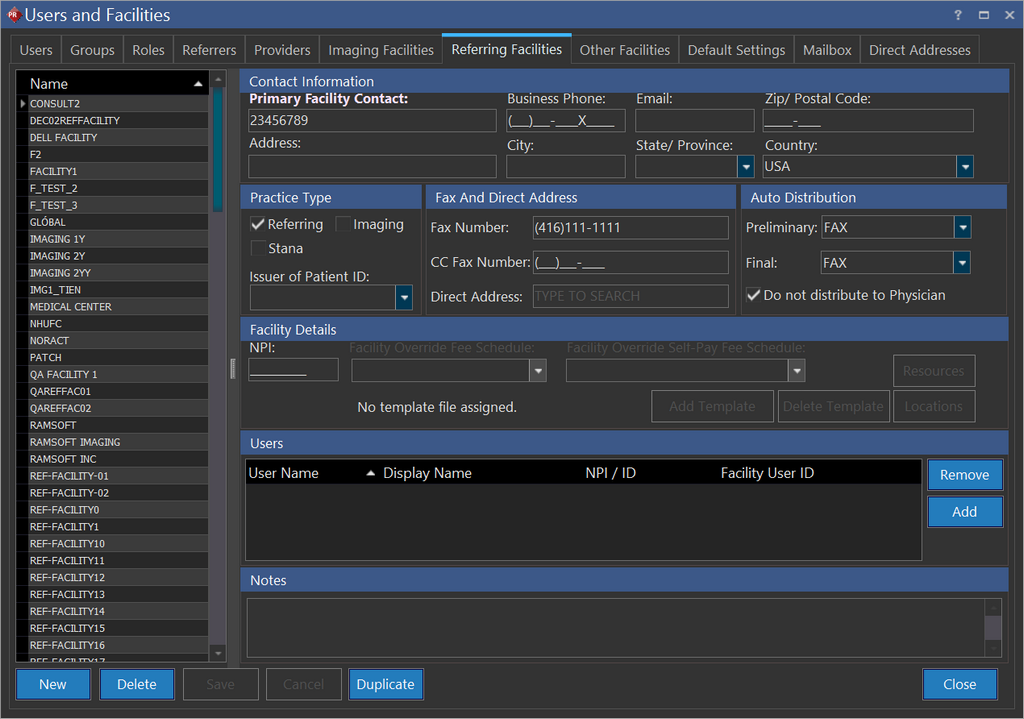
- Type in the referring facility name in the Primary Facility Contact text field.
The Facility Name in the study Details window must match with the Facility Name in the Referring Facilities tab. Only then, the fax will be sent to the facility.
- Type in the referring facility fax number in the Fax Number field.
- Select Preliminary and or Final report type(s) available in the Auto Fax drop-down menu to enable auto fax to the referring facility.
- Click Save.
Consulting Physicians or Referring Physicians will receive automatic faxes of a study after they have been associated through the Study Info from. The status of fax transmission is reflected either in Pending tab/Completed tab/Failed tab. These tabs are available under Settings > Logs > Communication > Fax Log tab.
Manual Faxing
The purpose of manual faxing is to allow you send/resend faxes to recipients who are not listed in the Referrers tab and the Facilities tab.
Prerequisite: The study status must be AUTHORIZED to do a manual faxing.
-
Open a study.
-
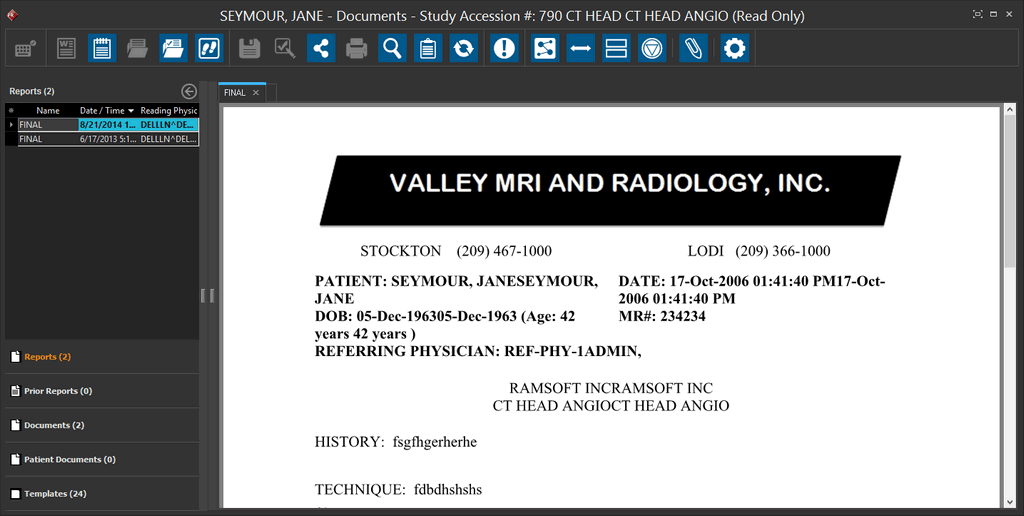
Click View/Create Documents
 tool. The application displays a list of available reports as shown below.
- Right click on the report you wish to send fax as shown below.
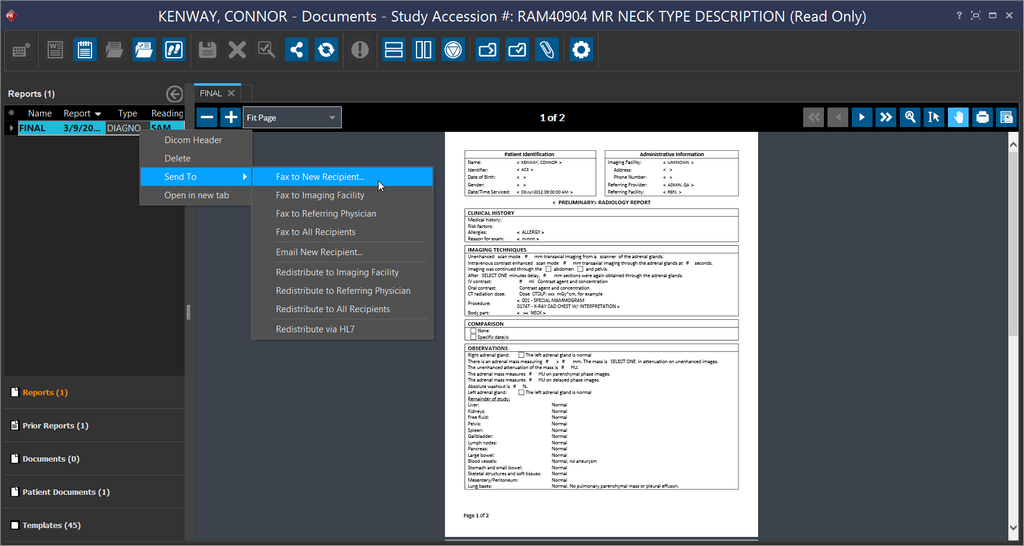
You may fax the desired report to a new recipient, imaging facility, referring physician, and to all recipients.
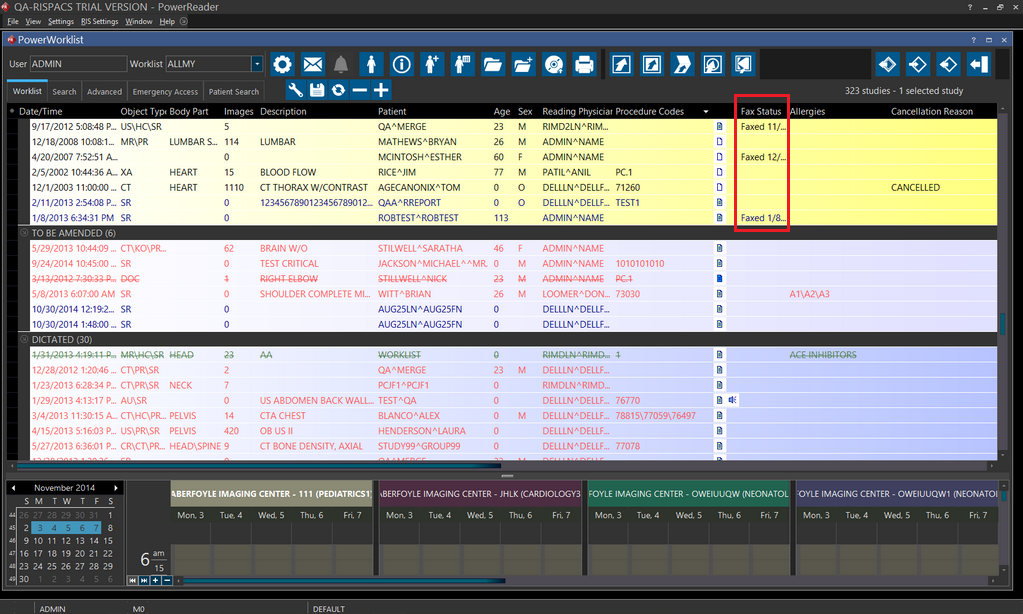
Fax Status
The status of fax is displayed in the Worklist as shown below.
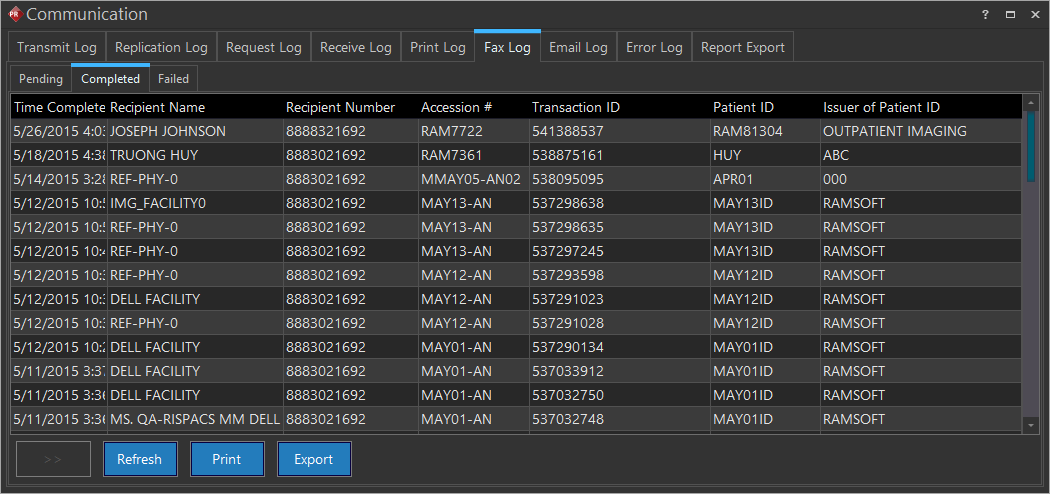
Fax Logs
Fax Logs allow user to view when faxes have been sent regardless of success or failure. When a fax is completed, it is added to the Fax Log.
Click Settings>Logs > Communication and click on the Fax log tab. The Fax log screen appears as shown below.