How to Import or Scan Using Document Importer
The Document Importer module lets you
- Import PDF documents
- Import images in the following formats (jpg, jpeg, tif, single/multi-page tiff, png and bmp)
- Scan documents and images as PDF documents using the WIA/TWAIN32 scanners
- Merge and truncate documents and
- Save documents
You can scan documents and images using either a WIA or TWAIN32 scanner device driver, thus eliminating the need to rely only on scanners supported by the WIA driver.
Scanning and importing documents and images from Study Desktop (Image Viewer) and Document Viewer is now supported by the Document Importer module.
Prerequisites
To run the Document Importer module, the following prerequisites should be met:
-
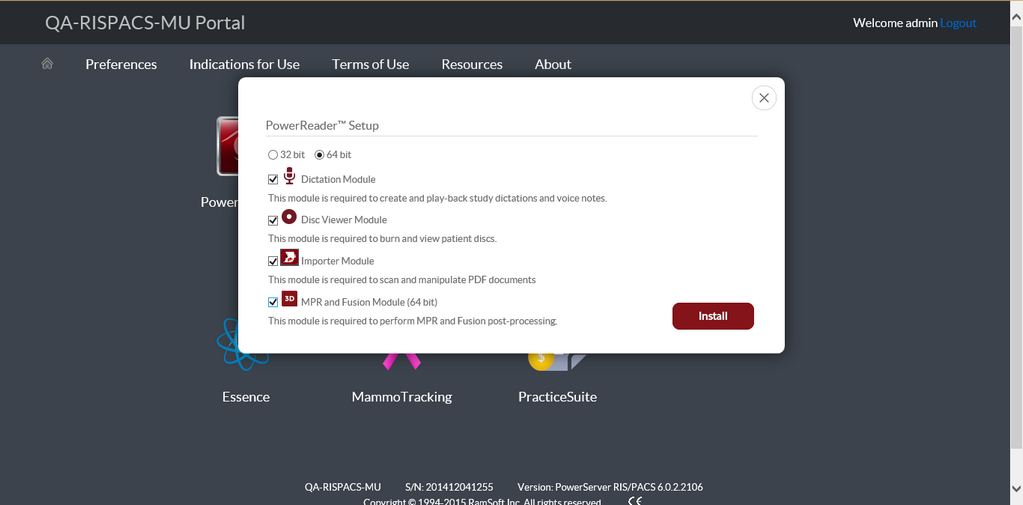
You need to install the Document Importer module by selecting the Importer Module installation option in the PowerReader Setup window. Please contact your system administrator if you do not have the privileges to install an application.
Note: The Document Importer will be selected by default for the SCHEDULER and FRONT DESK roles when installing PowerReader for the first time.
-
You need to ensure that you have the HC Image DICOM Scan privilege enabled for your role in Settings > Users and Facilities > Roles > Save/Write tab.

-
You need to check that the required manufacturer's Scanner drivers are installed. Note that every Scanner machine is shipped with a Device Driver installation CD or is generally available online on the Manufacturer's website.
-
You need to ensure that the scanner is physically connected to your computer in case of a physical connection. In the case of a scanner that is connected on Network, ensure that the network connection is active and working.
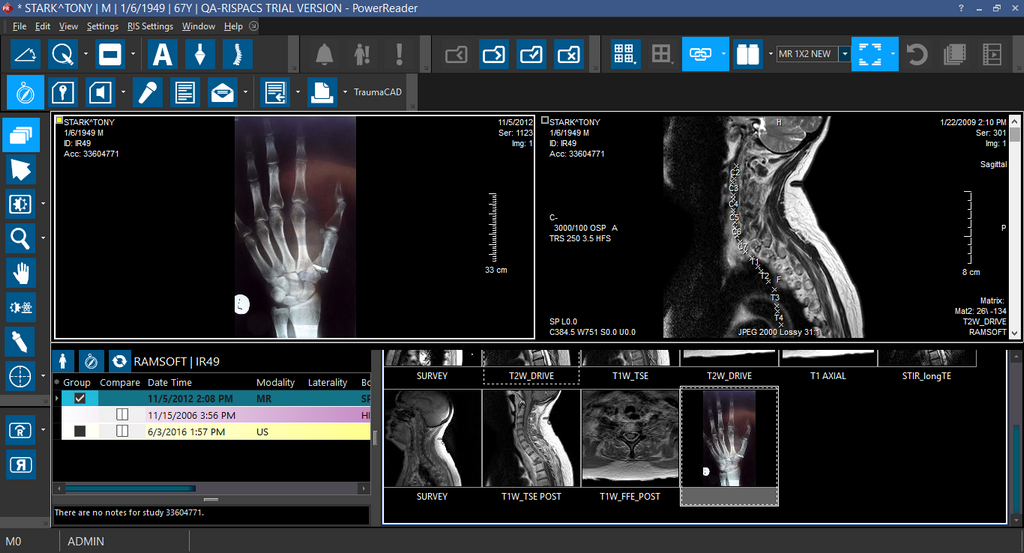
Launching the Document Importer
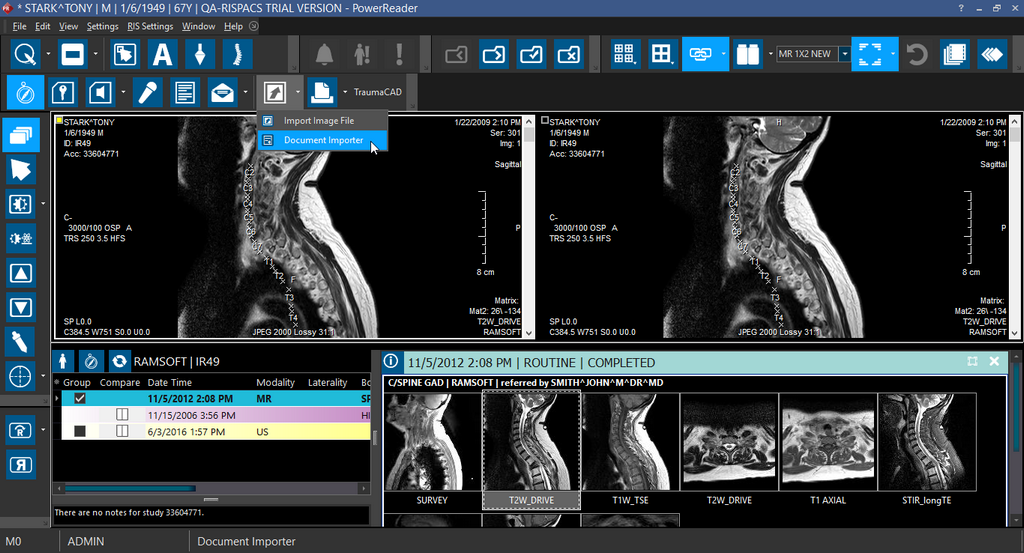
Once installed, you can launch the Document Importer from the Document Viewer or Study Desktop. Document Viewer can be launched by clicking the View/Create Documents icon ![]() on the toolbar menu.
on the toolbar menu.
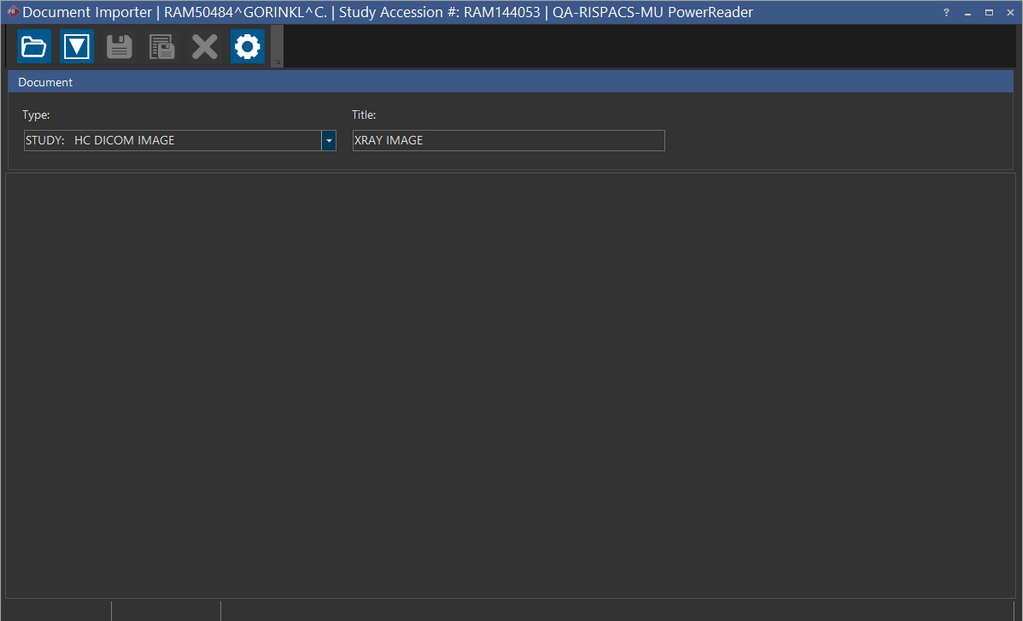
On the Document Viewer, Click the Document Importer ![]() icon available in the toolbar. The Document Importer screen appears as shown below.
icon available in the toolbar. The Document Importer screen appears as shown below.
Note: When you click the Document Importer tool without installing the Document Importer module, the system would auto install the module. You can install the module by clicking on PowerReader Setup application in the PowerReader Login portal and selecting the Importer Module and clicking Update.
You can launch the Document Importer from the Study Desktop by clicking on the Document Importer tool.
The following tools are available on the Document Importer.
| FIELD | DESCRIPTION |
|---|---|
| Allows you to open a PDF document or an image (.jpg, .jpeg,.tif, .tiff, .png and .bmp) from your computer. Select a document or an image that you want to open and click the Open button to attach the document to a Study. | |
| Initiates the document scanning process | |
| Allows you to save the document to the desired Study based on the Document Type selected. | |
| Allows you to save all the documents that are currently open in different tabs based on the Document Type selected. | |
| Allows you to close all the documents that are open in different tabs. To close a specific document, click the | |
| Allows you to select a scanner and configure the scanner settings |
Note that the Save, Save All and Close All tools are enabled only when you have a document or an image open in the Document Importer.
Attaching Documents / Reports to a Study
You can attach documents or reports to a study using the Document Importer.
To attach a document or a report to a study, perform the following:
-
In PowerReader, open the desired Study and launch the Document Viewer for the Study.
-
Launch the Document Importer from the Document Viewer. The Document Importer module appears.
Note that when you launch the Document Importer for a study whose status is equal or greater than "Prevent Modification", such as SIGNED, AMENDED SIGNED, PRIOR and READ, the confirmation message "Study's status is greater than or equal to Prevent Modification Status. Do you wish to create a new document?" is displayed.

-
Click
 on the toolbar in Document Importer and select the desired PDF file and click Open. The PDF file opens in a tab in the Document Importer.
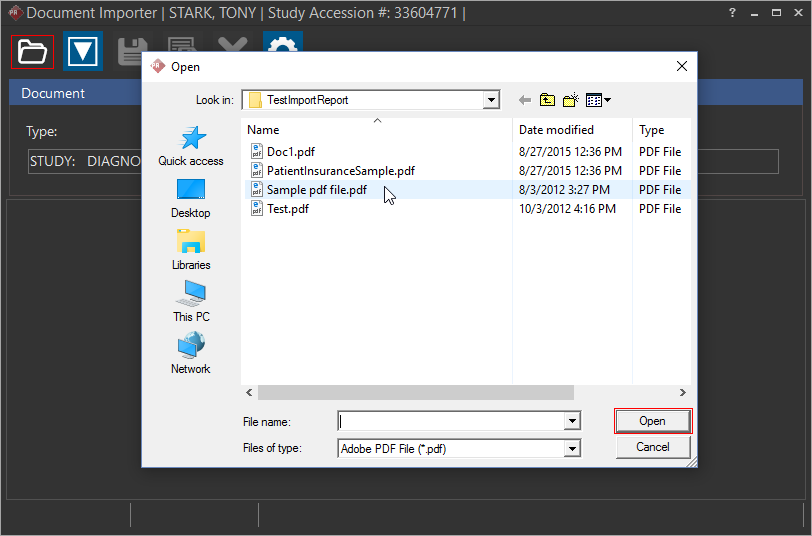
-
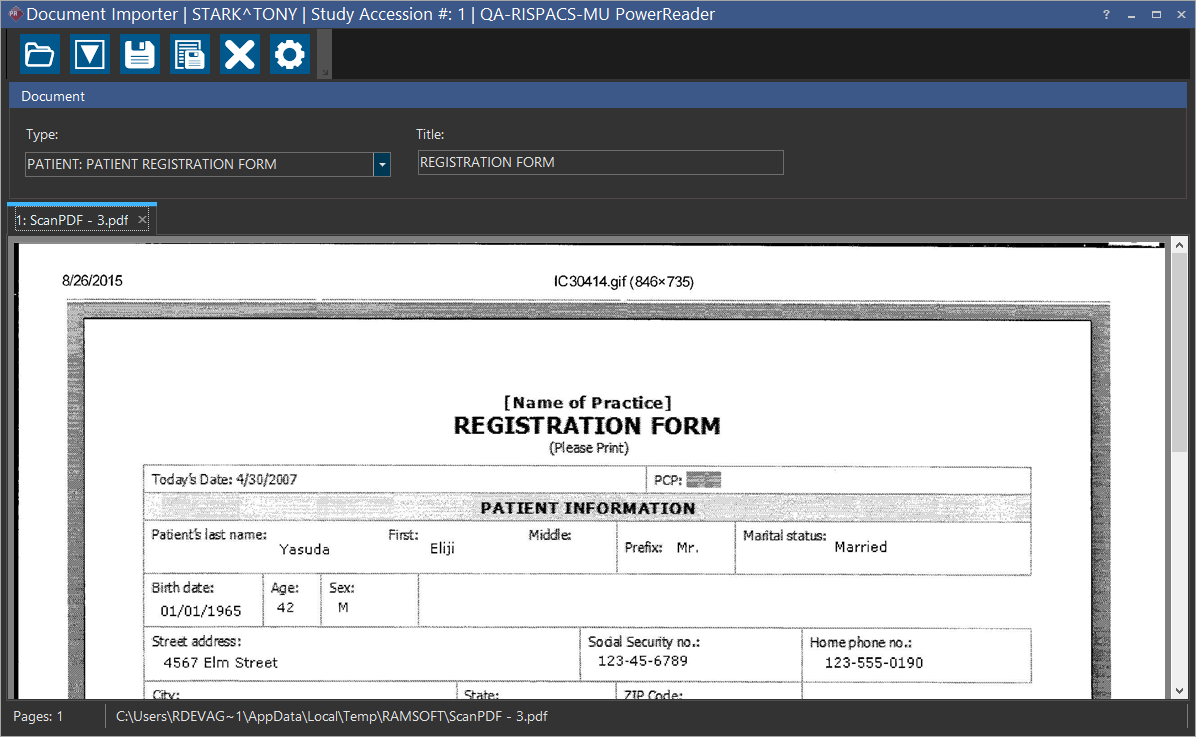
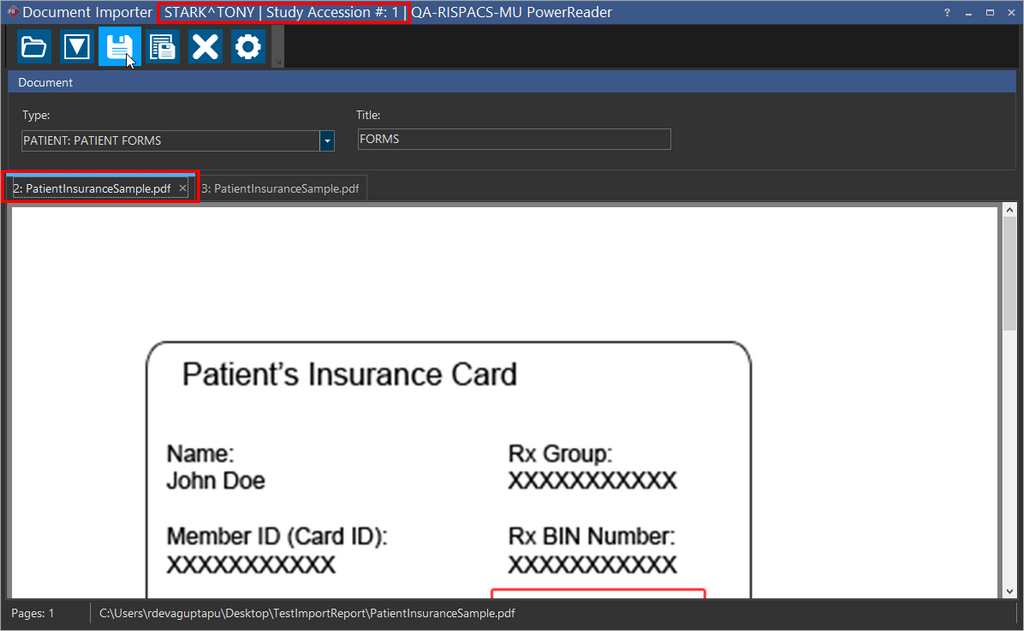
Select the relevant Document Type and enter the Title for the document. You can save the PDF file to the following Document Type:
a. Patient Level Documents. Patient Level Documents are only available when RIS license is enabled.
b. Study Level Documents or Reports. Note that if you select the Document Type as a report, the Title of the report gets populated automatically.
Note: The Document Types, STUDY: DIAGNOSTIC PRELIMINARY and STUDY: DIAGNOSTIC REPORT are only available if you have the Create Diagnostic Reports privilege enabled.
You can also drag and drop a document or an image into the respective tabs to access multiple documents at a time.

When you drag and drop files into the Document Importer, the files that are supported would open in their respective tabs and for any file that is not supported by Document Importer, a warning message indicating that the file is of an unsupported format is displayed.
-
Click
 to save and attach the file to the Study. Based on the Document Type selected, the attached file gets saved in the appropriate tab in the Document Viewer for the selected Study. The document is no longer available in Document Importer.
Note that you need to click the Refresh
 icon in Document Viewer to view the imported document.
Attaching Images to a Study
You can attach images to a study using the Document Importer.
To attach an image to a study, perform the following:
-
In PowerReader, open the desired Study and launch the Document Importer from the Study Desktop.
-
The Document Importer module appears.
-
Click
on the toolbar in Document Importer and select the desired image and click Open. The selected image opens in a tab in the Document Importer.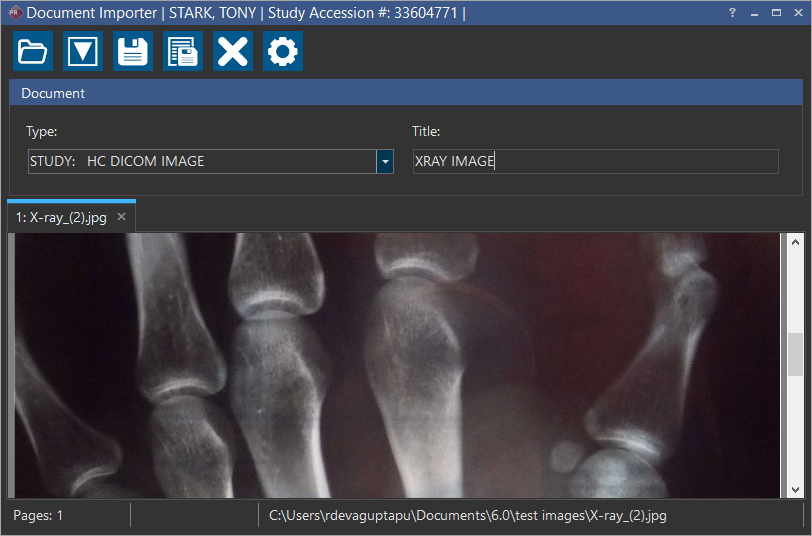
-
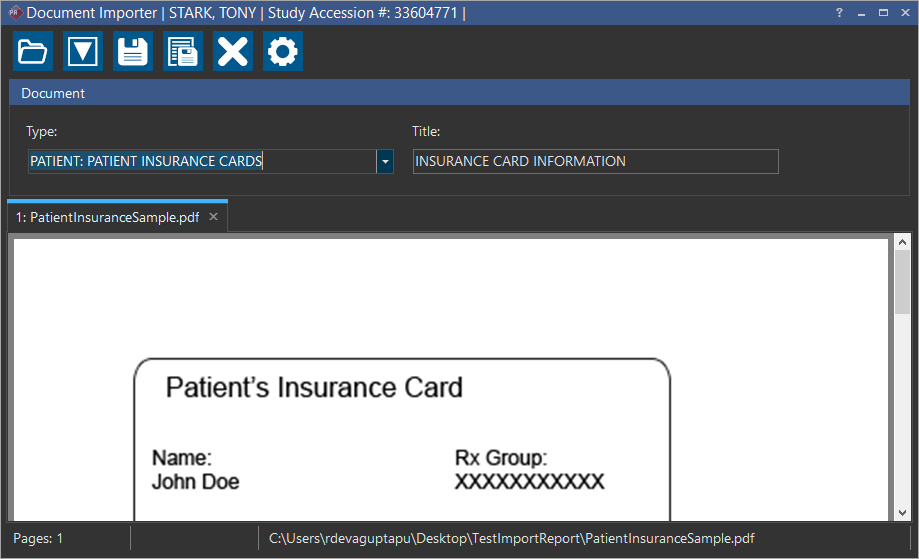
Select the relevant Document Type as STUDY: HC DICOM IMAGE and enter the Title for the image.
-
Click
to save and attach the image to the Study. The image gets associated with the selected Study. The image is no longer available in Document Importer.When you save an HC image, if there is an existing HC image series, the newly saved images would get appended to the existing HC/SC series, else a new series with the imported images is created. The order with which the HC images get appended to the HC series is based on the order they appear in the Importer Tabs from left to right.
Note:
The STUDY:HC DICOM IMAGE Document Type is not available if you do not have the HC Image DICOM Scan privilege enabled. When launching the Document Importer from either the Study Desktop or Document Viewer, the system will always default to the last selected Document Type.
The Document Types, STUDY: DIAGNOSTIC PRELIMINARY and STUDY: DIAGNOSTIC REPORT are only available if you have the Create Diagnostic Reports privilege enabled.
If you only have the Create Document privilege enabled, the following Document Types are available:
Document Type: STUDY
| STUDY: ADMIN | STUDY: ADMIN - MEDICAL ORDER | STUDY: CLINICAL |
| STUDY: INSTRUCTION | STUDY: LABS | STUDY: MAMMO |
| STUDY: MESSAGE FORMS | STUDY: PRIOR REPORT | STUDY: RIS |
| STUDY: REFERRAL | STUDY: RX | STUDY: Rx |
| STUDY: SCREENING | STUDY:STUDY FORM |
Document Type: PATIENT
| PATIENT: INSURANCE CARD | PATIENT: MEDICAL RECORDS RELEASE FORM | PATIENT: PATIENT FORMS |
| PATIENT: PATIENT INSURANCE CARDS | PATIENT: PATIENT REGISTRATION FORM |
If you do not have the following privileges, the Document Importer will not be available:
- Create Diagnostic Reports
- Create Documents
- HC Image DICOM Scan
Scanning Documents in Document Importer
You can scan a document or a report into a Study using the Document Importer.
To scan a document, perform the following steps:
-
Open the desired study and launch the Document Viewer.
-
Launch the Document Importer from the Document Viewer or from the Study Desktop. The Document Importer module appears.
-
Select the Type of the document or image you are about to scan and provide the Title if needed.
-
Click
 on the toolbar in Document Importer to start scanning the document. The Scanner Preview screen appears.
Note that when you are scanning multiple pages using the Document Feeder, all the pages would be combined into one document which is displayed on a tab in the Importer. Ensure that when you are loading pages into the feeder tray, you follow the orientation specific to your scanner model. For help on correctly loading documents into the Flatbed and the Document Feeder (if your scanner model is equipped with one), refer to the scanner's User Manual.

-
Select the required scanner setting options and click Scan. You can click the Preview button to check how the scanned document or image would appear once it is scanned.
Note: All scanned documents or images get scanned in PDF format.
-
Click
to save the scanned document to the Study. Based on the Document Type selected, the scanned file gets saved in the appropriate tab in the Document Viewer for the selected Study. Note that you need to click the Refresh icon in Document Viewer to view the imported document.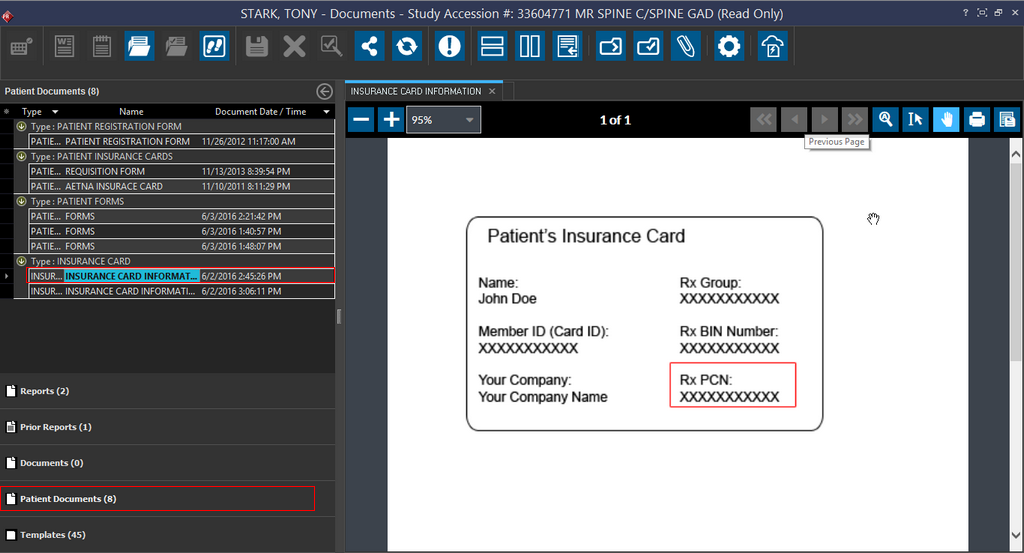
You can print a scanned document by selecting the Print ![]() icon. By default, documents (that are less than 8 inches in width and height) are scanned and printed at actual size. Documents larger than this size are scaled to fit.
icon. By default, documents (that are less than 8 inches in width and height) are scanned and printed at actual size. Documents larger than this size are scaled to fit.
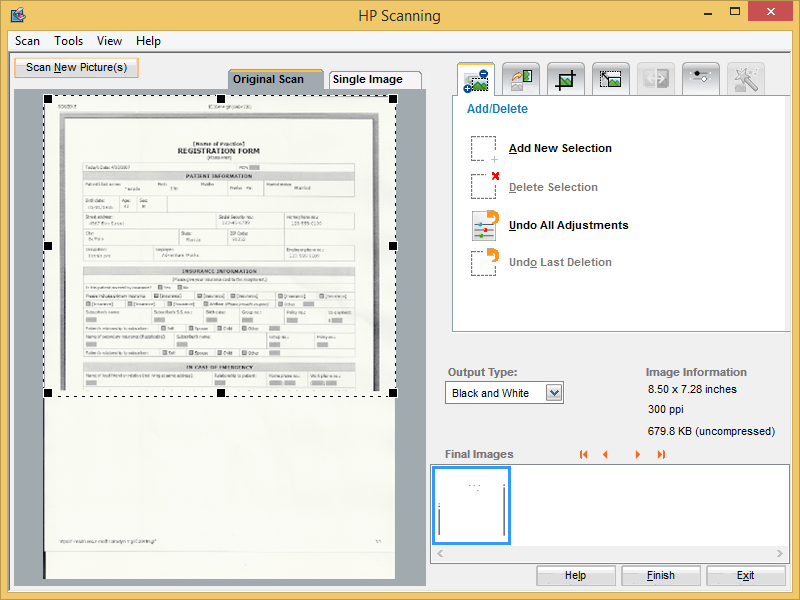
Scanner Settings
The Scanner Settings tool in the Document Importer allows you to select a scanner and configure the settings.
Clicking the ![]() icon on the Document Importer toolbar launches the Settings form.
icon on the Document Importer toolbar launches the Settings form.

You can select the desired driver (TWAIN 32 or WIA) based on your requirement and select the Scanner that you have installed. If you see that there is no scanner available, you need to check if a scanner is installed. Note that every Scanner machine is shipped with a Device Driver installation CD or instructions to download the device driver is generally available online on the Manufacturer's website.
When you switch between the drivers, the scanner list shows the scanners compatible with the corresponding driver. The last used scanner is selected by default from the scanner list.
You can select the required Resolution, Color and Quality for the document to be scanned. Note that these settings are used by default when scanning a document to the next Study that is selected.
For example, in this case, a patient form has been scanned with a Resolution of 300 DPI and Quality as Black and White. The driver for the scanner selected is TWAIN32.
Note that when you start the scanning process, the scanner settings associated with the Driver are displayed.
When you are scanning multiple documents through a document feeder in a scanner, ensure that the Paper Source in the Scanner settings is set to Document Feeder.

Multiple documents scanned through a Document Feeder in a scanner are scanned into a single tab, meaning they are consolidated into a single document in the Document Importer instead of assigning each document scanned into a new tab.
Once the scan is complete, the document is available in the Document Importer.
Managing Documents in Document Importer
Apart from Scanning and Attaching studies, you can also manipulate the PDF documents in Document Importer.
Document Importer lets you:
- Merge documents
- Split a document
- Truncate a document
- Duplicate a document
Merging Documents
You can merge any document in the Document Importer irrespective of their original format. For example, you can merge a PDF document and Scanned Images of different formats.
To merge two documents, perform the following:
-
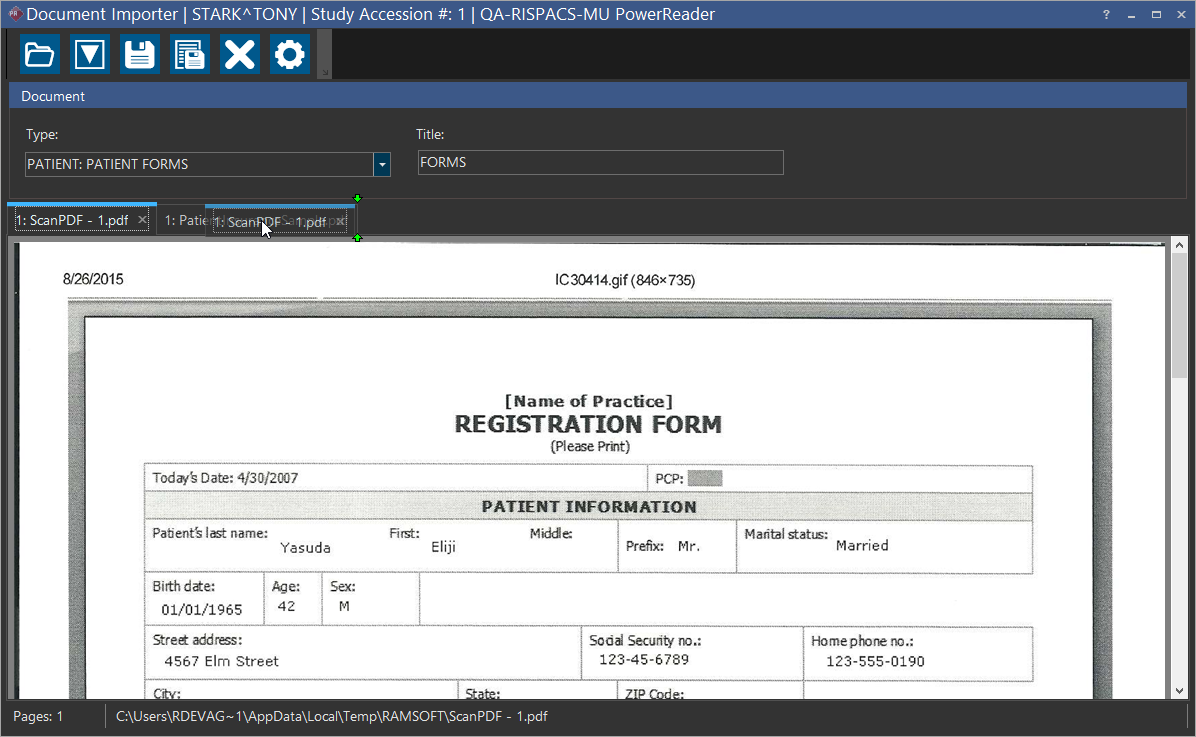
Click on the tab of a document that you wish to merge or append and drag it onto the target document and drop it. Dragging one tab into another tab will append the document being dragged to the document it is dropped on.
For example, in this case, the Scan PDF -1.pdf is being appended to the PatientInsuranceSample.pdf. You can see that when you drag the tab onto the next tab, the merge is indicated by two green arrows pointing towards the tab.
-
Now Drop the tab. You can see that both the documents are now merged. The PatientInsuranceSample.pdf now has the appended document.
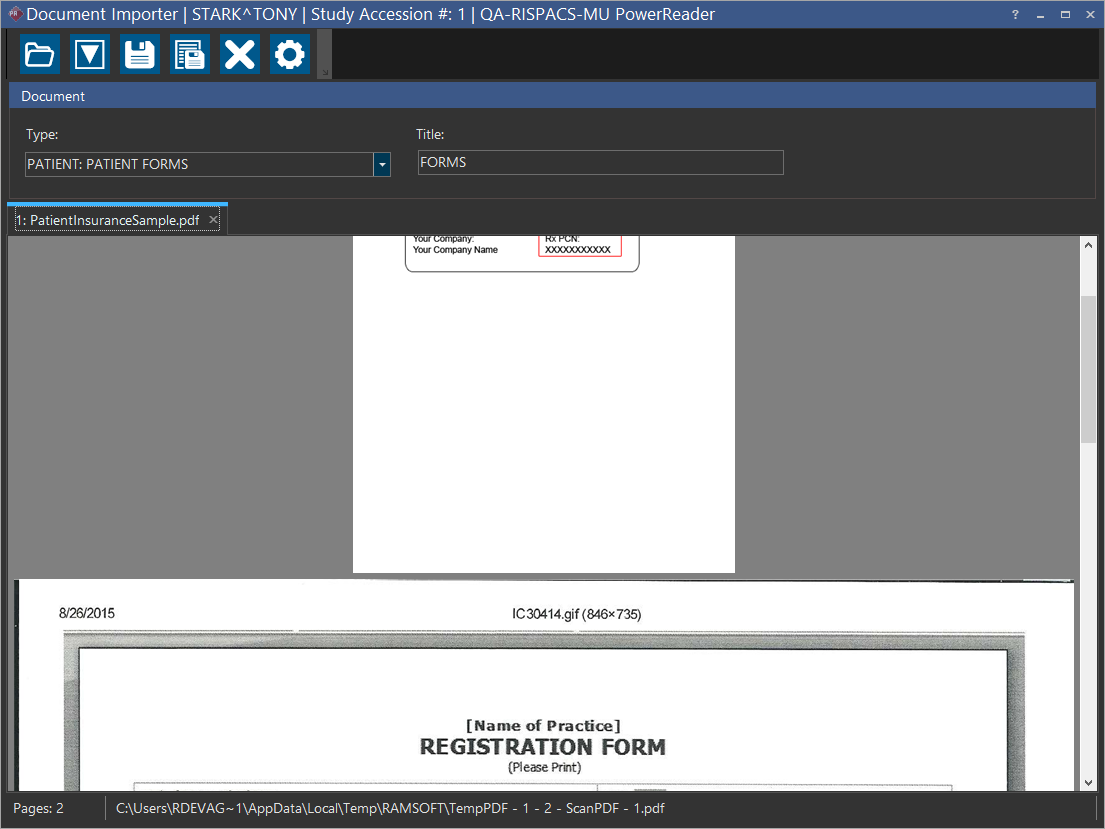
You can view the page number with the scroll bar when you are scrolling through a multi-page document. This can help you scroll to the desired page quickly.
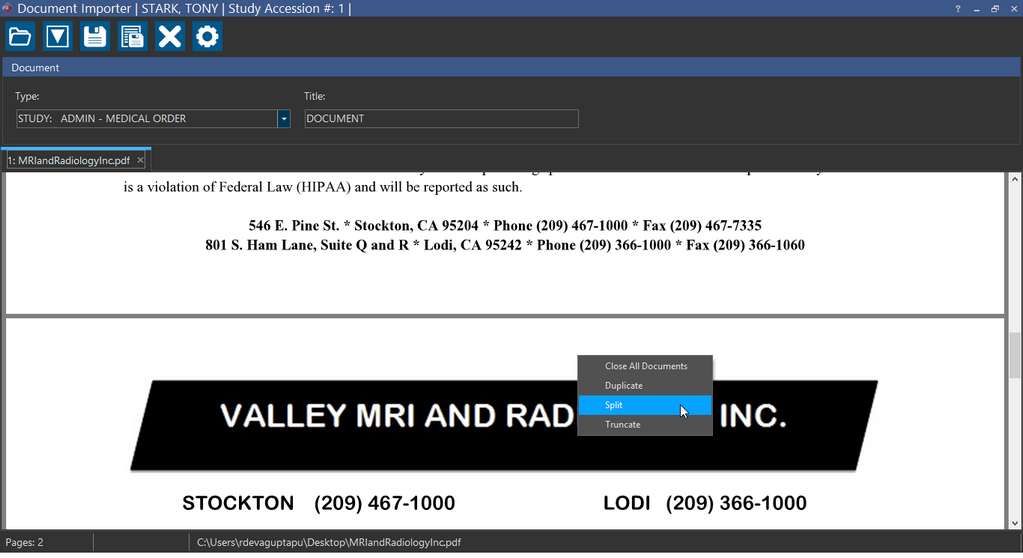
Splitting Documents
Using the Split option, you can easily split a document into multiple documents.
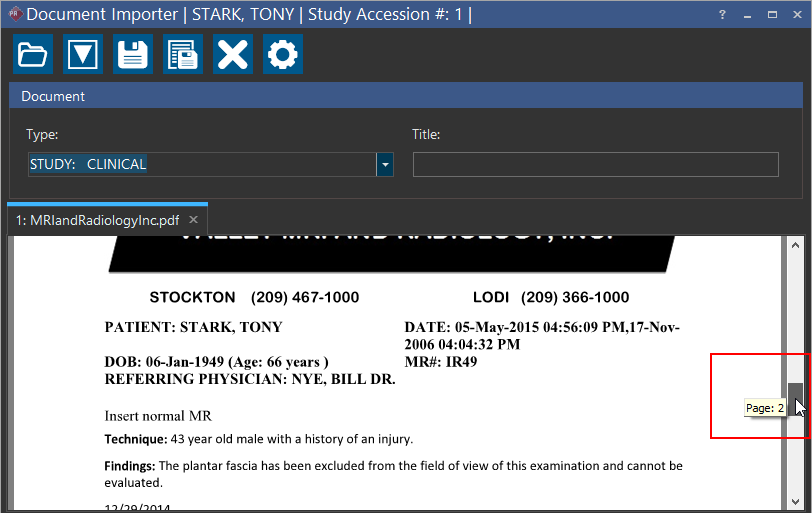
Right-clicking on a page of a document and selecting the Split option will remove the remaining pages starting from the current page and open these pages in an additional tab that gets created next to the original tab.
For example, in this document, the user has opted to split the document from the second page. This is a two page document.
You can see that the original document has been split into two and the page where it is split opens up as a new document created in the tab next to the original tab. Note that the new document retains the same title as the original.

This feature is useful when splitting large multi-page documents.
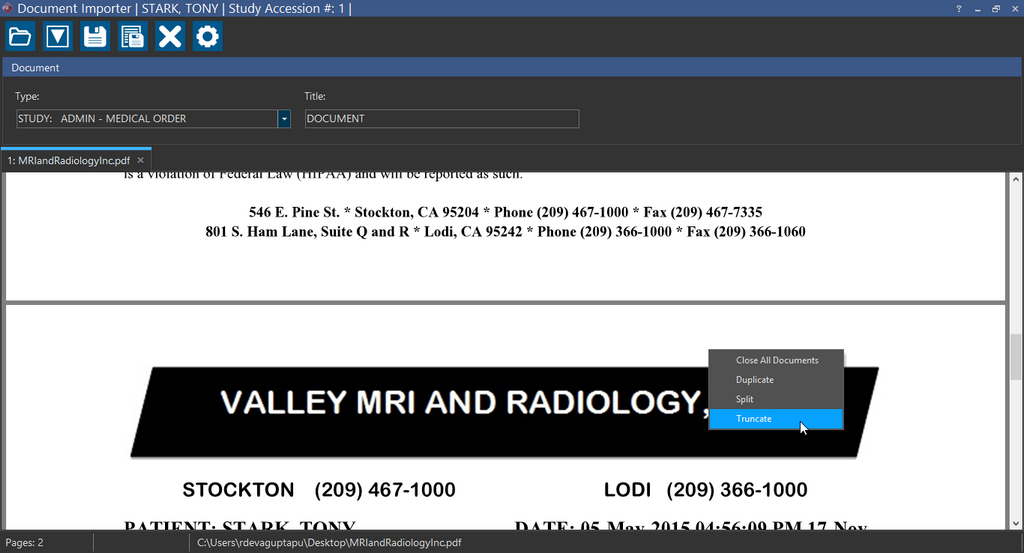
Truncating Documents
Right-clicking on a page of a document and selecting the Truncate option will delete all the remaining pages to the end of the document (including the selected page).
For example, in this document, the user has opted to truncate the document from the second page. This is a two page document.
You can see that the second page has been truncated and now the document has only one page.

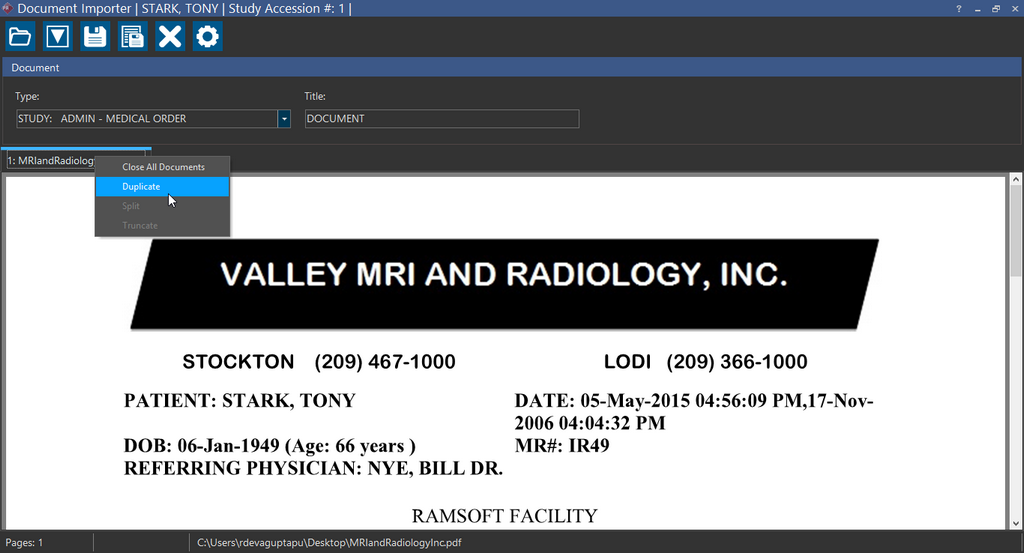
Creating a Duplicate Document
Right-clicking on the tab of the document and selecting the Duplicate option will create a duplicate copy of the document.
For example, in this case, the PatientInsuranceSample.pdf document has been duplicated.
You can see that a duplicate copy of this document opens in separate tab. The duplicate document retains the title of the original document.

Context Switching
You might decide to import or scan a document into multiple studies or for a different patient. You might have a situation where in you have the Document Importer and Document Viewer open for a specific Study and would want to scan or attach the same document to other studies.
Document Importer lets you switch effortlessly to different studies from the Document viewer and scan or attach the same document to multiple studies.
To utilize Context Switching, perform the following steps:
-
On the Document Importer, create a duplicate copy of the document that you want to attach to a different study. This is important as when you save a document in Document Importer, the document gets saved to the Study and is no longer available in Document Importer. By creating a Duplicate copy, you are ensuring that you have the same document ready for importing into a different study.
-
Save the required document on to current study by clicking the Save icon.
The Document gets saved into the Study and is no longer available in the Document Importer.

Based on the Document Type selected, the file gets saved in the appropriate tab of the Document Viewer for the selected Study.
-
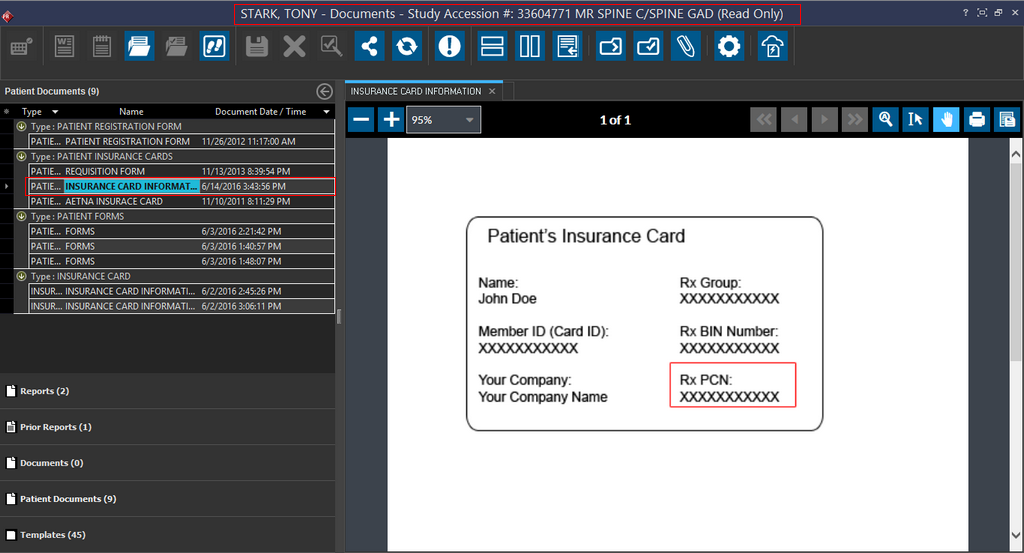
Click the Go to Next Study tool to advance to the next Study while you still have the Document Importer open. The Document viewer displays the next Study documents.
You can notice that the Accession Number information has changed in the Document Viewer title bar.
-
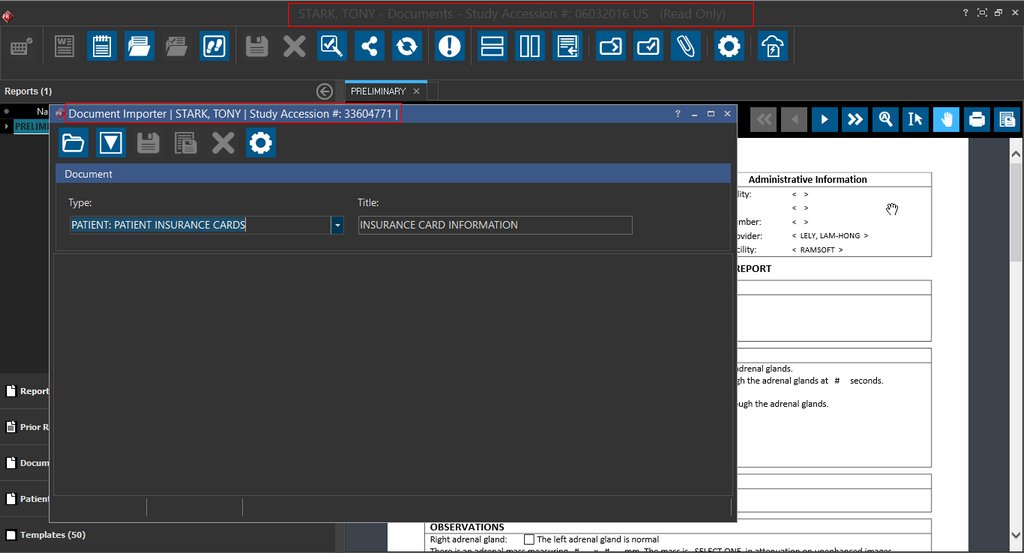
Click the Document Importer
 Tool in the Document Viewer. Notice that Document Importer contextually recognizes the study. Using this feature increases your productivity and efficiency as you do not have to launch the Document Importer and scan the document again.
-
Click the Save
icon on the Document Importer. Based on the Document Type selected, the file gets saved in the appropriate tab of the Document Viewer for the selected Study. You need to click the Refresh icon in Document Viewer to view the imported document.
Duplex Scanning
Duplex Scanning is a feature of computer scanners that allows the automatic scanning of a sheet of paper on both sides. This feature is available from Document Importer only when you use the TWAIN32 driver subject to the availability of a scanner with this feature.