Sending Messages for QliqSOFT Member
Some common scenarios for sending QliqSOFT messages from PowerReader are illustrated below.
Sending Messages from the Worklist or Search screen when no study is selected:
The following section describes the steps for sending a message from the Worklist when no studies are selected, or the Search screen before any searches are performed. This procedure is usually used when sending messages to QliqSOFT Members as well as QliqSOFT Non-Members.
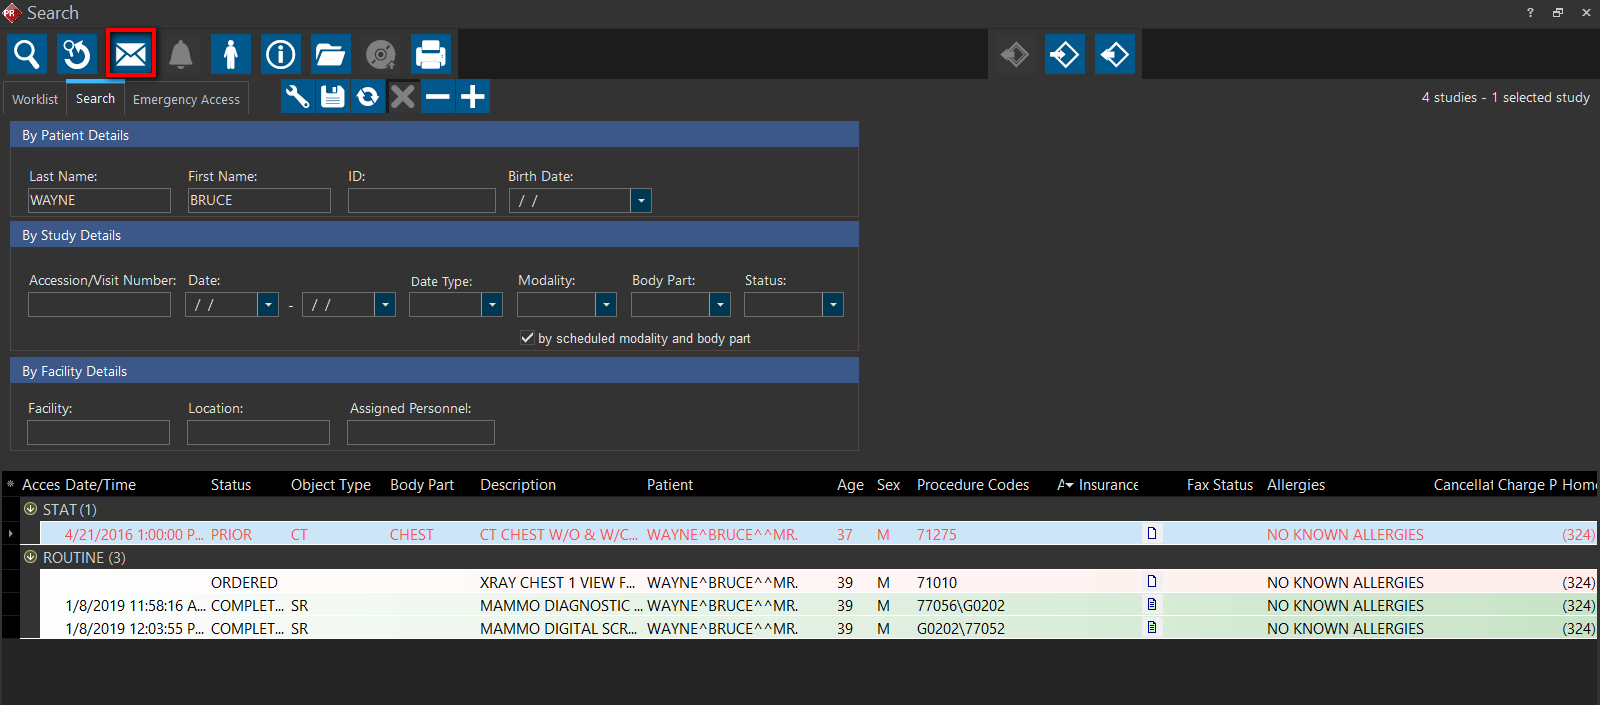
- Click the Message icon. The user is directed to the Messaging screen.
- Click on New Mail
- The From section is automatically populated with the sender's E-mail address
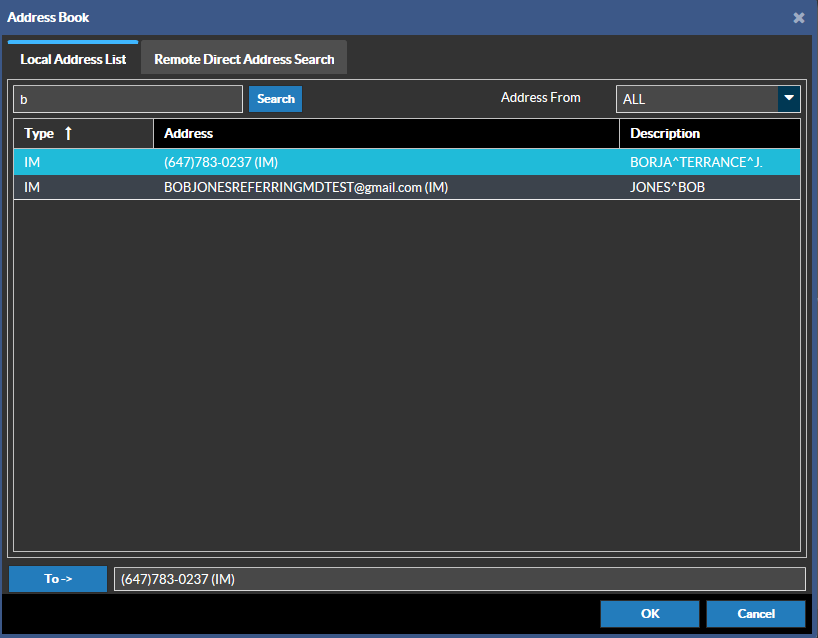
- Click the "To" button. In the address book, make sure the Address From is set to "ALL".
- Enter the name of the recipient in the Search bar, press Search and double-click to select the intended recipient. The recipient is populated in the "To ->" field. More than one recipient can be added.
- Enter the appropriate Subject and Body Text and/or any attachments
- Click the Send button
- If the recipient does not contain either an E-mail address or a phone number, the recipient will appear as blank.
- If the recipient has never downloaded the qliqCONNECT desktop or mobile app, two messages will be sent to the recipient's E-mail address or Phone Number via a text message, whichever is available. If both E-mail and Phone Number are available for the recipient, only the E-mails are sent. These messages contain instructions to download the qliqCONNECT desktop or mobile app and log in to QliqSOFT.
- The body text of the message is sent to the recipient's qliqCONNECT app. The recipient must download, install and open the qliqCONNECT desktop or mobile app to view received messages.
- For Non-Member users, the body text of the first message is also sent to the user's E-mail or Phone Number as a secured link that expires after a few days. See Receiving Messages for QliqSOFT Non-Member.
Sending Messages from the Worklist or Search Windows when a study is selected:
If a study is selected when the user is on the Worklist or Search screen, some message fields are auto-populated for convenience based on the selected study. By default, the patient is selected and populated as the recipient. The recipient can be changed if desired, and additional recipients can be added.
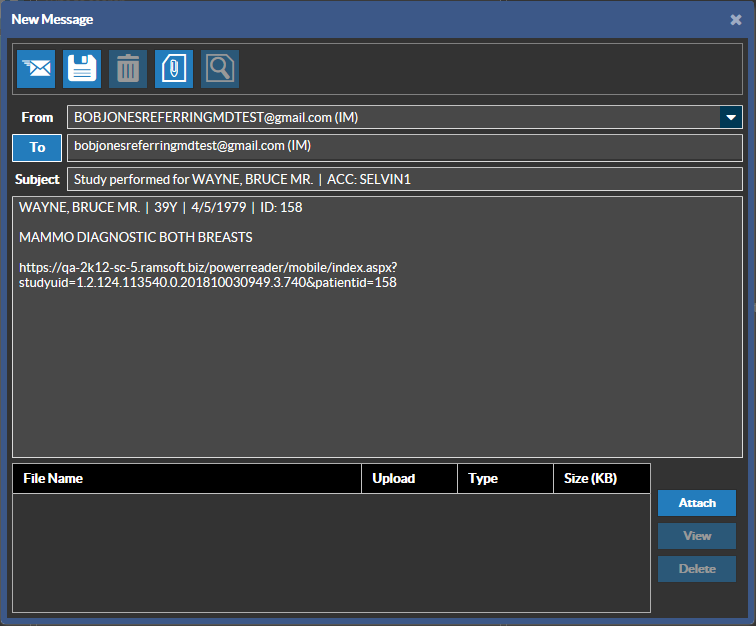
Pre-populated fields:
From: Automatically populates with the sender's E-mail address
To: Automatically populates with the Patient's E-mail address and/or Mobile Phone Number. Additional recipients can be added if desired. If the recipient does not contain either an E-mail address or a phone number, the recipient will appear as blank.
Subject: Study performed for ** [Patient Name] | ACC: [Accession #]
Body:
[Patient Name] | [Patient Age]Y | [Date of Birth] | ID: [Patient ID]
[Study Description]
[URL Link of the Study]
The subject and body of the text can be modified manually if required.
An example is displayed below:
Sending Messages from Worklist or Search when Multiple Studies are selected:
When multiple studies are selected, the information from the last selected study (From/To/Subject/Body) is auto-populated in the Message window. The patient of the last selected study is populated by default as the recipient. Users can add additional or remove existing recipient(s).
Sending Message from the Worklist or Search with ALL studies selected:
When "Select All" is pressed on the Worklist or Search screen, the information from the last selected study (From/To/Subject/Body) before the user hit "Select All" is auto-populated. The patient of the last selected study is populated by default as the recipient. Users can add additional or remove existing recipient(s).
Sending Messages from the Study Info -> Assigned Personnel section:
Messages can be sent directly to the Assigned Personnel of a study (e.g. Referring Physician, Reading Physician, Performing Physician or Consulting Physician) by clicking the Messaging icon in the Assigned Personnel section of Study Information, which will send the message to the assigned personnel of the selected study. This method is usually used to send messages to other QliqSOFT Members (Physicians).
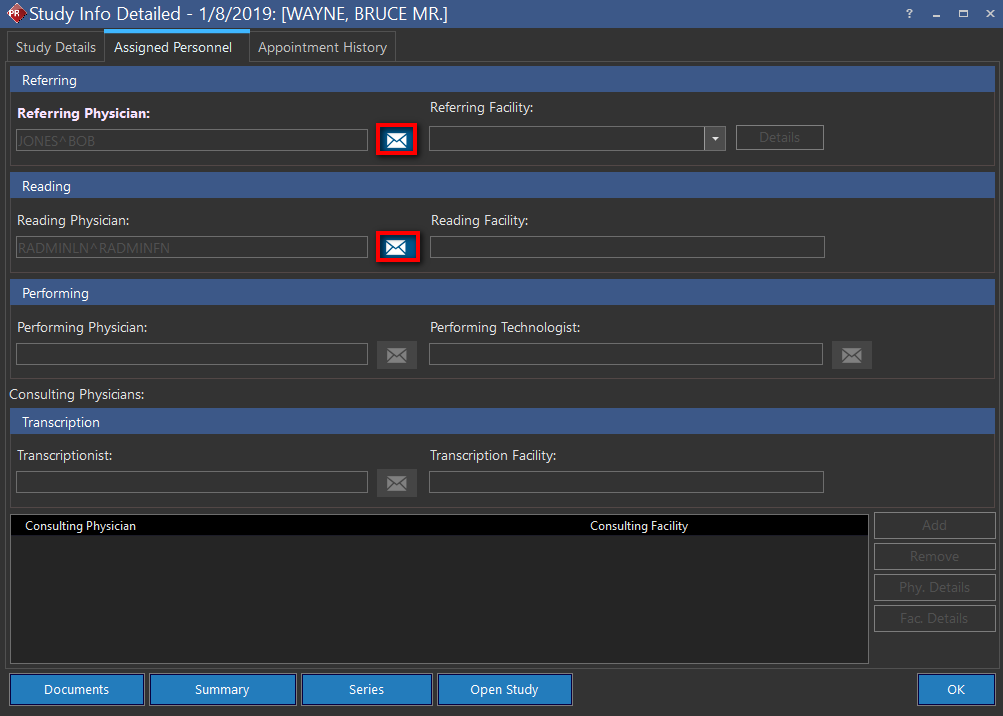
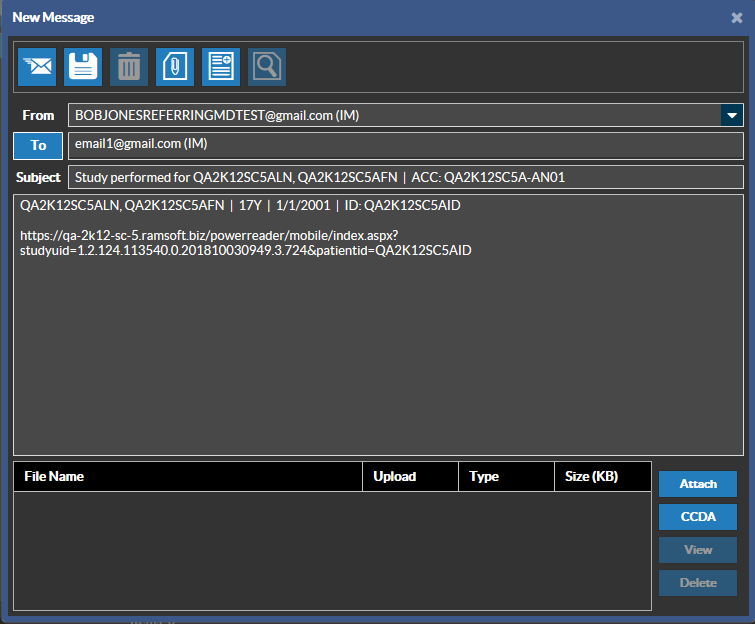
- Navigate to the Study Info, Assigned Personnel tab and click on the respective Messaging button next to the physician that is the intended recipient. The new Message dialog is displayed and the following information are pre-populated:
From: Sender's name
To: The assigned personnel depending on where the message icon was clicked (e.g. Referring Physician, Reading Physician, Technologist, etc). Users can add additional recipient(s) or remove the existing recipient. If the recipient does not contain either an E-mail address or a phone number, the recipient will appear as blank.
Subject: Study performed for ** [Patient Name] | ACC: [Accession #]
Body:
[Patient Name] | [Patient Age]Y | [Date of Birth] | ID: [Patient ID]
[Study Description]
[URL Link of the Study]
- Make any necessary modifications for the subject and body of the text.
- Clicking on the Send button instantly sends the message to the receiver's qliqCONNECT Desktop and/or Mobile app.
An example of a pre-populated Message is displayed below.