CAD Tools
The Computer Aided Design (CAD) ![]() icon displays CAD information and CAD markers. This tool is only available for mammography studies that have CAD objects. The markers can be activated by clicking on the CAD button in the Study Desktop toolbar.
icon displays CAD information and CAD markers. This tool is only available for mammography studies that have CAD objects. The markers can be activated by clicking on the CAD button in the Study Desktop toolbar.
When CAD has been activated from the toolbar, the CAD information will appear as annotations and the markers will appear on top of the image.
All CADSR objects that belong to an image's study will be displayed on the image and their annotations are consolidated.
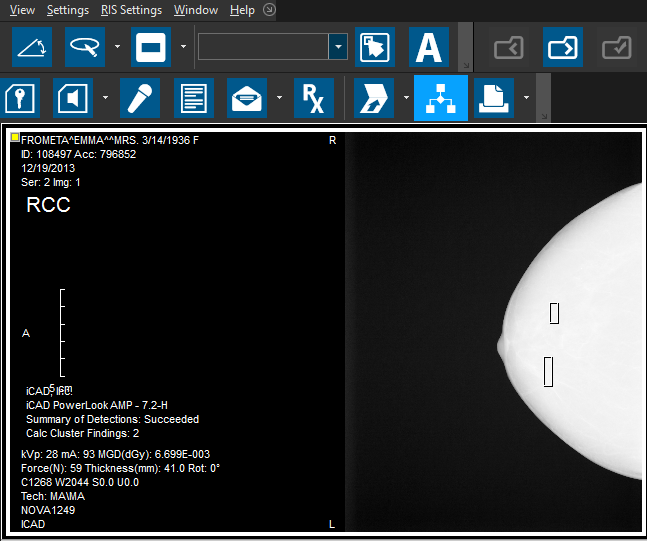
There are three types of CAD markers that shows the location of abnormalities:
| Marker | Description |
|---|---|
| Circle/elliptical markers indicate dense areas. | |
| Rectangular markers indicate area that may have micro calcification. | |
| Images marked with a X by the CAD tool indicates the image has not been read. |
CAD Markers Auto Enabled Through Viewing Protocols
CAD markers can be auto enabled/disabled when a Mammography study is loaded in the Image Viewer. The option is selected from the Display Preferences tab of the Viewing Protocol Setup window.
Click the View Viewing Protocol's Details

The Viewing Protocols Setup form will open. Select the option Auto Display CAD Results.
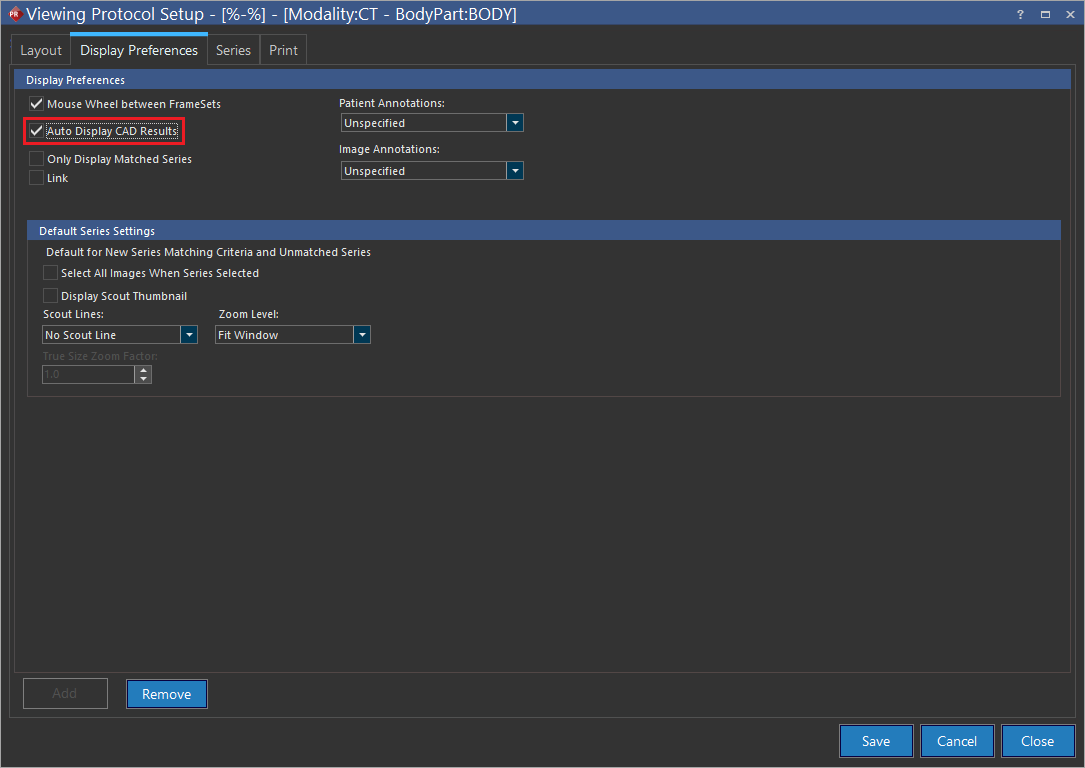
Enabling this option automatically displays a Mammography study's CAD markers upon opening the study.
Close the Viewing Protocol Setup form. Refresh the viewing protocol.
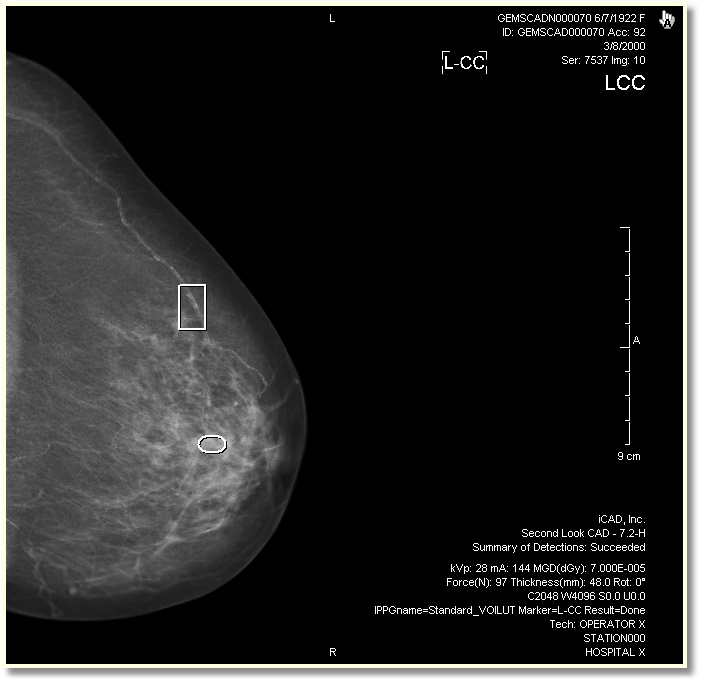
The CAD markers will be visible.