How Do I Assign Connection Path Membership?
Once Connection Paths have been created, RamSoft nodes within your network need to be instructed as to which connection paths to use. This is carried out through the Connection Assignments dialog. This dialog is accessible through Settings > Server Settings > Connection Paths > Connection Assignments tab.
To assign a PowerReader to a connection path follow the steps below:
-
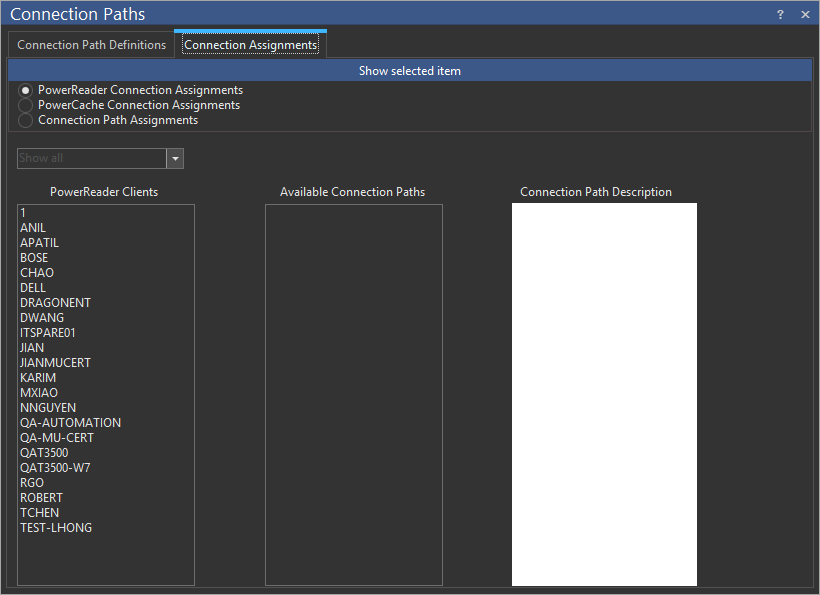
Select the PowerReader Connection Assignments option from the list at the top.
-
Choose the PowerCache Connection Assignments option to assign a PowerCache to a connection path.
-
Use the drop-down menu to view either all the clients/caches, only the assigned clients/caches or those not assigned to any connection path.
-
Highlight the desired station in the Power Caches window. At this point, the Available Connection Paths window will display all the existing connection paths. If the highlighted station is a member of one of the existing paths, the connection path will be ticked and details of that path will appear in the Connection Path Description box.
-
Tick the box associated with that connection path to add the highlighted node to a new connection path. This will assign the node to its new path.
The method described above is optimal for assigning connection path membership to one cache/reader. However, assigning multiple nodes through this method can be tedious. To move a whole group of nodes choose the Connection Path Assignments option from the list at the top of the dialog.
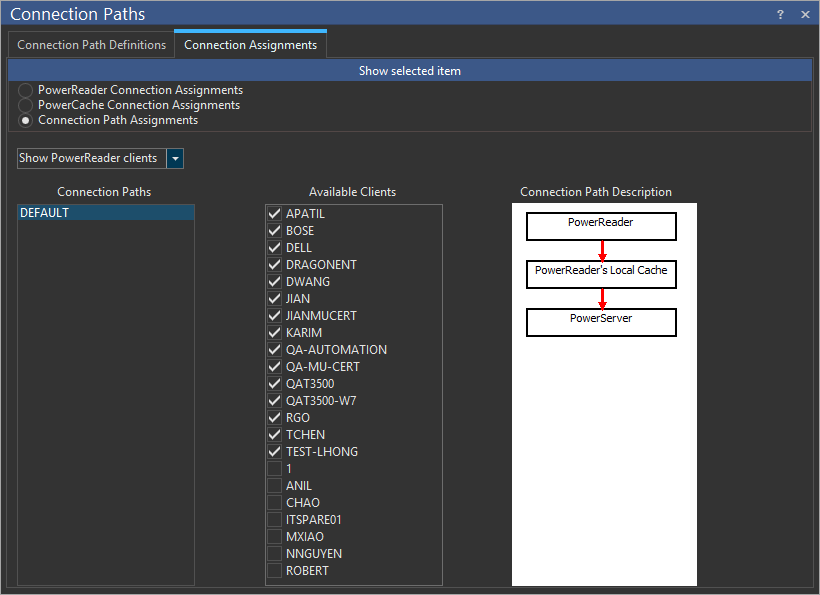
The Connection Paths window will display all the existing Connection Paths. The Available Clients window will display the list of PowerReader clients or PowerCache, depending on the option chosen from the pull down menu. Once a connection path is selected, its details are displayed in the Connection Path Description window. A number of items can be assigned to the Connection Path, by checking the required items in the Available Clients Window.