Customizing The Patient Explorer
You can resize the Patient Explorer. To make the Patient Explorer smaller, move the mouse over the border dividing the explorer from the image display area. Click and drag that border to reduce or increase the size of the explorer. Similarly you can move the divider between the series section of the explorer and the thumbnails in order to change how much space each section takes up. If you will like to hide the explorer completely, click the Show/Hide Patient Explorer tool on the Toolbar ribbon:

Clicking the tool again, will bring the Patient Explorer back on the screen.
When you resize the Patient Explorer and click the Save Desktop Position option, it saves the Patient's Explorer's position. When you close and open the study again, the Patient Explorer's size and position are retained as it was before closing the study. When a user closes and logs out of PowerReader and logs in again, the position of the Patient Explorer (regardless of the Patient Explorer being docked or un docked) from the last login is retained.
Users can change the position of the splitters* and then click the Save Desktop Position option. The splitters positions are retained after closing and reopening the study. The size, position and the state of the Patient Explorer are retained when switching between Vertical and Horizontal layouts.
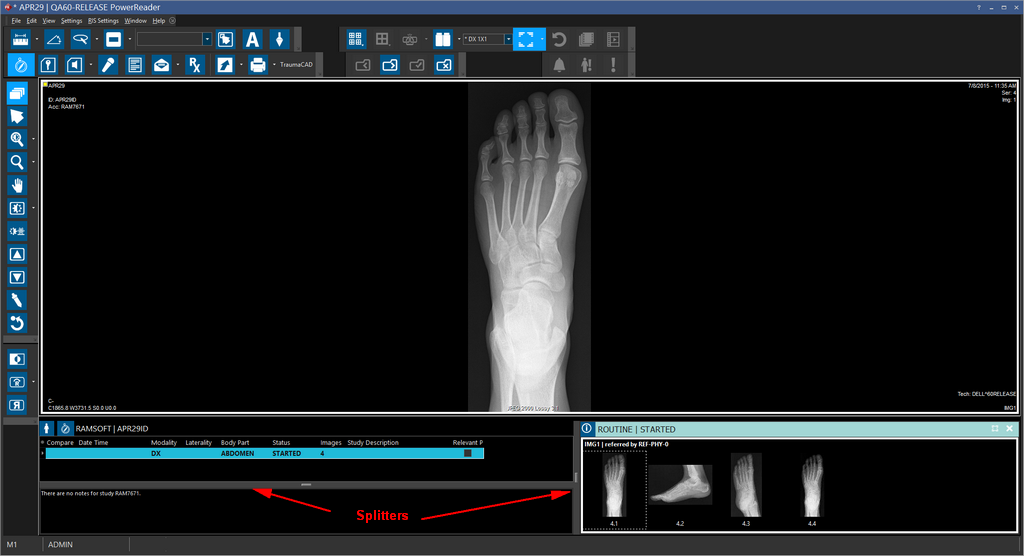
* Two splitters split the Patient Explorer window. One of them splits the Series Thumbnails window and the StudyGrid and the other splits the Study lists and the Study Details section.
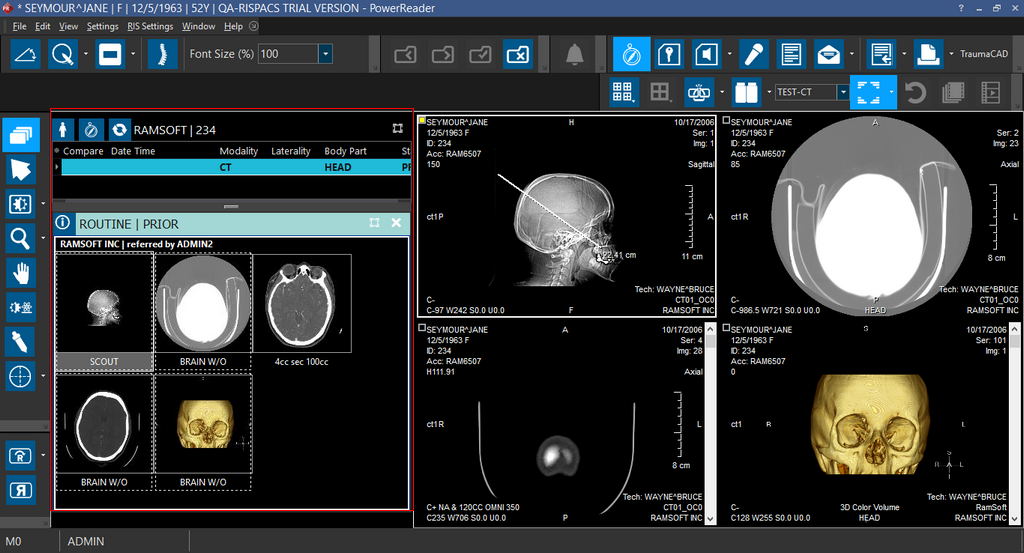
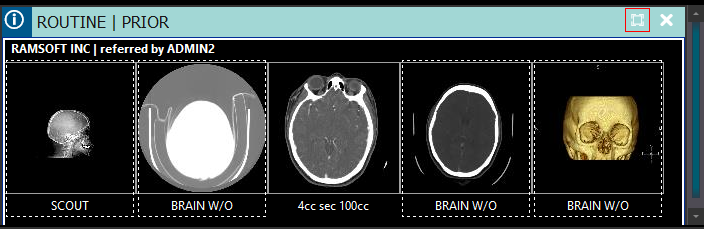
Resizing Study Details
At the time of closing a study, a user might have:
- re-sized the Study Details section in the Patient Explorer
- left the Study Details section displayed or hidden
Now, if the user closes the study and reopens it again, the size, position and the state (either with the Study Details section shown/hidden) of the Patient Explorer are retained from the last time the study was open.
Patient Explorer Scrolling Behavior
If Patient Explorer has thumbnails that can be scrolled or the Comments section or the studies grid has enough data that requires scrolling, hovering the mouse over them and scrolling the mouse wheel should scroll any section on the Patient Explorer.
When scrolling over studies in Patient Explorer, if you scroll from current study to a prior study, correspondingly the Document Viewer would have the documents section scroll to the Prior tab. This can be observed only when the prior study has any prior reports.
While it is convenient to have the Patient Explorer on a separate monitor to access history and other study details, you might want the thumbnails to be available on the study desktop, so that you can easily drag the images on to the viewports.
RamSoft PowerReader has a feature to dock and undock the Patient Explorer to the study desktop. You can dock thumbnails at the top, bottom, left and right side of the study desktop. You can also have the Patient Explorer floating on the study desktop if it's still not docked.
Docking the Patient Explorer by dragging and dropping
You might have a situation where in you want to dock a Patient Explorer to the study desktop.
-
Once you decide as to which side (top, bottom, left, right) of the study desktop you would want to dock the Patient Explorer to, drag the Patient Explorer window all the way to the margin of that side of the study desktop.

For example, if you want to dock the Patient Explorer to the left side of the study desktop, drag the Patient Explorer window to the left margin of the study desktop. You can see that the Patient Explorer window turns transparent while dragging and when the cursor reaches the left margin of the study desktop, the left side area of the study desktop gets highlighted.
This indicates that you have reached the appropriate docking spot.
- You can see that once you drop the Patient Explorer, it gets docked to the left side of the study desktop.
Alternatively you can also dock the Patient Explorer by clicking the Dock and Undock Patient Explorer tool button:
Positioning on a Secondary Monitor
When the patient explorer is in Undocked state, it could be moved to another monitor. For example, you may want to use a secondary monitor and share it between the document viewer and patient explorer. It is possible to resize patient explorer by grabbing any of its borders or clicking on the maximize icon:
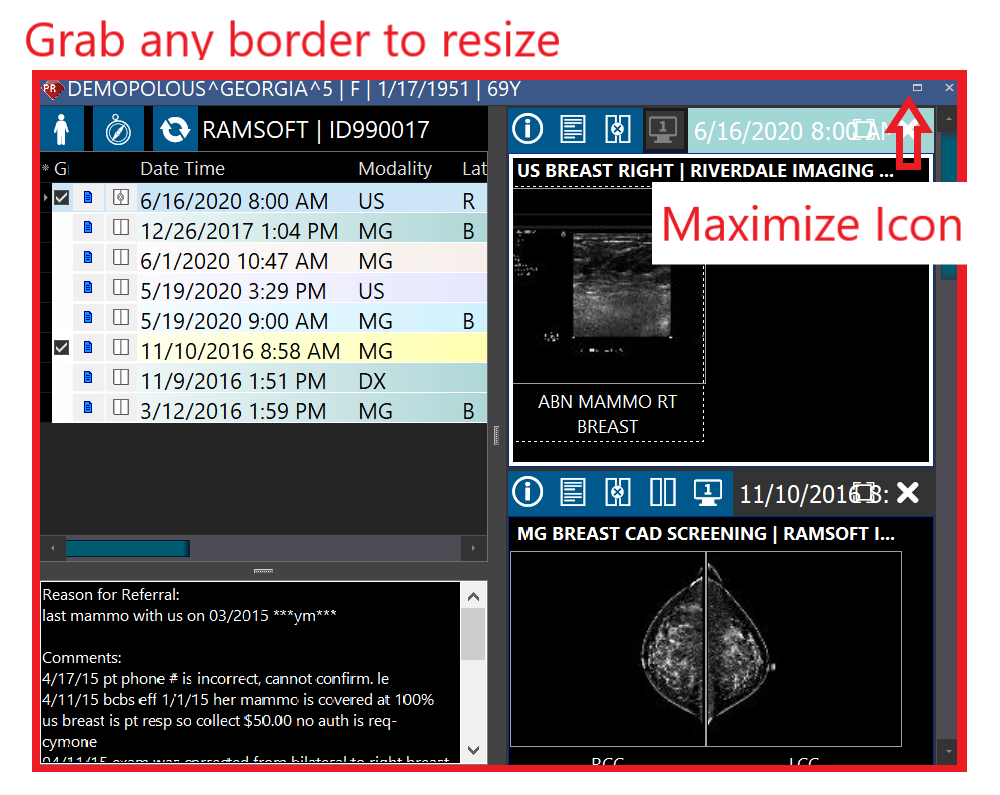
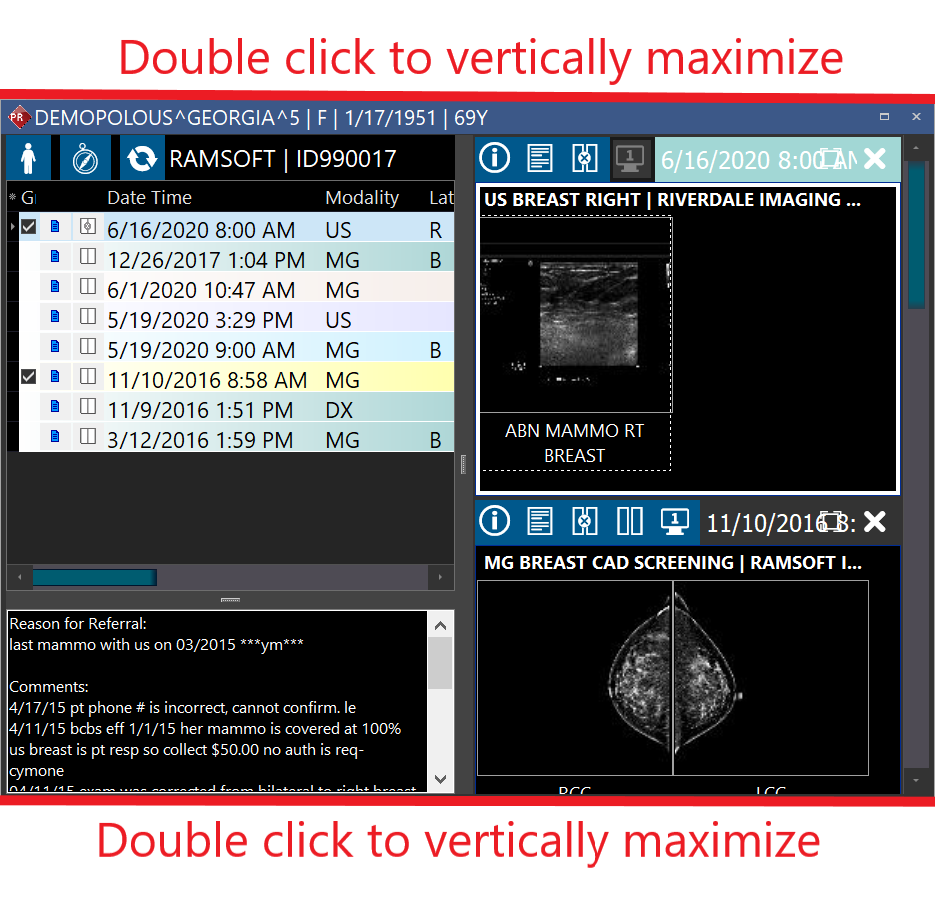
Besides, you can vertically maximize patient explore by double-clicking on top or bottom borders of it: