Edit a Viewing Protocol
This section of the manual explains how to access and modify hanging protocol settings. However, it does not explain what these settings do. That information can be found in the How Do I Create a Viewing Protocol? section.
Modifying an existing viewing protocol
To edit an existing viewing protocol, you will need to launch the Viewing Protocol Setup dialog. This can be done by either clicking the Viewing Protocols > View Viewing Protocol's Details in the Study Desktop toolbar. Clicking this option will launch the Settings for currently selected protocol screen. The name of the current protocol will be visible on the title bar.
The Monitor Layout is the first visible section.
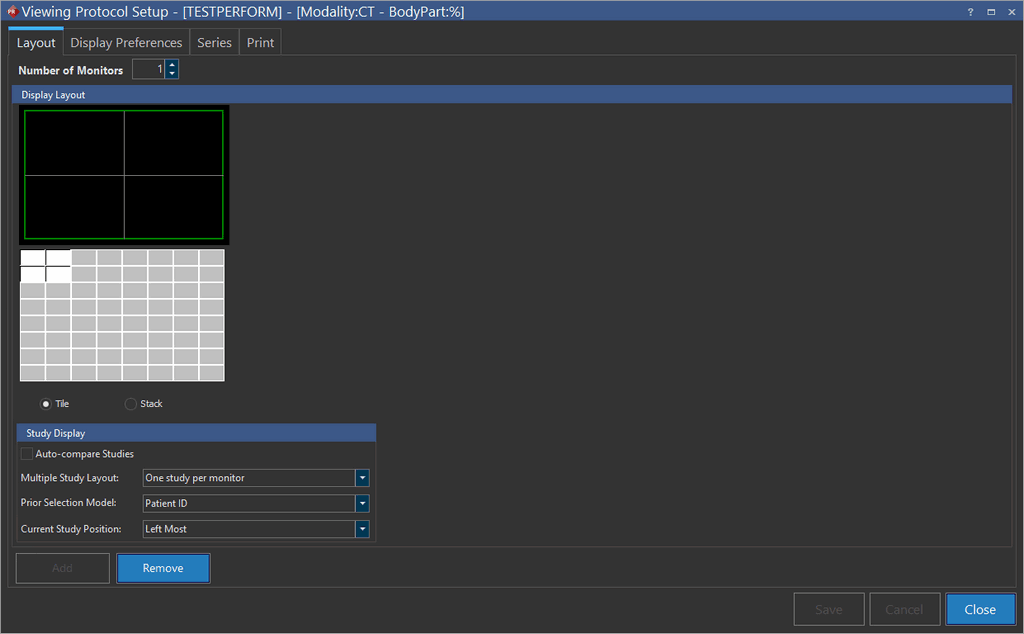
If a definition exists for any of the configurations, it can be modified by changing the values in the Display Layout. Each monitor layout can be defined individually. You can edit any changes to the display in the Study Display sections and then click Save. A layout can be completely removed by clicking the Remove button. If a layout does not exist for any of the monitor configurations, a new one can be added by clicking the Add button, setting up the layout, and clicking Save.
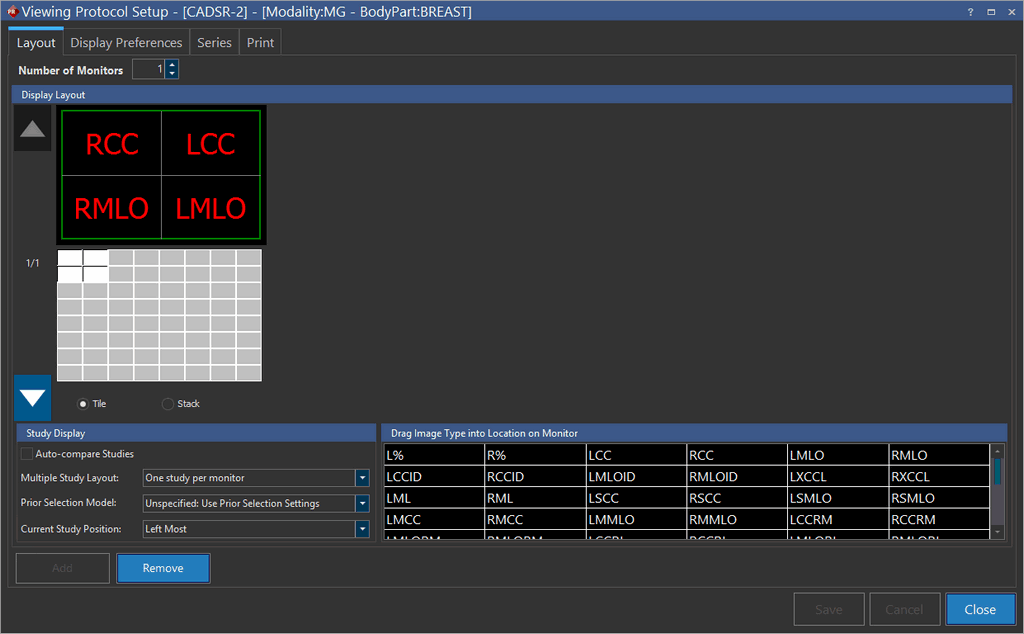
Keep in mind that if a mammography viewing protocol is being edited, the layout window will also display the Drag Image type into Location On Monitor field which will be populated with various Mammogram views. You can drag and drop any particular views into the view boxes and then click save (the viewing protocol must have MG or CR modality defined as its modality).
Clicking the Display Preferences tab will open the following section.
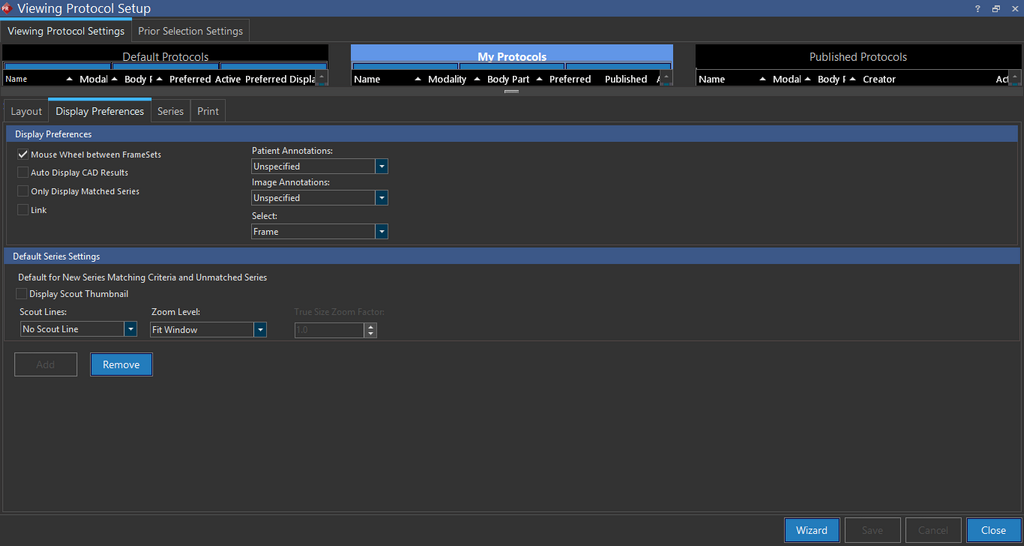
Checking the Mouse Wheel between Framesets checkbox indicates that as the user scrolls to the last image of a series, if they continue scrolling, the scrolling will continue into the next series. If this checkbox is unchecked, the user will have to explicitly select the new series to continue.
Here you can toggle the specifics of the interaction between the user and the software. Clicking the Series tab will open the following section.

Here you can modify the specifics of existing series rules, as well as add and remove them. To modify the ordering of the rules, simply highlight a rule and use the up and down arrows to move it up or down in the order. To modify any of the matching criteria, highlight a rule and click the field you will like to modify. Once done, click the Save button. Similarly to modify any of the Series Settings, highlight the desired rule and make the appropriate changes to the check boxes or drop-down menus in that section. Once done, click the Save button to save the changes.
Once you have set up the series rule as desired, it is possible to view the results of these modifications by pressing the Matching Information button. This button is visible in Series tab screen only if a study is loaded into the Study Desktop. Clicking it will launch the Matching Criteria Information dialog.

This dialog allows for the analysis of the current series rules and the effect they will have on the current study. The bottom portion of the dialog contains the Series Matching Rules associated with the current protocol. The middle section contains a list of all the series that make up the study currently loaded into the study desktop. These are ordered by series number. This is the order in which the series were received and will be displayed in, if no viewing protocol was available.
The top portion of the dialog shows the result the hanging protocol will have on the current study. The list shows the order the series will appear in, and which rule each series is being matched by. Clicking any entry in this list will highlight the corresponding series in the middle list, and the matching rule in the bottom section. If any series are appearing out of the desired order, this dialog can be used to quickly identify the cause for the wrong ordering and to resolve the issue. Clicking Close will close the dialog and cause a return to the Series section.
Clicking the Print tab will open the last section associated with the protocol. Here the layout of the study when printed to film can be adjusted.
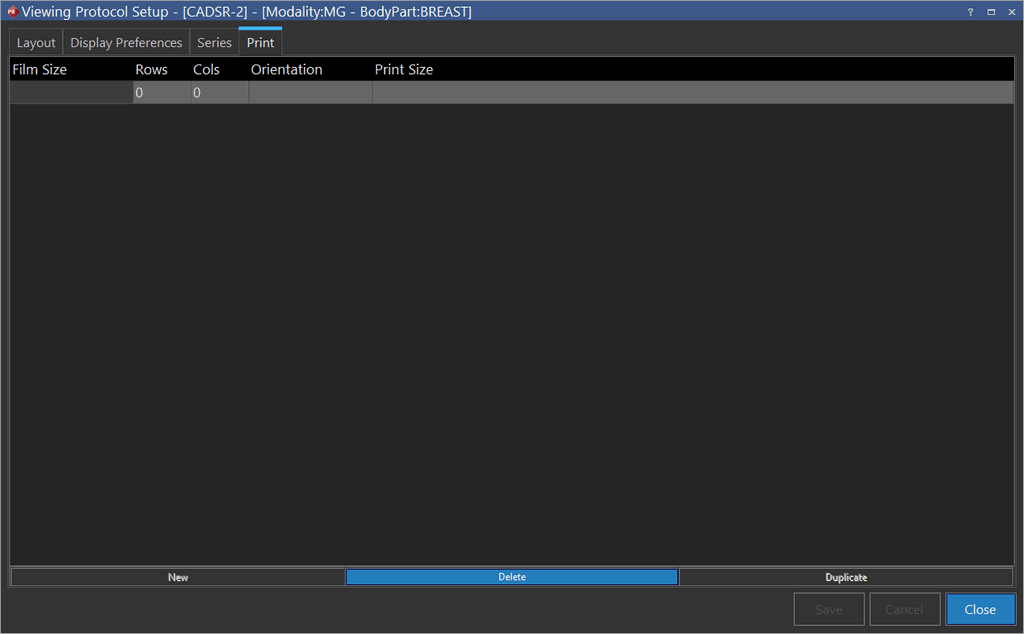
To modify any of the existing layouts, simply highlight the desired field and change the value. Next click the Save button. To remove any layout completely, highlight it and click the Delete button. Finally a new layout can be added using the New or Duplicate buttons.
Editing current viewing protocol via wizard
As you may have noticed, the above option of View Viewing Protocol's Details only allows the user to view the details in protocol of the currently selected study. If you wish to create a new Protocol for the current study through the Wizard, click Viewing Protocol Settings icon > Edit Current Protocol via Wizard.
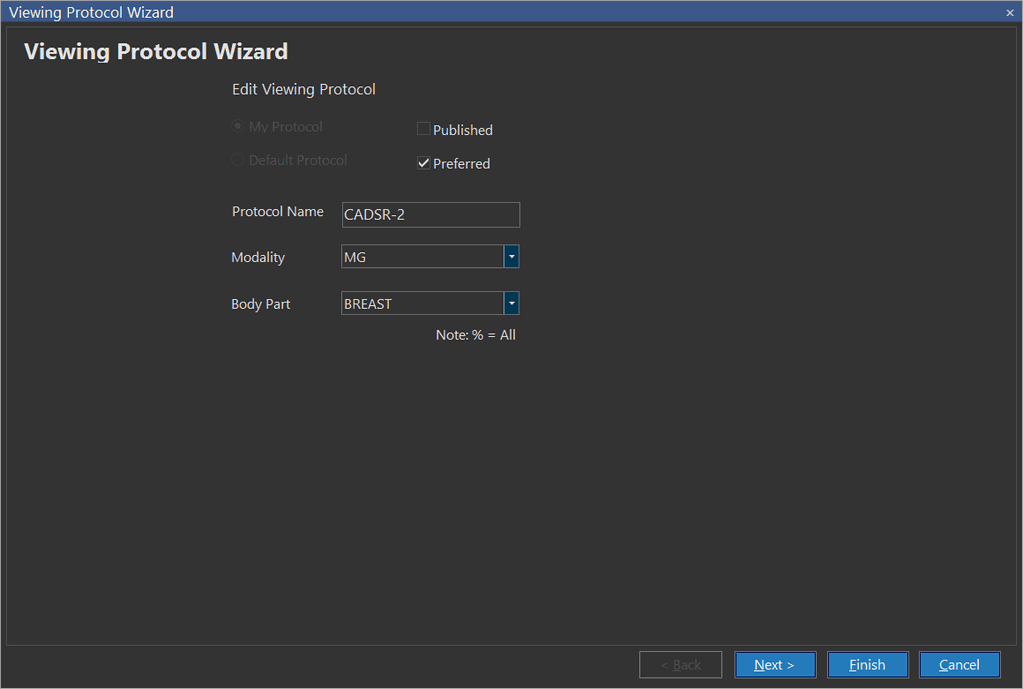
This option will launch the Viewing Protocol Wizard. You cannot choose the My Protocol and Default Protocol options are disabled as they are been selected for the current study already. However, you can choose Preferred to make this newly created protocol.
Now, you can go ahead in the wizard and create a new protocol in the exact same way as creating a normal viewing protocol. For further reference, please view the How Do I Create a Viewing Protocol? section.
Editing viewing protocol via setup viewbox layout
Another simpler way of editing the viewport layout on the go is to click on the Setup viewport layout ![]() icon in the toolbar. This will open the Display Layout form.
icon in the toolbar. This will open the Display Layout form.

In the Display Layout section you can choose the number of viewports that should be visible on the screen. You can also choose how many images to view at once in the viewport and how they are laid out. Clicking on the grid will apply the settings on the viewport i.e., 1x1, 2x3 etc. Choosing the Apply to All Monitors option will apply the Viewport Layout changes to all the monitors. If the option is not chosen, the changes will only affect the currently highlighted viewport.
The following option has also been explained in Navigating the Study Desktop section.
RELATED TOPICS:
Orientation
Orientation is type of screen layout that you can opt to view based on the requirement. They are Portrait and Landscape.
Portrait
It is a most common view where the viewports of the study will be displayed vertically one besides the other.
Landscape
Though it is not uncommon, it is an optional type of view where the viewports of the study will be displayed horizontally one below the other.