Advanced Print Settings
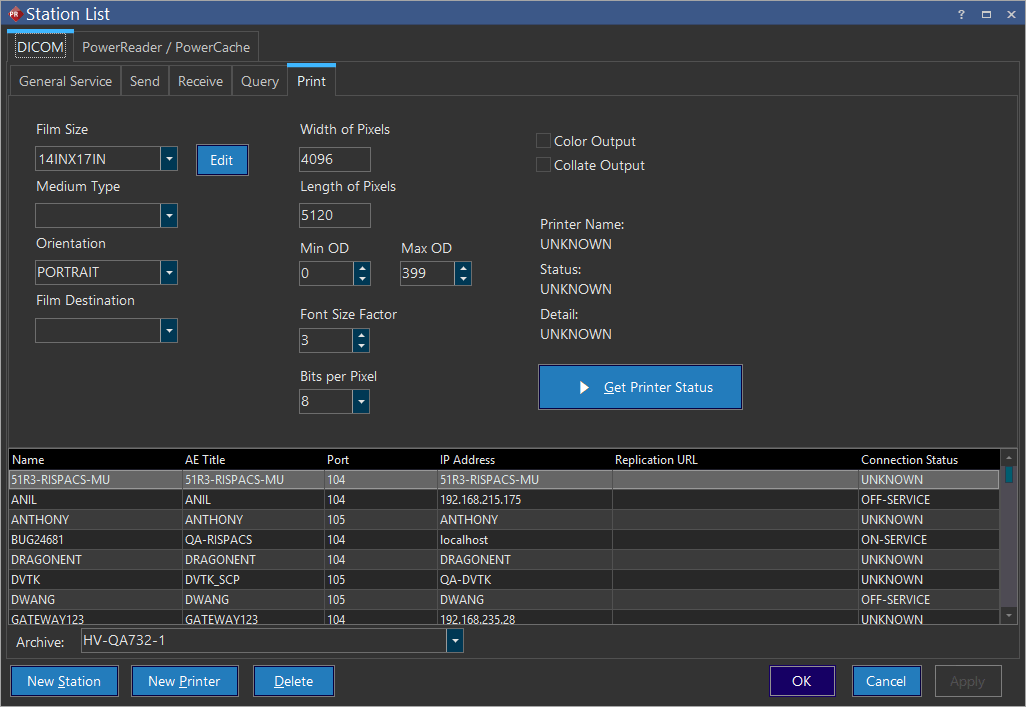
In the Print section of the Station List you will be able to configure options that are specific to DICOM printers. Any settings you configure will apply only to studies sent to the currently highlighted printer in the list.
- Click Settings > Server Settings > Station List. Station List screen appears as shown below. By default, DICOM tab > General Service tab remains open.
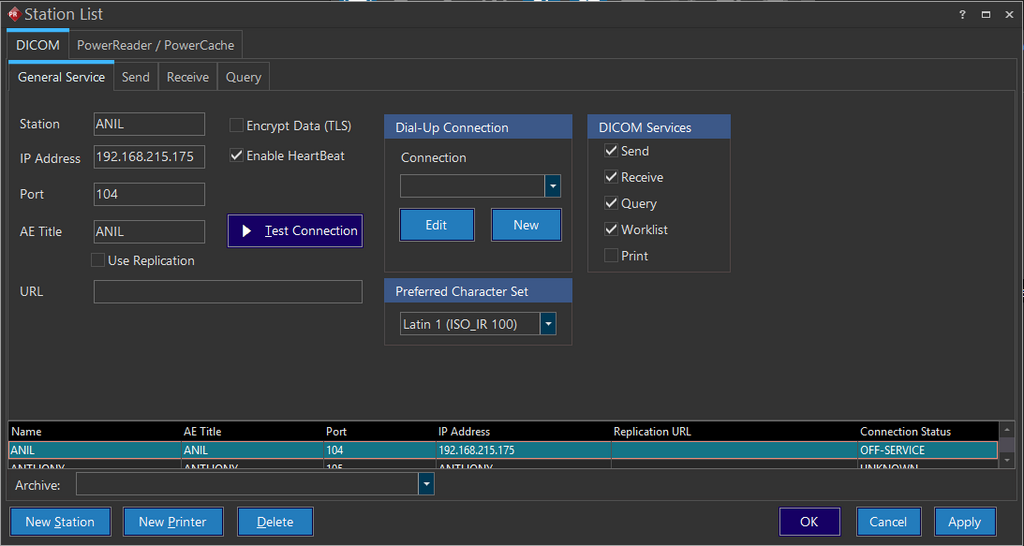
- Click Print checkbox found under DICOM Services. Only then application will display print tab beside Query tab.
Query Tab
| Field Name | Description |
|---|---|
| Width of Pixels | The Width of Pixels value determine the resolution of the printed images. If this value is in an incorrect ratio, the images will be distorted. If this value is set higher than the printer could support, the images will not print at all. If the images are not appearing correctly, you should contact the printer manufacturer to obtain the optimal resolution values. |
| Length of Pixels | The Length of Pixels value determine the resolution of the printed images. If this value is in an incorrect ratio, the images will be distorted. If this value is set higher than the printer could support, the images will not print at all. If the images are not appearing correctly, you should contact the printer manufacturer to obtain the optimal resolution values. |
| Min OD & Max OD | Min OD and Max OD determines the optical density range used by the printer. These values should be adjusted if the printed output is too light/too dark/lacks contrast/has too much contrast. The optimal settings can be obtained from the printer manufacturer. |
| Color Output | The Color Output checkbox needs to be checked appropriately in order to get the best image quality. If this box is checked, the images sent to the printer will be sent using the RGB encoding. If the box is unchecked the images will be sent as grayscale. |
| Collate Output | The Collate Output option can be used to change the order in which the images are printed. If Collate Output checkbox is checked, all images will be printed once in a sequence as one set. This process repeats as many copies it is specified to print. If Collate Output checkbox is unchecked, the first image will be printed repeatedly the number of copies specified to print followed by the second image and so on. |
| Get Printer Status | The Get Printer Status button will retrieve information from the printer regarding its name, status and details. If printer is unavailable, or the service is unsupported, this request will fail. |
| Bits per Pixel | Bits per Pixel will determine the quality of the printed images. All grayscale printers will accept eight bits per pixel. Printing at 16 bits per pixel may provide higher quality image. |
| Font Size Factor | The Font Size Factor number is used to determine the font size of the annotations. |
| Film Destination | The Film Destination denotes the collection tray where the printed images go into. This setting is applicable only in few models. Unless the printer requires a value in this field, it should be left blank. |
| Orientation | Orientation denotes two types. They are Portrait and Landscape. In portrait the height is greater than the width. A PA chest is a classical example of a portrait image. This setting will only be used when printing more than one image per page. If a full page image is being printed, the RamSoft software will automatically determine the best orientation for the image. |
| Medium Type | The Medium Type field informs the printer whether the images should be printed on paper or a specific type of film. This setting is not necessary for most new printers, however it may still play a role during some installations. Unless the printer requires this information, the field should be left blank. |
| Film Size | What size of film could be appropriate to print the image can determined in Film Size drop-down menu. This is an important setting as the images are pre-formatted for the film size before they are sent to the printer. This setting needs to be configured properly for all printers. The drop-down menu will contain only one entry to start with. |
| Edit | If the printer supports multiple film sizes, click Edit to bring in the various supported film sizes from Allowed Film Sizes list. Press and hold down the Ctrl key, and then click the desired film sizes based on the requirement. Upon multiple selection, click OK to close the Allowed Film Sizes list. The film sizes whichever you selected in Allowed Film Sizes list will be available in in the Film Size drop-down menu. Henceforth, these sizes will also be available to a user who is printing a study and wants to overwrite the default Film Size setting for the current print job. |