How Do I Create a Microsoft Word Report from a Template?
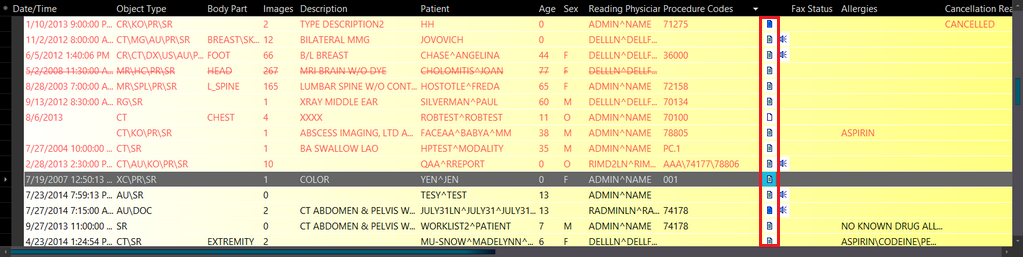
To create a Microsoft Word Report from a template, the Reporting Tool has to be setup to use Microsoft Word Reports. Click on the View/Create Documents button from the study or click on Document Viewer button from Worklist.
Once the Document Viewer is opened, go to the Templates tab and select any template you want to create a Microsoft Word Report from and right-click on the selected template. Templates are sorted by following rules in the Document Viewer.
- Study Level Documents - Patient Level Documents
- Matched Point base on criteria (maximum matched on top)
- Set as default or not
- Template Name (alphabetically)
It will open a menu to allow you to create a new Word report from the selected template.
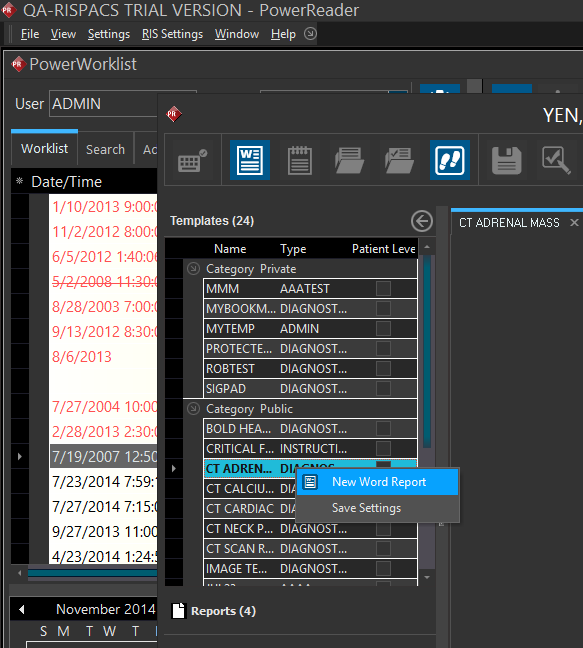
Click on the New Word Report From Template menu and the selected template will be loaded into a Microsoft Word editing window.
All the DICOM fields will automatically be populated.
The menu bar at the bottom will display the following options:
-
The Capture Keyboard or Release Keyboard buttons allow keystrokes or textual input from Voice Recognition software such as Dragon to be sent to focused window. When the Release Keyboard button is displayed, textual input will be directed to the report window; when the Capture Keyboard button is displayed, textual input will be directed to the window which has focus.
-
The Save button will save the report.
-
To attach a new file as a DICOM report select the Attach button. A dialogue will appear prompting the user to select a document title and type. The title can have a maximum length of sixty four characters.
-
The Update button will open the current report in the MS Word Editing Window where it can be modified as desired (Please refer to the section Rules for updating preliminary documents below).
-
The Sign Report button will change the report from Preliminary to Final. It will also place the physicians Signature at the bottom of the report. Only diagnostic reports can be signed by the user.
If the template has been protected by a password, the system will prevent the user from saving or signing the report. The user must enter the required password to unlock the template.
-
The Check mark advances the study's status. The Check mark will only appear for study players who are authorized to advance the study to the next level e.g. Reading Physician, Transcriptionist etc.
-
Clicking the Exclamation Mark
 button changes the study's priority to either CRITFIND or CRITEST.
 -
To close the report, click the Close report.
-
The Next Study button will open the next study/document viewer of the next study on the Worklist.
After the report has been signed by the user, the user can view the following additional buttons:
- The Amend button will be visible at the bottom and allows the user to add further changes to a signed report. When the Amend button is pressed, the report viewer goes into edit mode and any changes made are saved as an Addendum to the Final report.
Rules for updating preliminary documents
The option Automatically Edit Existing Reports in Settings > User Options > Document Options allows the assigned Reading Physician to update a preliminary/diagnostic preliminary report without pressing the Update button in the Document Viewer.
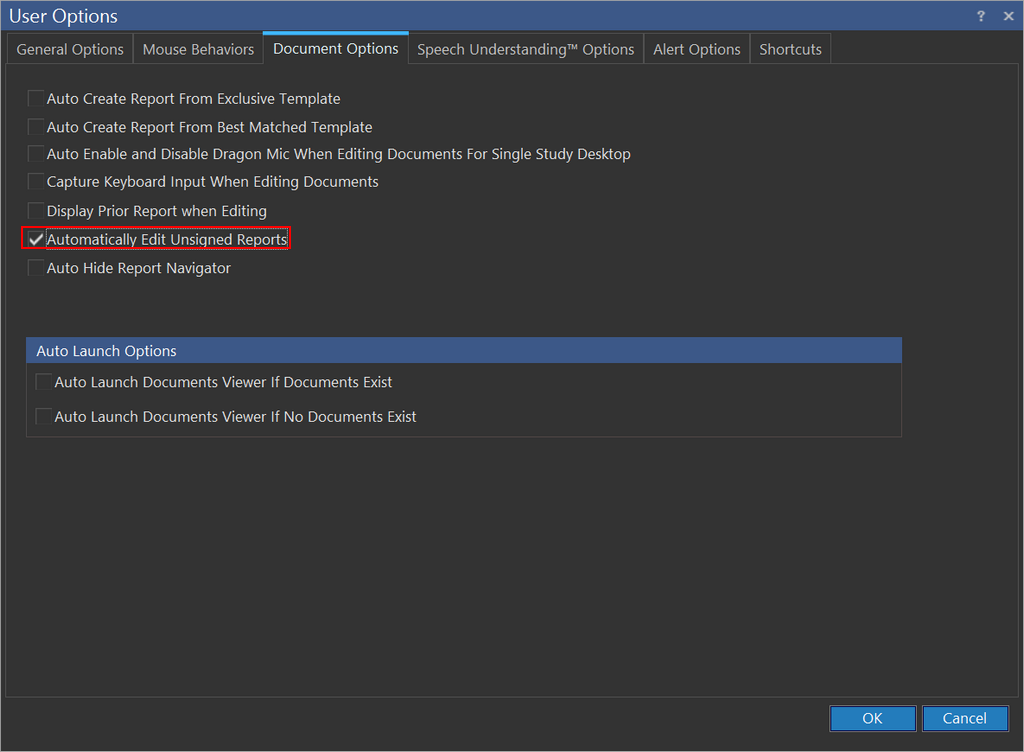
When the option is selected, the assigned reading physician can edit an existing preliminary/ diagnostic preliminary report without pressing the Update button. In this case, the 'Update' button is disabled. The users will be able to update the document with this option if the following conditions are met:
| Condition |
|---|
| 1. The study status should be less than 'Read' (i.e., less than 180). |
| 2. The study should have only one Diagnostic Report/ Diagnostic preliminary report. |
| 3. The status of the diagnostic report should be 'Preliminary'. |
| 4. The user updating the study must be the assigned reading physician of that study. |