Image Tools
The Image Tools toolbar (below) contains some of the most commonly used tools used for image manipulation. By default, it is docked at the left side of the window when a study is opened. Each can be accessed by pressing a shortcut key, denoted in brackets. Tools not available for the study are in grey.

Scroll Tool: Scroll Through Frames in the ViewPort (S).
Select Tool: Select Viewport or Drag Viewport to Another Location (V).
Zoom, Pan and Window Level Image (N) (Shift + Alt + F7). See: Zoom, Pan and Window Level Tool
Window and Level (W). See the section on Window Level.
Zoom Tool: Zoom in or out of image (Z). See the section on Zoom.
Pan Tool: Pan the Image (T). Click and drag the image to pan the image. Cursor: ![]()
Turn on / off clamped window / level (Ctrl + F8). The Clamped Window/Level tool changes the mode of windowing behavior for the selected viewport(s) between changing the window center and width, or adjustment of the upper value of the window with the lower limit clamped to zero. See the section on Window Level.
Sharpness Tool: Apply Sharpness Enhancement to the image (Ctrl + F3). See the section on Sharpness.
Unsharp Mask: Apply unsharp Mask Enhancement to the image (Ctrl + F12). See the section on Sharpness.
Probe Tool: Probe the image (G). See the section on Probe.
Use Cross-hair Pointer mode (J). See the section on Cross-hair pointer.
Reset all image operations (Esc). Resets image to the original state. See: Undo.
Expand Arrow: click arrow at bottom right corner to view more options for this Toolbar.
To select an image series or multiple image series, refer to the topic on Selecting Images. To Maximize an image for viewing, refer to the topic on Maximizing Images.
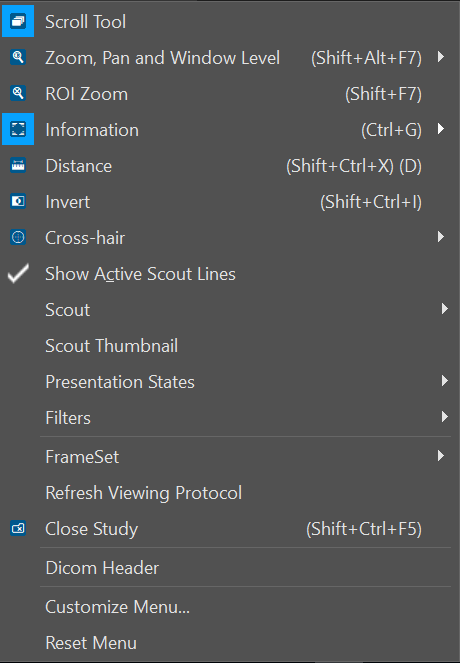
The right-click menu by default contains a list of frequently used tools. The following portrays the default menu options. The menu can be customized by clicking "Customize Menu" (second to last option) or reset to the default view by clicking "Reset Menu" (last option).