Zoom
Zooming in and out of images is essential while searching for details in images. There are a variety of zoom tools that have been used across different software packages which can be used for the magnification of the image.
All zoom tools are accessible by clicking on the arrow beside the Zoom in or out of an image ![]() (Shift + F7) in the Image toolbar.
(Shift + F7) in the Image toolbar.

ROI Zoom Tool
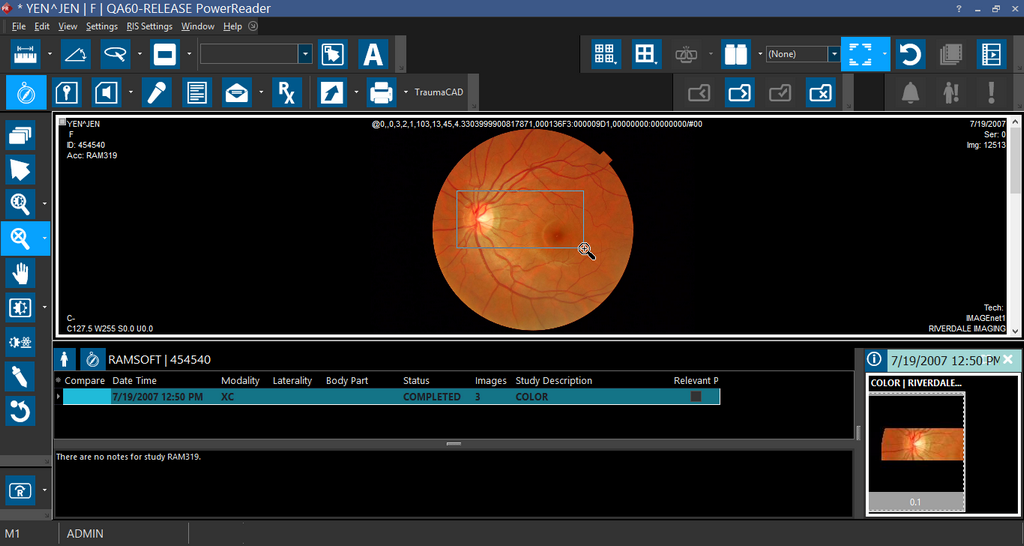
The ROI (Region of Interest) Zoom (Shift + F7) is achieved by clicking on a spot on the image and then dragging around the region to be magnified. This tool can also be activated by clicking on the sub-menu and then choosing the ROI Zoom option.


When the desired region is contained in the box, releasing the mouse button will magnify the region so that it fills up the current viewport.
The Fit Window, Fit Width, Pixel Size and True Size options
The Zoom menu also contains the Fit Window, Fit Width, Pixel Size and True Size options. These are mutually exclusive, meaning that only one of them can be selected at a time.
The Fit Window option re-sizes the images so the whole image is visible in the viewport it is being displayed in. This reduction/magnification does not affect the image ratio aspect, so that all shapes and features remains same.
The Fit Width option allows you view an image with its width maximized in the image viewport. Selecting this option, zooms the HC/image so that the viewport is occupied by the document/image with the largest possible width.
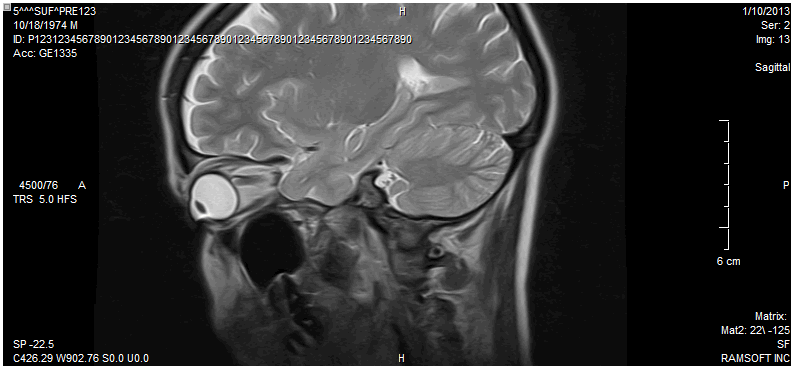
Below, the left viewport contains an HC in Fit Width mode, and the right viewport contains an image in Fit Window mode.
The Pixel Size option renders every pixel in the image without using any interpolation technique. Depending on the original image size, this could make the image too big or too small to fit in the viewport it is being displayed in.
The True Size option displays the images in true anatomic size. The only exceptions are X-ray images, which will be viewed in film size.
If this option is not available in Zoom menu, it is because PowerReader has no information on the monitor size. See section How Do I Measure My Monitor? to read on how to enable True Size.
Magnify % tool
The next option in the Zoom menu is Magnify %.
By entering a value into the Magnify % field, the image is displayed using that magnification.
Magnifying Glass tool
The Magnifying Glass is another zoom tool available in the software. Choosing this option will open the Magnifying Glass window.
Clicking and holding down the window, as in the picture to the left, will allow you to drag the window around the study desktop. The area under the glass is automatically magnified.
The magnification level can be changed by dragging the track bar at the bottom of the glass.
The mouse scroll wheel can be used to increase or decrease the magnification.
Scrolling the wheel up will increase the magnification and scrolling down the mouse wheel will decrease the magnification.
The Magnifying Glass tool is closed by clicking the X in the top-right hand corner.
If the Magnifying Glass was selected from the Zoom tool pull-down menu in the toolbar, it will open the Magnifying Glass in the same spot it was last used. If the Magnifying Glass was selected through the Zoom option from the image right-click menu, the Magnifying Glass will open up in the spot where the mouse cursor is.
You can also increase or decrease the size of the Magnifying Glass by placing the mouse cursor over the edge of the window and then clicking and dragging the window edge.
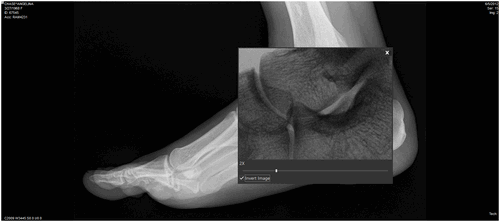
The Invert Image option at the bottom of the magnifying glass is used to reverse the grayscale values of an image. Applying the Invert Image will make white areas appear black and black areas appear white. This option can be very useful to clarify areas of CR, Mammo and X-ray images. If the Invert Image option is selected, the option will remain active until the user logs out of the system.
Magnifying Marker
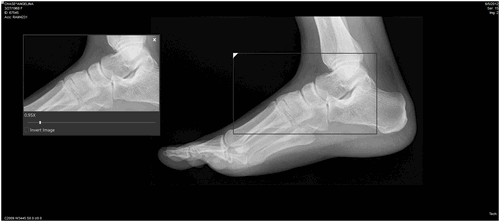
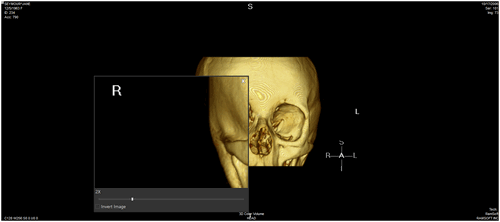
The last tool in the menu is the Magnifying Marker. This tool opens the Magnifying Glass, as well as a Magnifying Marker. With this tool, the Magnifying Glass displays the contents of the Magnifying Marker.
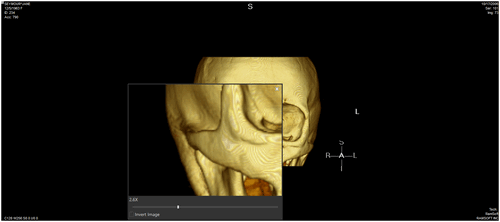
The magnification level can be increased or decreased in the Magnifying Marker by moving the slide bar at the bottom.
Moving to the left decreases the magnification and moving it to the right increases it.
The mouse scroll wheel can also be used to increase or decrease the magnification.
Scrolling the wheel up will increase the magnification while scrolling down the mouse wheel will decrease the magnification.
When using this tool, it is a good idea to place the Magnifying Glass somewhere where it does not interfere with the images. Next, drag the magnifying marker around by clicking on the triangle in the top left corner of the box.
The magnification and magnified region size can be changed in the same manner as the Magnifying Glass tool.