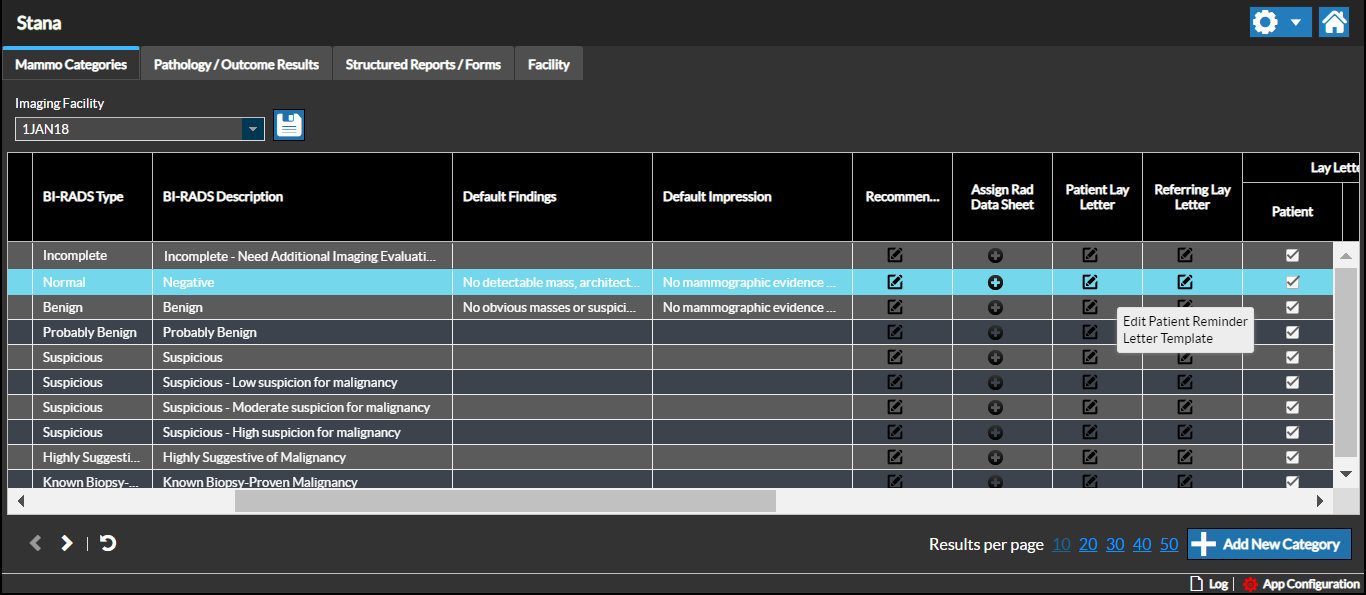
Mammo Categories
You can define or edit a Patient Letter, Referring Letter, Lay Letter, Followup days and Reminders Letter for each Mammo Category.
Users can also setup a default category, default breast density, default findings and default impressions under Mammo Categories so that the default value will be pre-populated on the Radiology data sheet when a study is opened the first time.
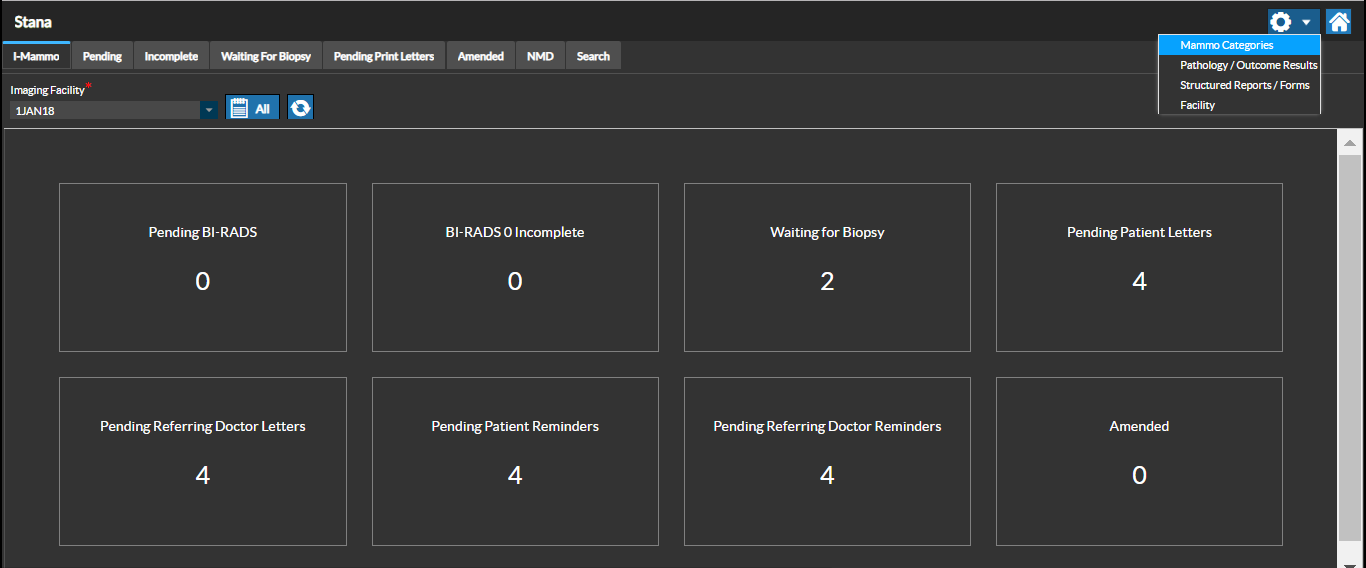
Select the Mammo Categories option from the Settings drop-down menu.
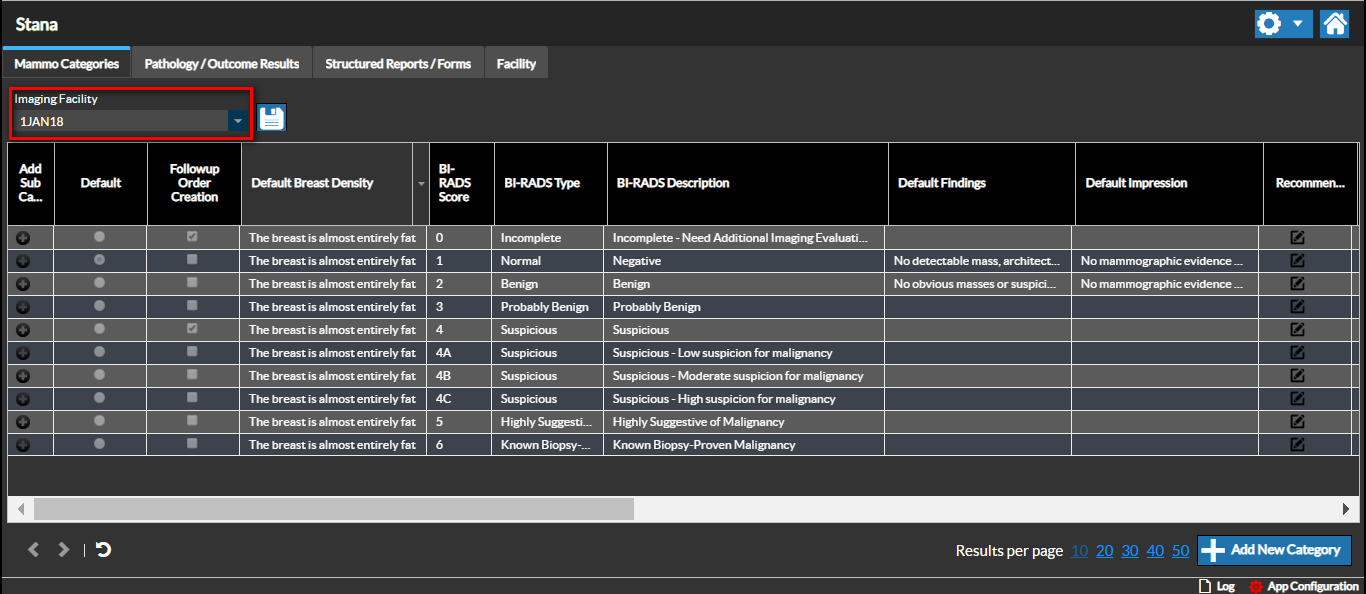
Select the Imaging facility you need to view the categories for.
Adding a New Category
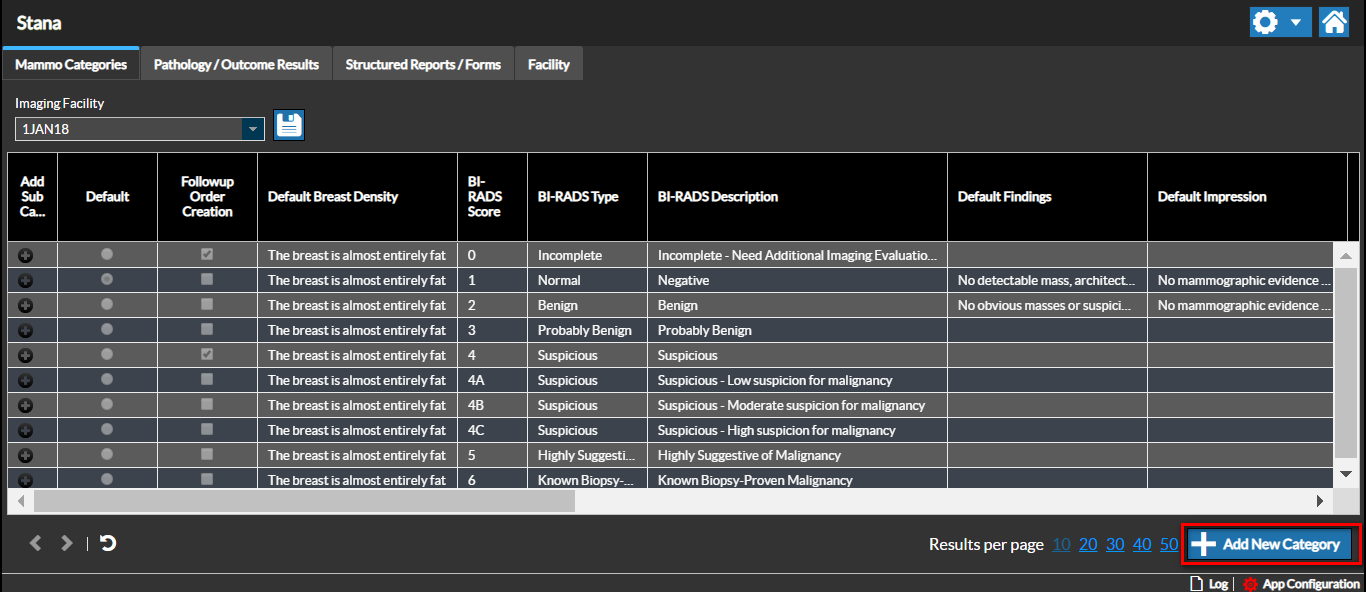
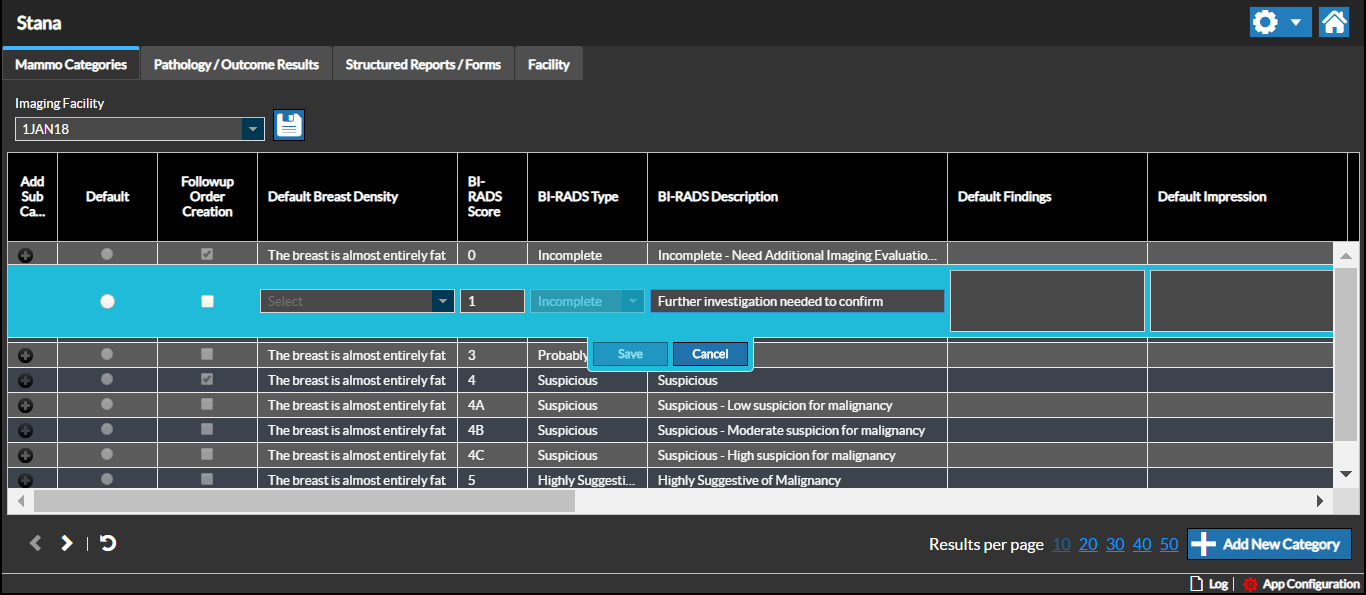
You can add a new Category by clicking the Add New Category button on the bottom right hand side of the screen.
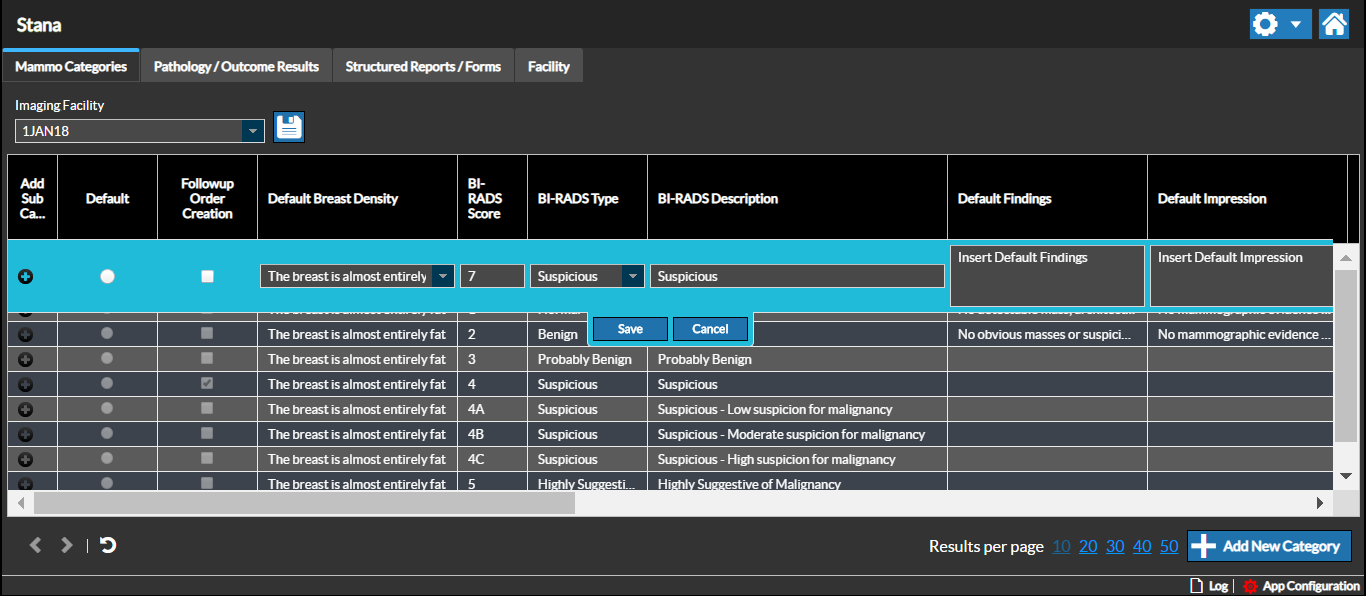
Enter the relevant descriptions and click Save.
Sub Categories
You can add subcategories to an existing Category for the Imaging facility by clicking the "+" sign on the left. A new row below the selected Category is created.
Enter the relevant descriptions in the fields.
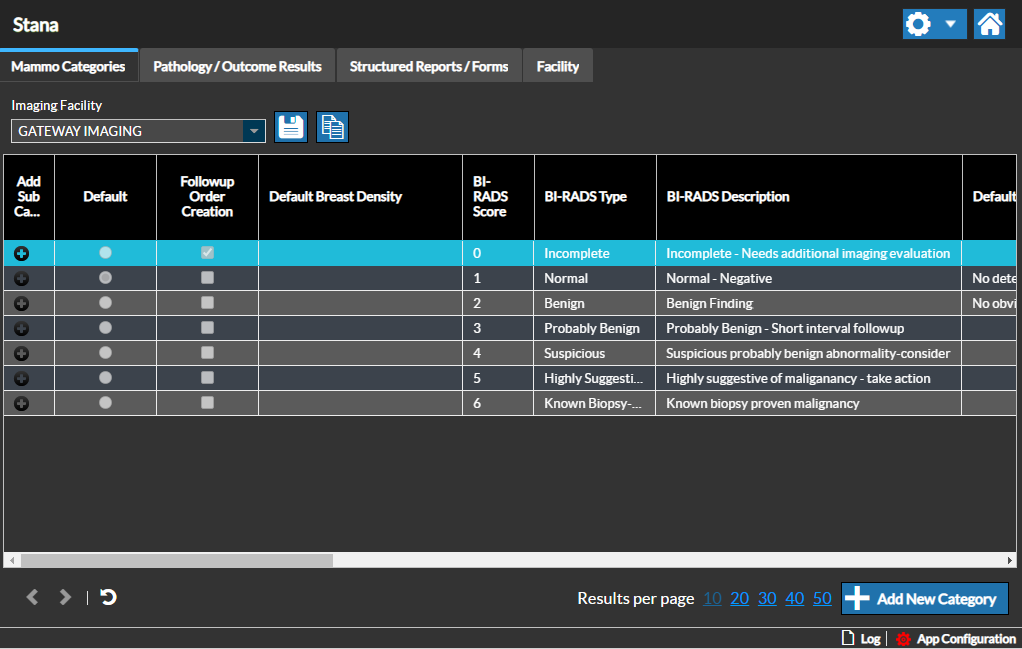
Duplicating a Category
If you want to create a similar category to an existing category you can make a copy of the original category. To do that, first, select the category that you want to copy:
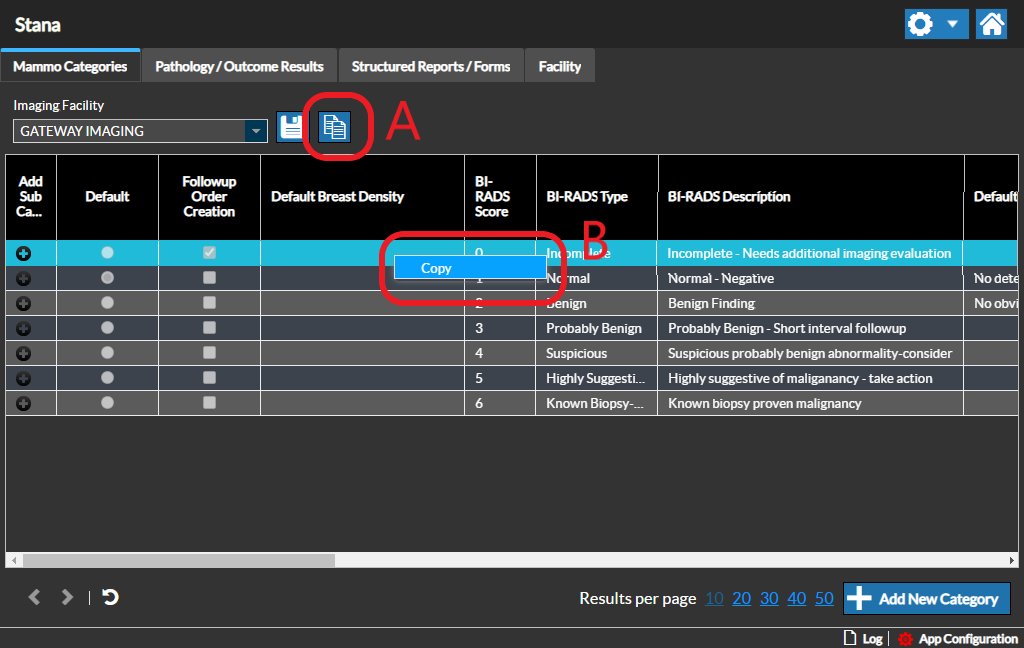
Then click on "copy icon" (A on the screenshot below) or right-click on the category and select "copy" (B on the screenshot below):
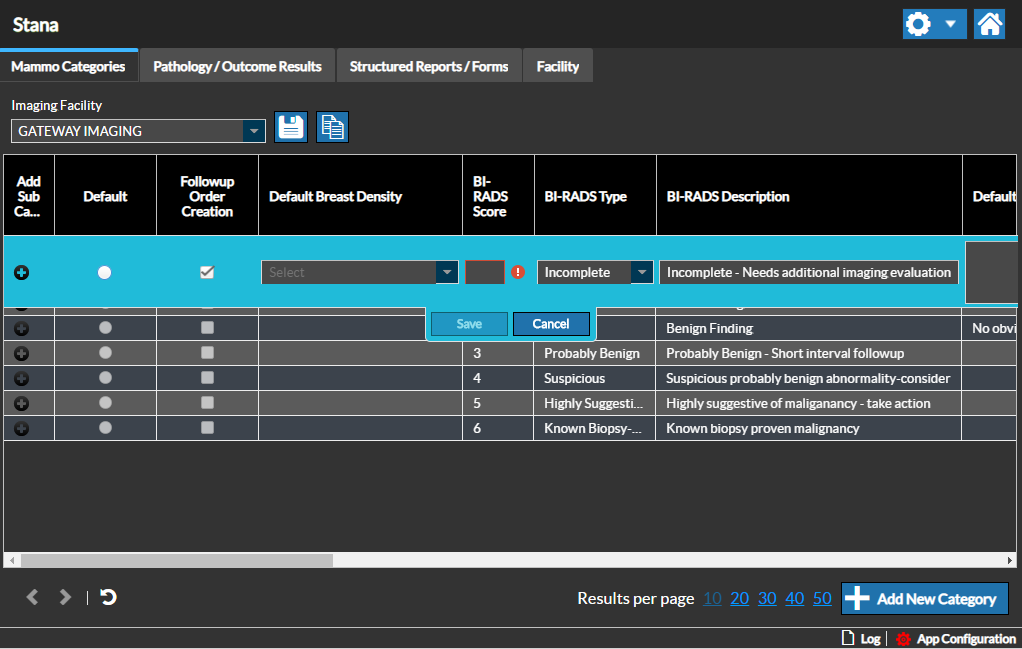
A new category will be created with all the configurations from the original one that you can edit:
Editing Recommendation Templates
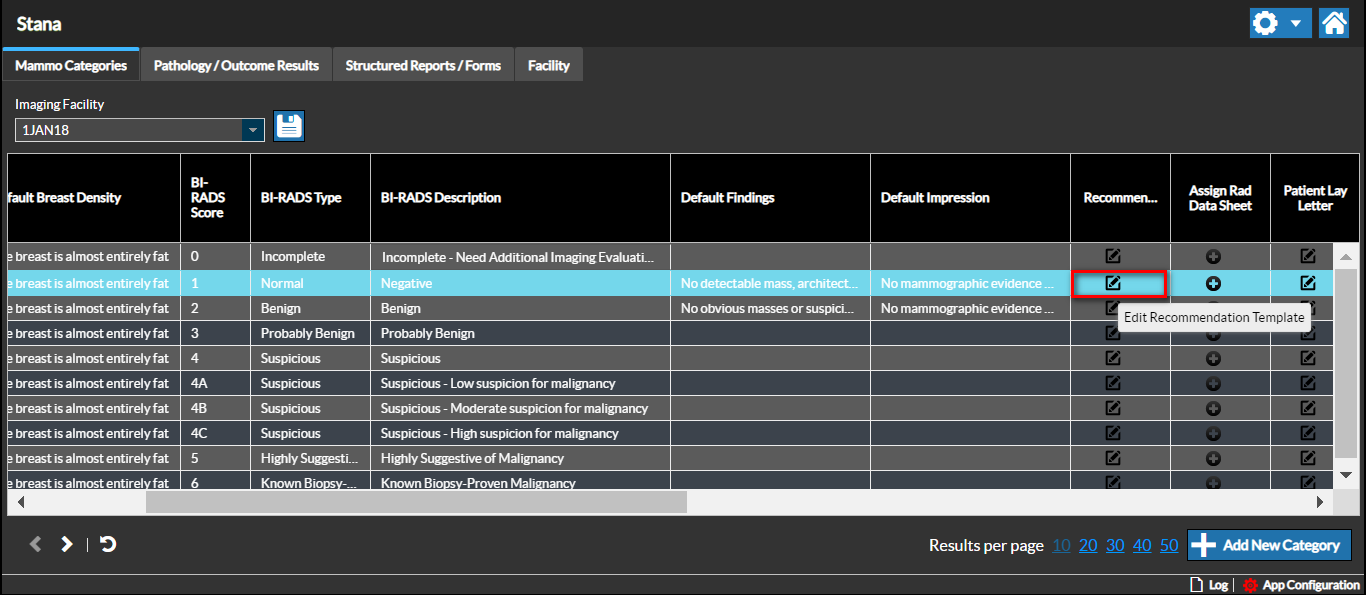
You can add or edit Recommendations for the selected Category by clicking the Edit Recommendations Template icon under the Recommendations column. Scroll the grid to the right to see this column.
The Mammo Recommendations screen appears.
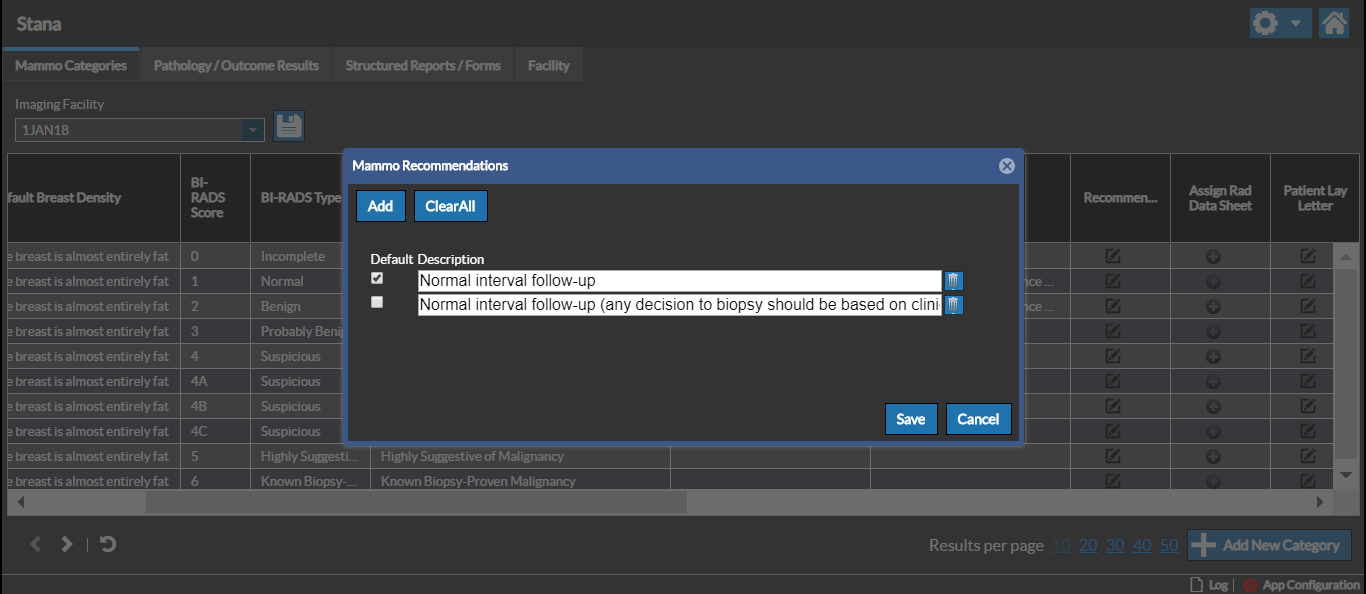
You can add a new Recommendation by clicking the Add button.
Associating a Rad Data Sheet
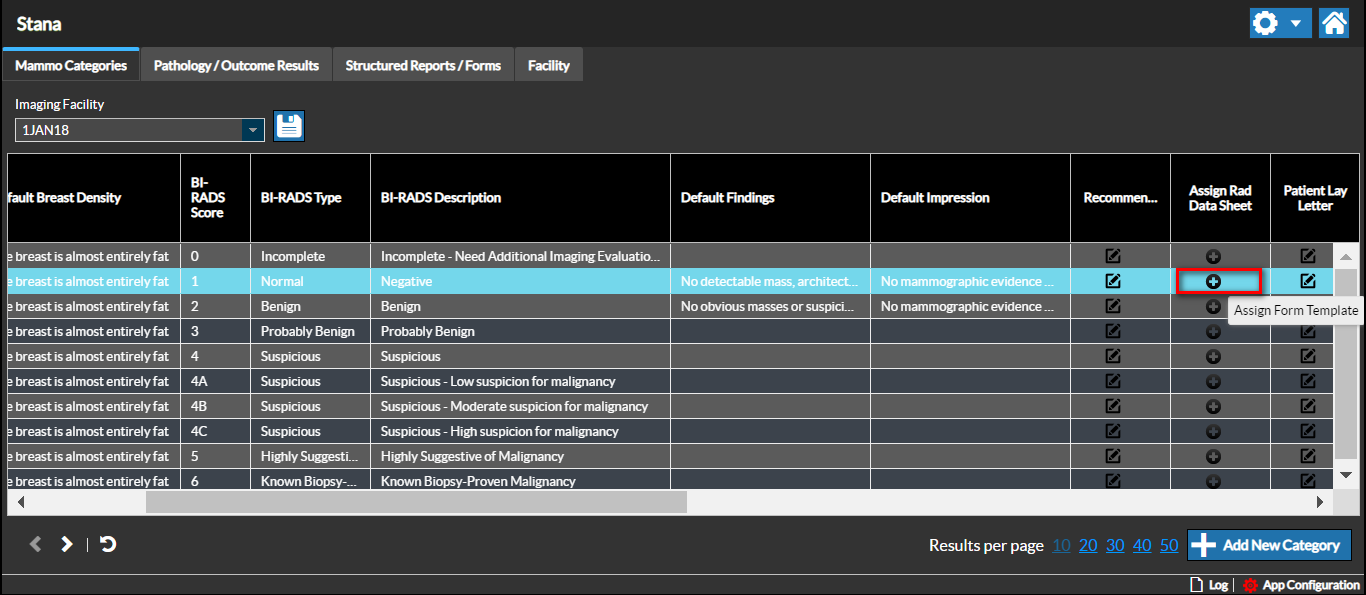
Associating a Rad Data Sheet Template to a Category lets you assign a specific data sheet/questionnaire for the Rad Data Sheet.
You can associate a Rad Data Sheet to the Category. Click the "+" sign in the Assign Rad Data Sheet column for the selected Category. The Assign Report Template Form screen appears.
Select the desired Rad Data Sheet to assign it to the Category. Select the Default checkbox to assign the specific version of Rad Data Sheet as the default form for the category.
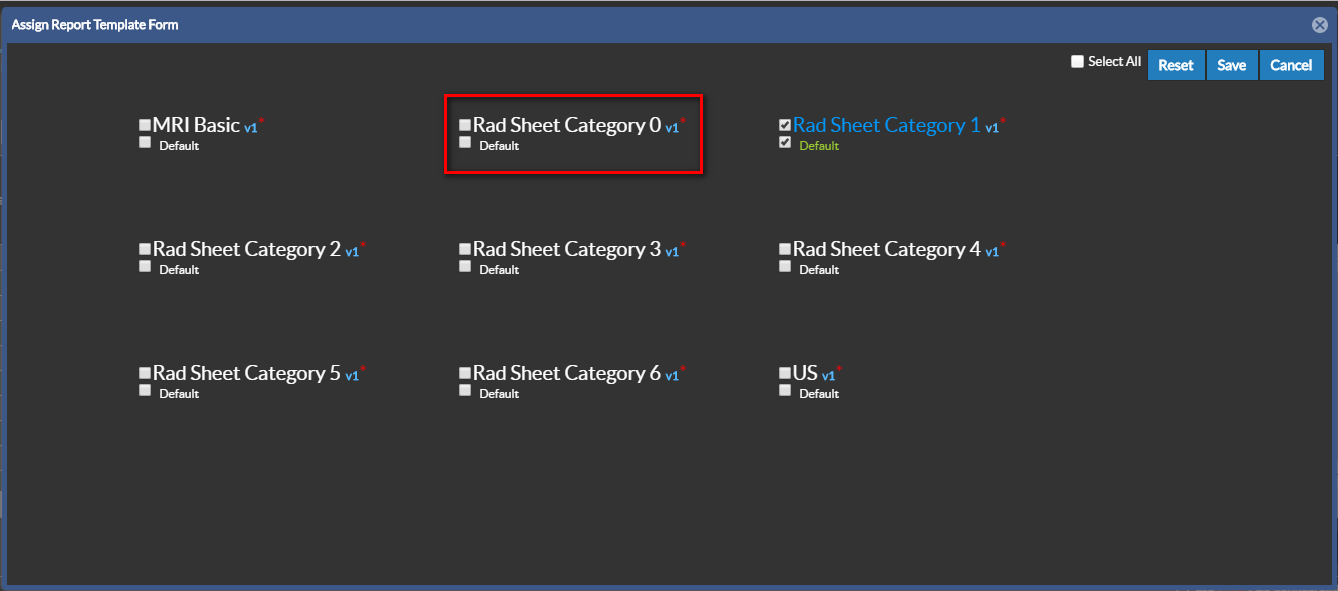
Click Save to assign the Rad Data Sheet. You can see the confirmation message "Saved Successfully" once the form is saved.
Checking the Select All checkbox at the top right of the page assigns all the Category forms to the Rad Data Sheet.
Defining or Editing Print Letter Templates
To define or edit a Print letter template, click the Edit Patient Reminder Template or Edit Referring Doctor Reminder Template icon.
The selected Report template opens up. You can customize the report template to suit your Imaging facility's needs by inserting text or merge fields using the Data Fields provided.
Note: Currently there is a limitation in Mozilla Firefox with displaying these Data Fields.
FollowUp Days
Each Category suggests a default number of FollowUp days. This time interval is configurable.
You can set the default Followup interval for each Category.
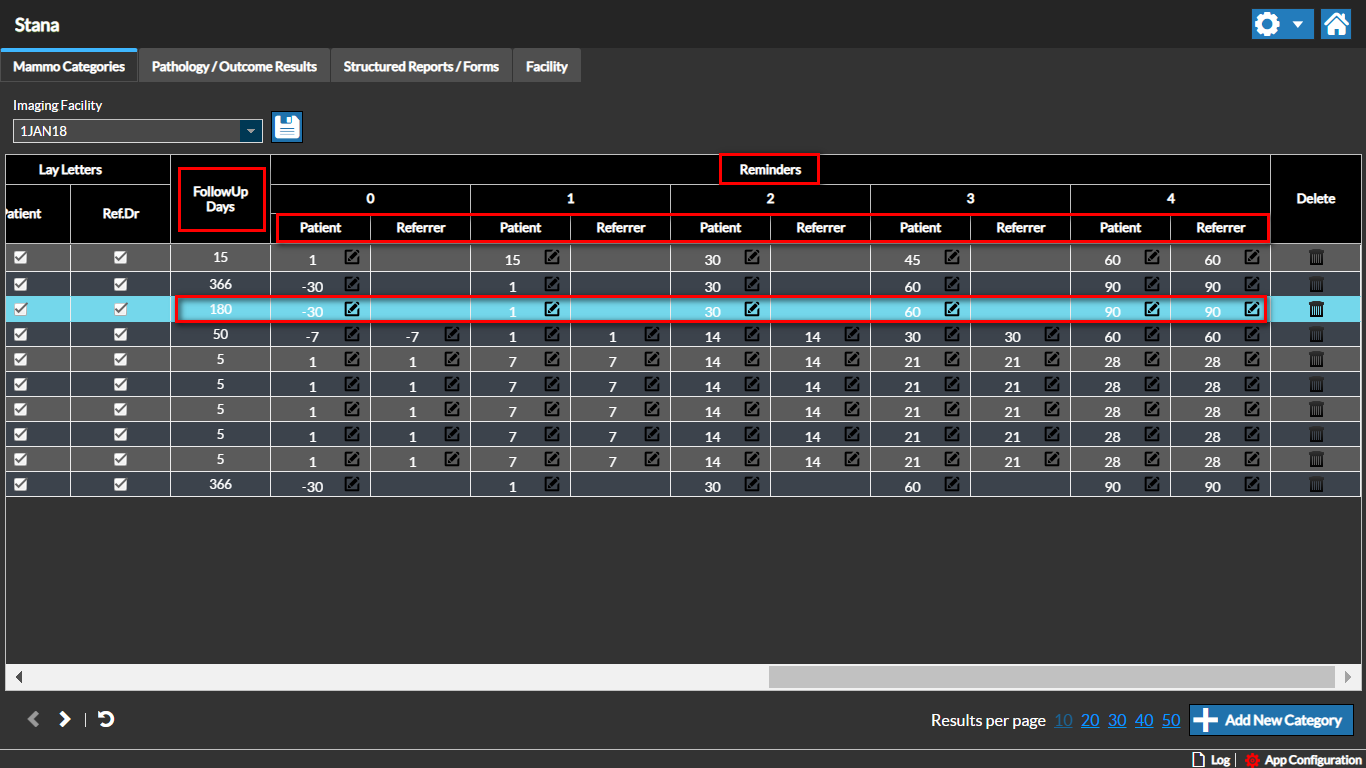
Reminders usually depend on the facility.
You can add a Reminder Letter for each reminder time duration.
The Reminder time is based on the Follow-up interval. For example, a value of (-30) indicates that the reminder is sent 30 days before the follow-up interval date. A value of (10) indicates that the reminder is sent 10 days after the follow- up interval date.
You can specify the reminder time by editing the desired Category and specifying the suggested reminder times based on the followup interval time. When you specify the first reminder followup interval, the consecutive reminder days values are auto populated with incremental values with each value greater than the previous one based on the time interval. (e.g. if user enters "-30" in Patient reminder 1 column, patient reminder columns 2 and 3 would be auto populated with "1" and "30" values.)
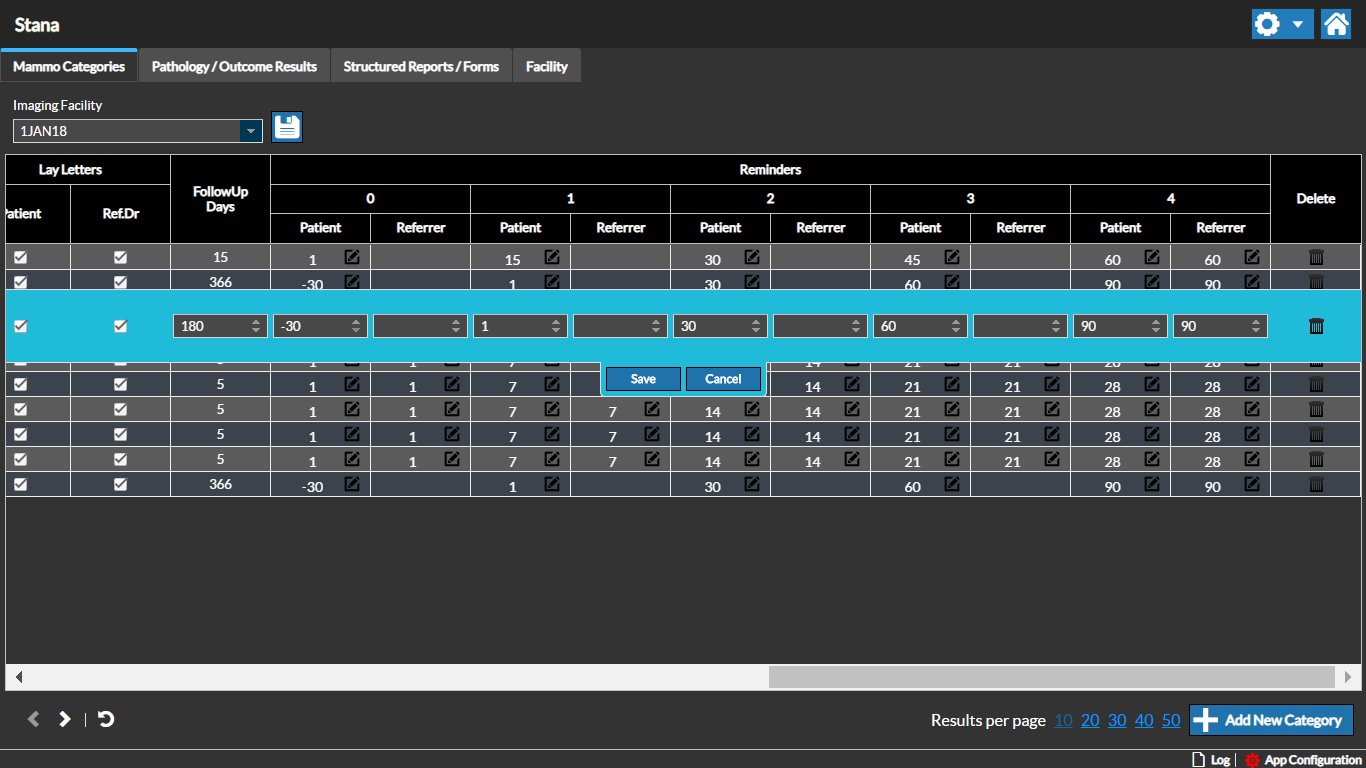
You can assign this value for the number of Reminders created for the specific facility.
Note: if a reminder time of 0 is specified, it indicates that the reminder letter needs to be sent on the day of the follow up appointment. If no value is specified, it indicates that there is no need of any reminder to be sent.
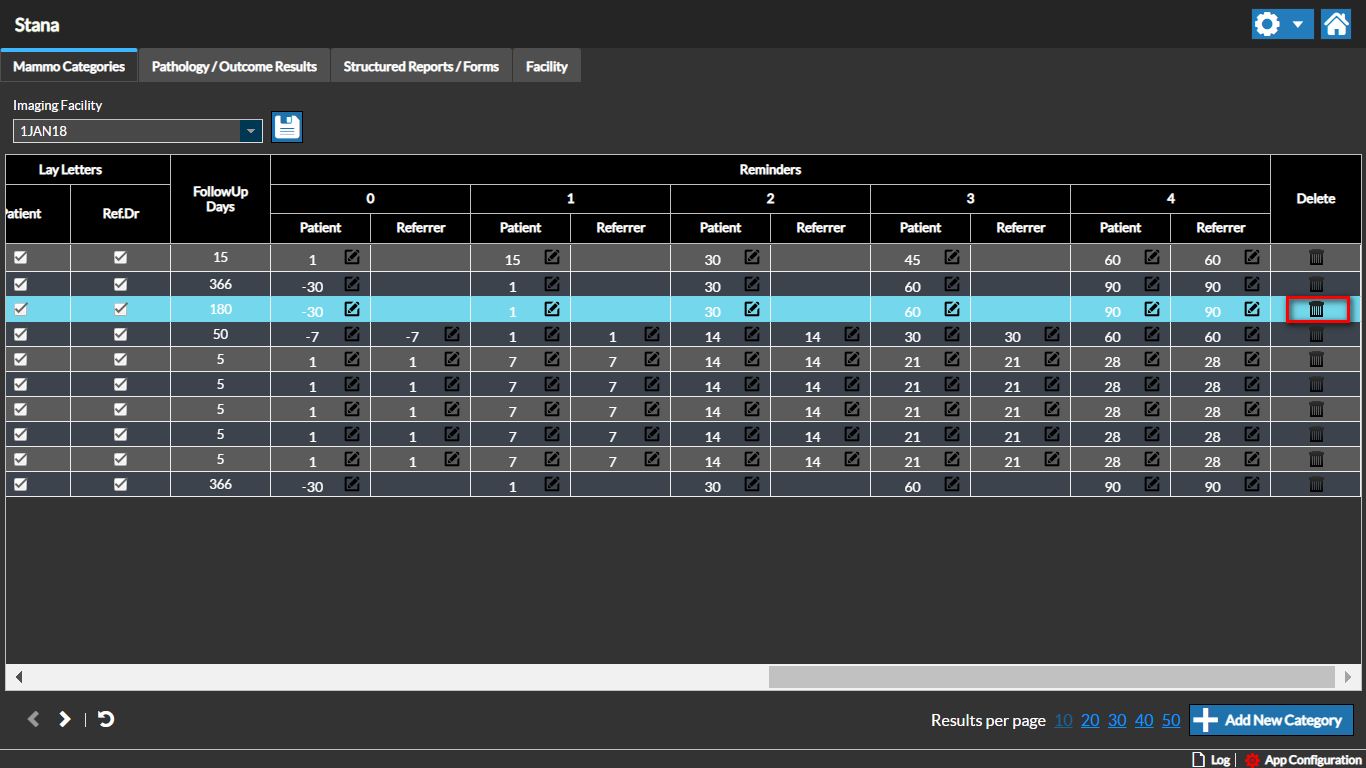
Deleting a Category
You can delete a Category by selecting the Category and clicking the Delete icon. An alert message appears confirming the deletion.
Note: Deleting a Category will affect all the existing reports created under that Category.
RELATED TOPICS: