Entering a Patient's Lab Test Results
- Click File > New Patient > Health Information > Lab Result group. The Lab Result screen appears as shown below.
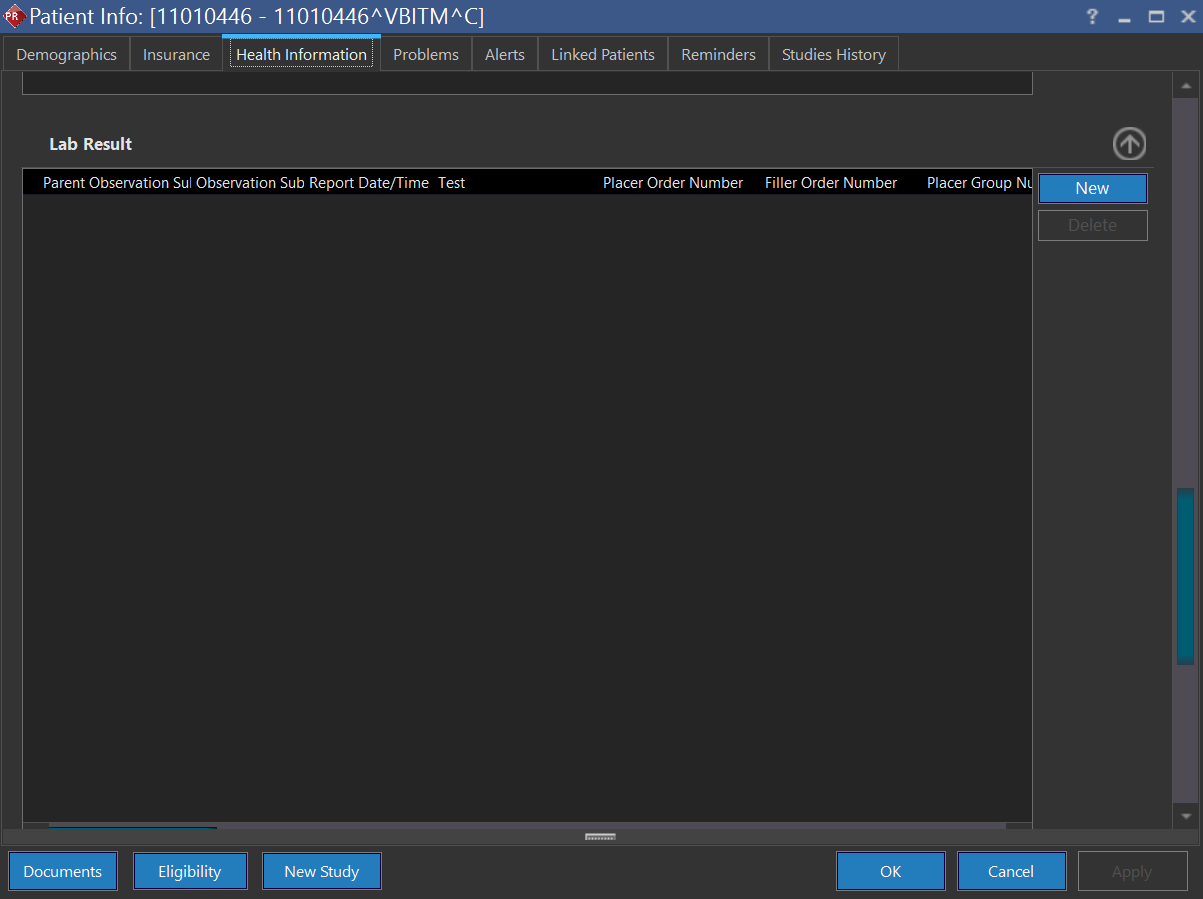
Prerequisite: To enter patient's lab test result, fill in Demographics tab.
- Click New in Lab Results group.
- By default, the Report Date/Time field displays the system date and time. This can be altered by clicking the drop-down menu. Click the Report Date/Time drop-down menu and select the appointment time to conduct lab test.
- Type the name of the test under Test text field. Typed text that matches with the database and are filtered. Select the matched test name.
- Type the order number found in the request raised by the physician in the Placer Order Number text field.
- Type the internal reference number generated by the laboratory for that test in the Filler Order Number text field.
- Click the Observation Date/Time drop-down menu and select the date and time to complete the study and click OK.
- Type the actual name of the test to be conducted in the Observation text field. It could even be a sub-category of the test.
- Type the laboratory test result in the Result text field. The result may be "Positive"/"Negative"/a statement revealing the condition.
- Type the unit of measurement in the Unit text field. For example, MG/DL, U/L.
- Type the normal lower and upper limits in the Range text field. If the test result does not fall between the normal lower and upper limits, it is considered as "Abnormal".
- Click the Abnormal drop-down menu and select the appropriate condition based on the lab test result. In other words, it is an indication to be set based on the result value.
- Click the Status drop-down menu and select the appropriate condition of the test result.
- By default, the Result Status Modified Time field displays the system date and time. This can be altered by clicking the drop-down menu. Type the time at which the status of the result been modified.
- Click the Analysis Date/Time drop-down menu and select the date and time to complete the test and click OK.
- Click the Comment drop-down menu and type the note about the lab test result and click OK.
- Type the name of the laboratory in the Performing Organization text field.
- Type the address of the laboratory in the Organization Address text field.
- Type the name of the medical director in the Medical Director text field.
- Enter the type of sample received as specimen for test in the Specimen Type text field.
- By default, the Specimen Collection Date/Time field displays the system date and time. This can be altered by click the drop-down menu. Click the Specimen Collection Date/Time drop-down menu and select the date and time on which the specimen was collected for lab test and click OK.
- Fill in the Specimen Source text field.
- If the specimen/sample is not viable, click the Specimen Reject Reason drop-down menu and select an appropriate reason.
- Click the Specimen Condition drop-down menu and select the appropriate state of viability of the sample. Select one or more conditions of the specimen.
- Click the Relevant Clinical Information drop-down menu and type a note pertinent to medical condition of the lab result and click OK.
- Click the Specimen Action drop-down menu and select the appropriate condition of the specimen.
- Type the referring physician's name in the Ordering Physician text field.
- Click the Copy To drop-down menu and type the name of personnel's with whom the lab test result is to be shared and click OK.
- Click the Result Handling drop-down menu and select the appropriate method to handle the lab test result.
- Type the name of the parent test in Parent Test text field. Typed text that matches with the database and gets filtered. As a result, you could find a list of parent test names. Select the perfectly matched parent test name.
- Type the parent order number found in the request raised by the physician in the Parent Placer Order Number text field.
- Type the internal parent reference number generated by the laboratory in the Parent filler Order Number text field.
- Click the Start Date/Time drop-down menu and select the date and time you begin the test.
- Click the End Date/Time drop-down menu and select the date and time you finish the test.
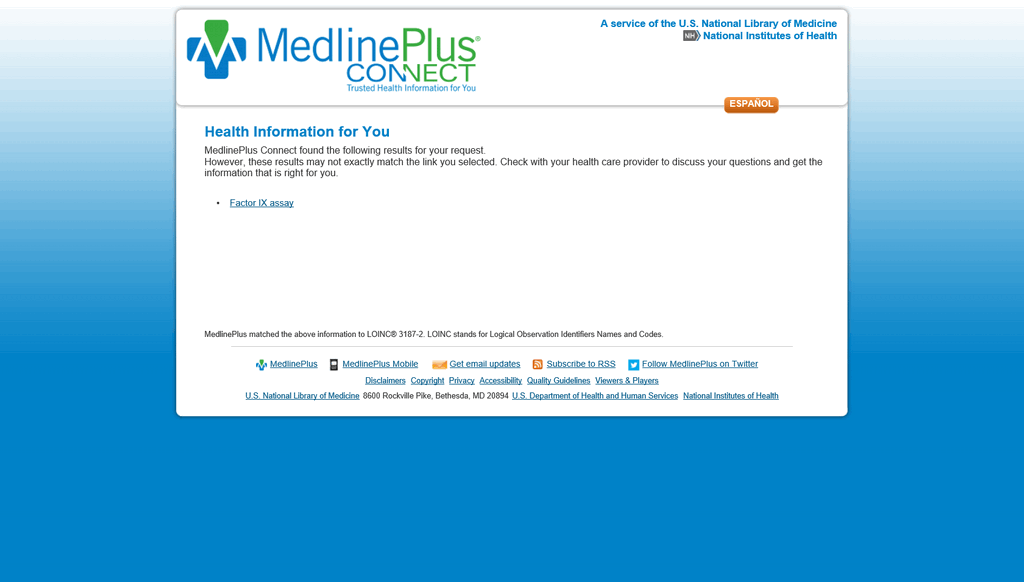
- Click Resource
 . The application launches a webpage for additional information regarding the specific laboratory test as shown below.
- Click Email if you wish to send the lab test result through electronic mail.
- Click Apply and OK.