Patient Info (RIS)
This section focuses only on the RIS-enabled features for the Patient Registration form. For universal RIS features, please see the section on Patient Information.
The Patient Registration form displays information of the patient, their contact and insurance information.
This form can be found by clicking on the View Patient Information ![]() icon in the toolbar on the Worklist or Search screen.
icon in the toolbar on the Worklist or Search screen.
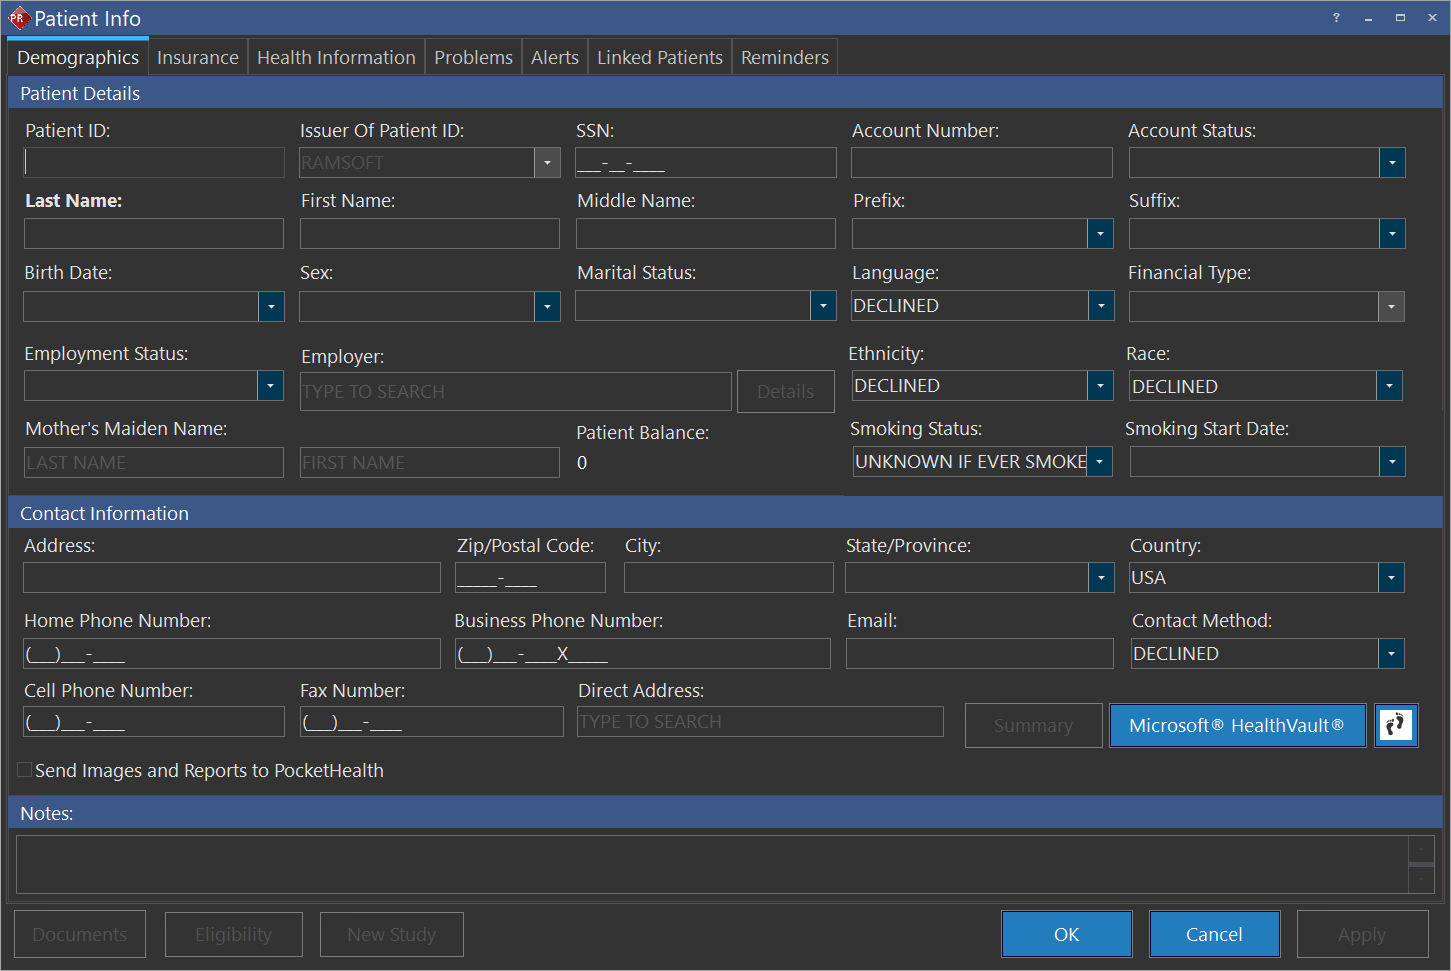
The View Patient Information screen appears as shown below.
Eligibility button: opens the Practice Suite web application (associated with PowerReader). Eligibility displays the insurance details (number of insurances held by patient, insured person name, family relationship, coverage amount, validity period etc).
New Study button: saves changes made to the current page and opens Study Info with the current Patient information auto-populated in the form.
For RIS systems, the following are available in the Patient Registration form:
Demographics tab
Account Status
The Account Status drop-down menu has three values: NORMAL, OVERDUE, and DELINQUENT. Users can also enter a custom account status for a patient. This custom account status will only be displayed for this patient and will not be available as a possible value for any other patients in the system. Similarly, if a patient received from another system has a custom account status, the status will only be displayed for that patient.
The Financial Type field is mandatory. If the user sets the financial type to COMMERCIAL, a valid active insurance must be entered in the Insurance tab. Also, if a valid insurance is available for the patient, the user cannot choose SELF-PAY as a financial type.
The Ethnicity drop-down menu allows you to select the ethnicity of a patient. The options include:
- Declined (default)
- Hispanic or Latino
- Not Hispanic or Latino
The Race drop-down menu has options which allow you to select the race of the patient. The options include:
- Declined (default) - The patient declined to provide information, or local regulations prohibit the collection of this information.
- American Indian or Alaska native - A person with origins in any of the original peoples of North, Central, or South American and who maintains tribal affiliations or community attachment.
- Asian - A person with origins in any of the original peoples of the Far East, Southeast Asia, or the Indian Subcontinent.
- Black or African American - A person with origins in any of the black racial groups of Africa.
- Native Hawaiian or Other Pacific Islander - A person with origins in any of the original peoples of Hawaii, Guam, Samoa, or other Pacific Islands.
- White - A person with origins in any of the original peoples of Europe, the Middle East, or North Africa.
The Smoking Status drop-down allows you to select the smoking status of the patient. The drop-down menu consists of:
- Current Every Day Smoker
- Current Same Day Smoker
- Former Smoker
- Heavy Tobacco Smoker
- Light Tobacco Smoker
- Never Smoker
- Smoker Current Status Unknown
- Unknown If Ever Smoked (default)
The Smoking Start Date drop-down opens a calendar to select the beginning date of smoking by the patient.
The Employment Status field is used to fill out the name of the patient's employer. If more employment info needs to be added, click on the Details button next to the Employer field.
The Patient Balance field is used to display the current patient balance. A value of 0 indicates that the patient does not owe any money. A positive value greater than 0 indicates how much the patient owes and is displayed in bold red. If this value is in negative, it indicates an amount to be received by the patient.
You can add the Patient Balance field as a display column in the Search or Worklist screens.
An Employer Information screen appears as displayed below.

Add the necessary information into the available fields. The Active checkmark at the bottom allows the employer to be active and available for other patients as well. To save changes, click Save.
A Country drop-down menu is filled with the default country chosen during PowerServer setup. However, the user has the option to change the country. Choosing a specific country will apply other features such as the fax number mask (country code, etc.). If the Country field is left unchanged, the mask associated with the default country will be applied.
The Contact Method field indicates the preferred choice of contact method as chosen by the Patient for contacting them through reminders. If a patient chooses to decline to be contacted for patient reminders, the Contact Method is set to DECLINED.
When creating a new patient:
- By default, the Contact Method is set to DECLINED and you do not have any other options available in the Contact Method drop-down menu.
- If you enter either the Home Phone Number, Business Phone Number, Mobile Phone Number, Other Number or Email as a Contact Method of the patient, the respective options are available in the Contact Method drop-down menu with the last updated field value being selected in the Contact Method field. You can then choose to change to any other alternate contact method if necessary.
- If you delete any of the contact method information and click the Apply button, then only the available contact methods remain in the drop-down menu with the default contact method set in this order of availability:
- Phone (Mobile)
- Email address
- Phone (Home)
- Phone (Business)
If the Phone (Mobile) information is provided, the Contact Method is set to TEXT if no other Contact Method is selected explicitly by the user.
For an existing patient:
- The default Contact Method is not changed when a new contact method information is added. The corresponding contact method must be manually selected and applied for the changes to be confirmed. This is to prevent any unauthorized change to the patient contact method information.
- If a contact method is deleted, the system will retain the contact method in the Contact Method drop-down menu.
- If any of the contact method information is deleted and the Apply button is clicked, only the available contact methods remain in the drop-down menu with the default contact method set in this order of availability:
- Phone (Mobile)
- Email address
- Phone (Home)
- Phone (Business)
If no contact method information is provided, the default contact method is set to DECLINED.
The Send Images and Reports to PocketHealth checkbox, which could be used with a PocketHealth integration, indicates that the patient requested to have access to their images & reports through PocketHealth App. If enabled, the patient will receive an email from PocketHealth providing them access.
Note that when any of the fields in the Patient Info form is edited, there may be a slight delay of a few seconds for this update to be reflected on the Worklist/Search screens and on Patient Explorer.
In the Health Information tab, the Allergy section is used to enter the allergies in the system. Available is the incorporation of NewCrop Electronic prescribing. Pressing the New/Edit button launches the NewCrop screen. This operation is related to Entering Allergies of the Patient.

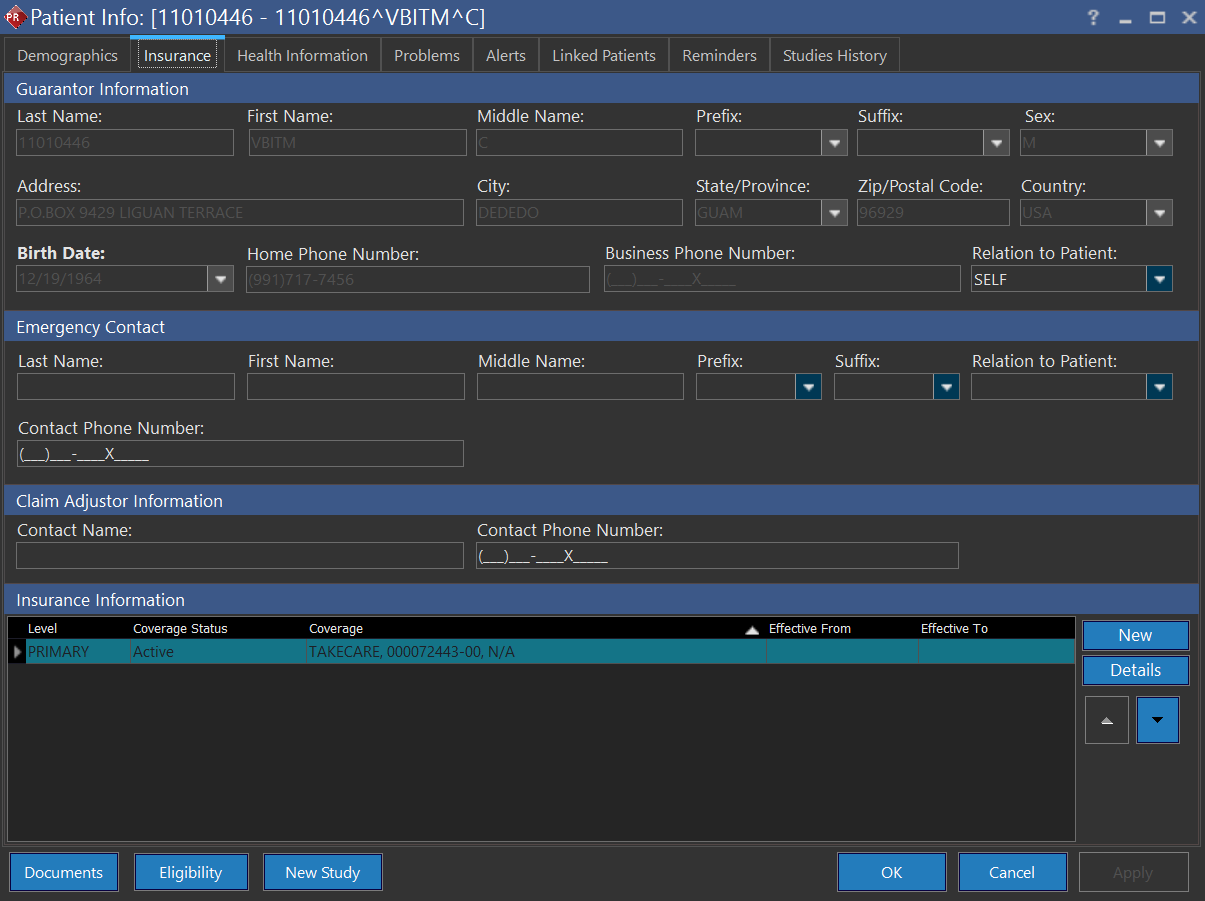
Insurance tab
See the section Insurance Tab for more information on this feature. The 'Insurance Information Section' displays all of the insurances associated with patient, including Active, Expired and Future as Coverage Status.
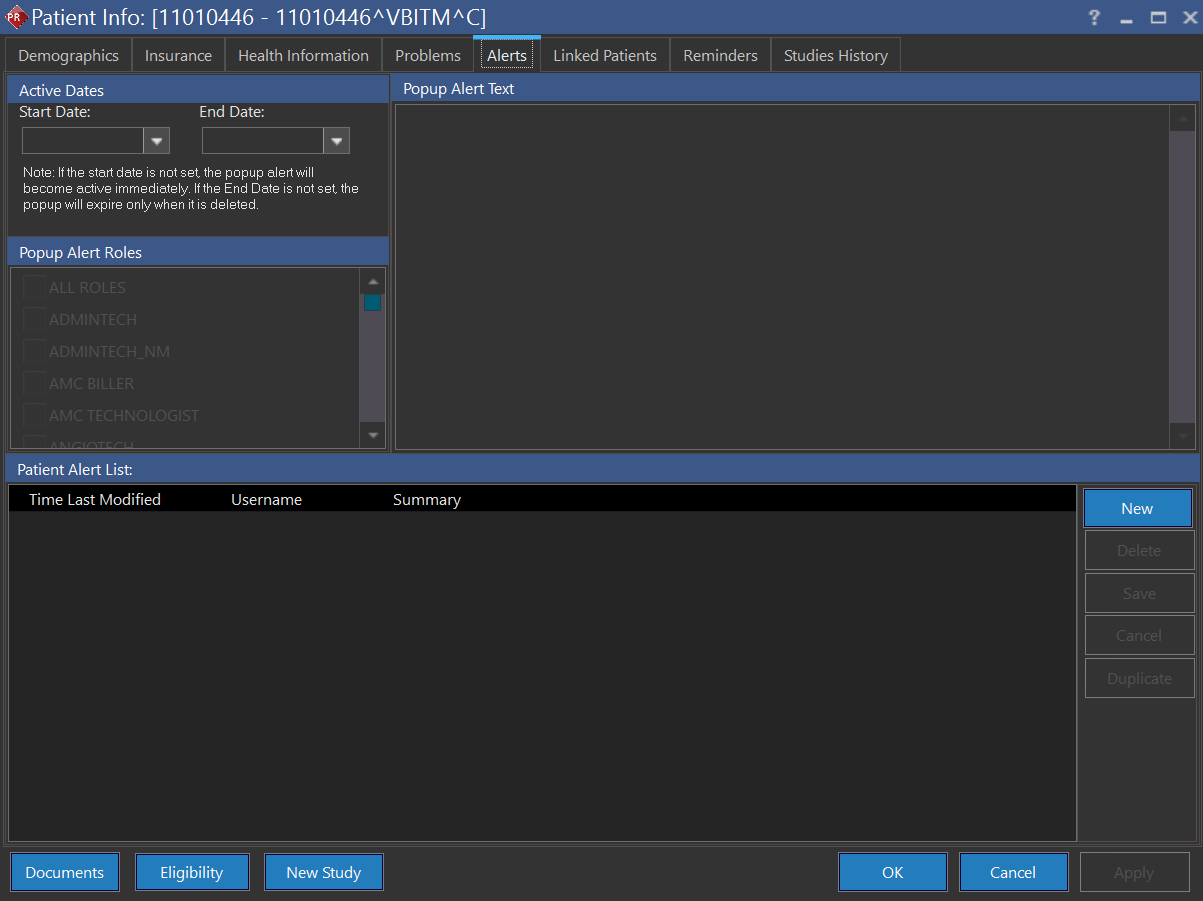
Alerts tab
See the section Alerts Tab for more information on this feature.
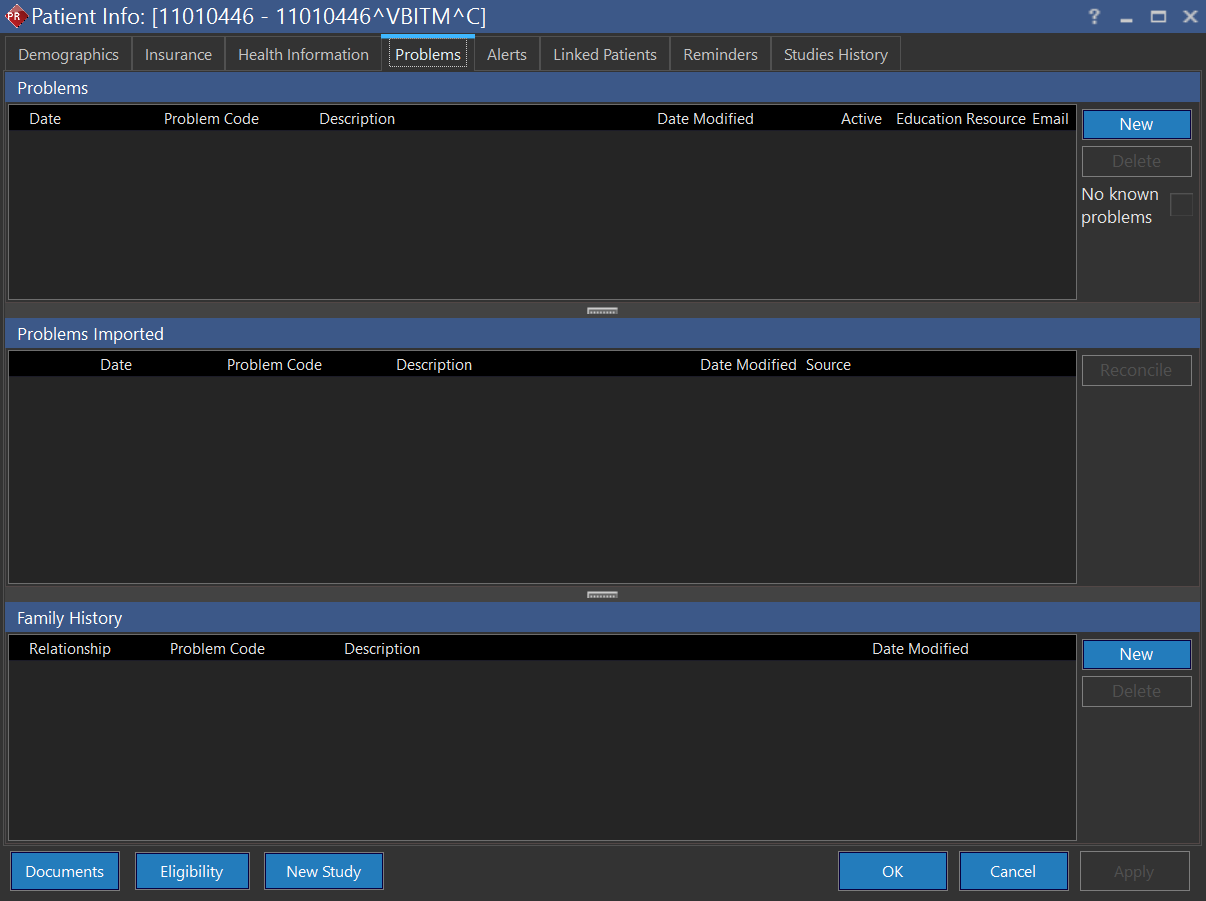
Problems tab
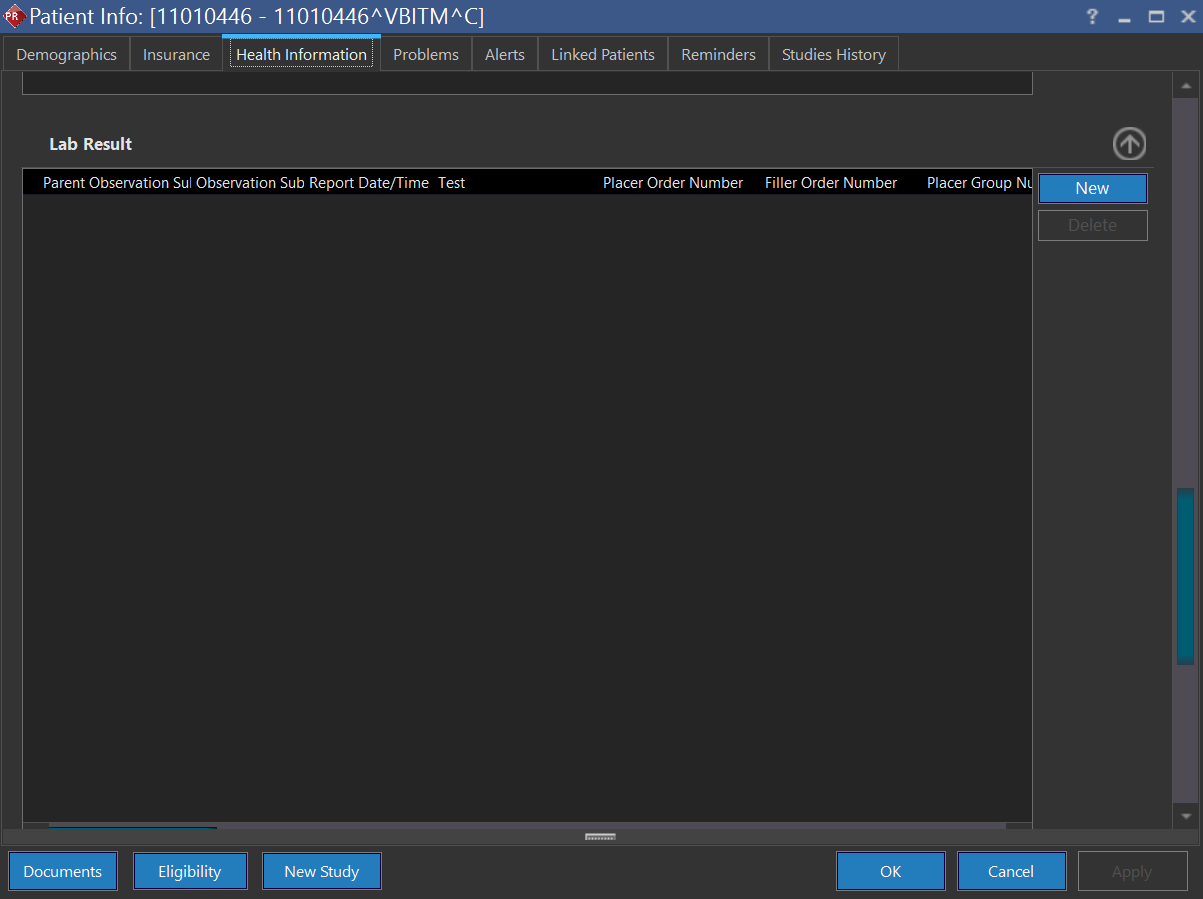
Lab Results tab
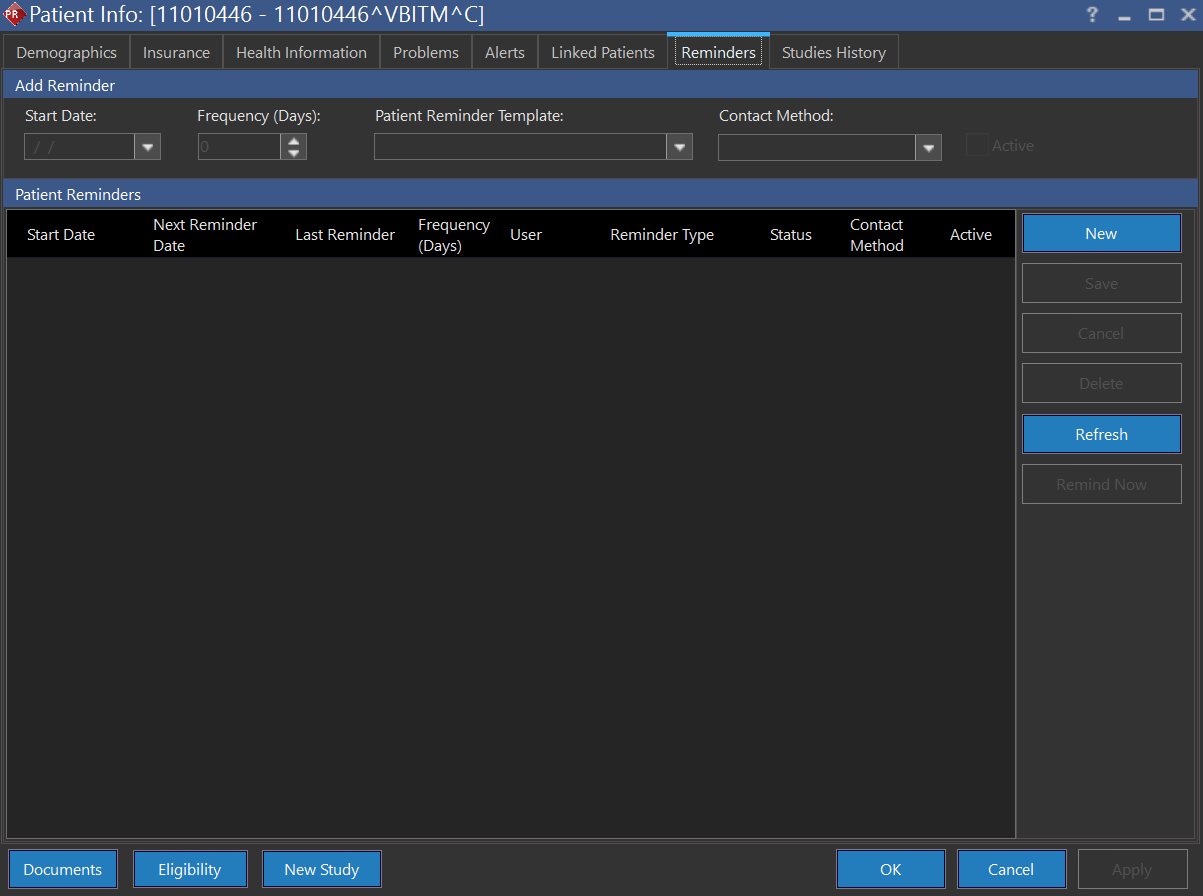
Patient Reminders tab
Meaningful Use Features
Meaningful Use Features
Under Contact Information, the Summary, Microsoft HealthVault and History buttons are available for those with a Meaningful Use license. These two buttons are used for exporting the Continuity of Care Document (CCD) to the patient. For further information, refer to the section on Electronic Copy of Health Information.

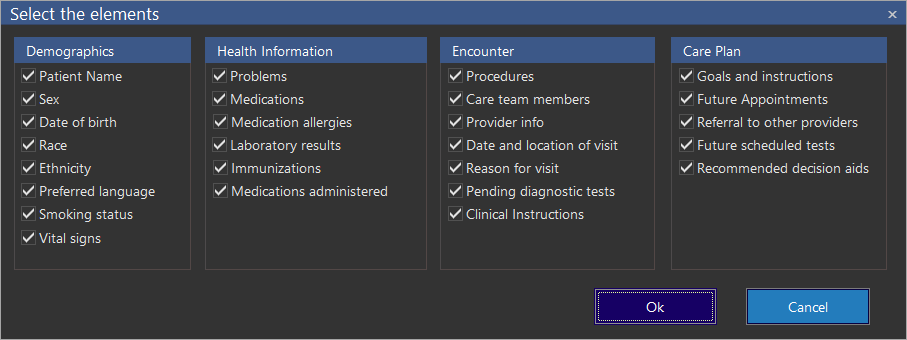
The Summary button opens the Select the elements screen. It has four sections: Demographics, Health Information, Encounter, and Care Plan. All sections contain various options that can be checked or unchecked based on the business requirement. The value options that are unchecked will not be displayed in the clinical summary.
The Microsoft HealthVault button triggers an email to the patient associated with this study and displays the following notification.

The History ![]() button opens the HealthVault - Summary Export Log screen.
button opens the HealthVault - Summary Export Log screen.

It displays the history of auto email communications sent from the system.
Documents
Clicking the Documents button navigates to the document viewer for the recent study associated with the existing patient. Note that this button is disabled if the patient does not have a study. When registering new patients, the button is disabled as there are no studies yet for the patient.